Why Whole-Image AI Fails for Outfit Swaps (and Why AI Replace Works)
Understand why full-image re-generation alters facial identity and posture, and how targeted AI Replace inpainting isolates changes strictly to wardrobe areas.
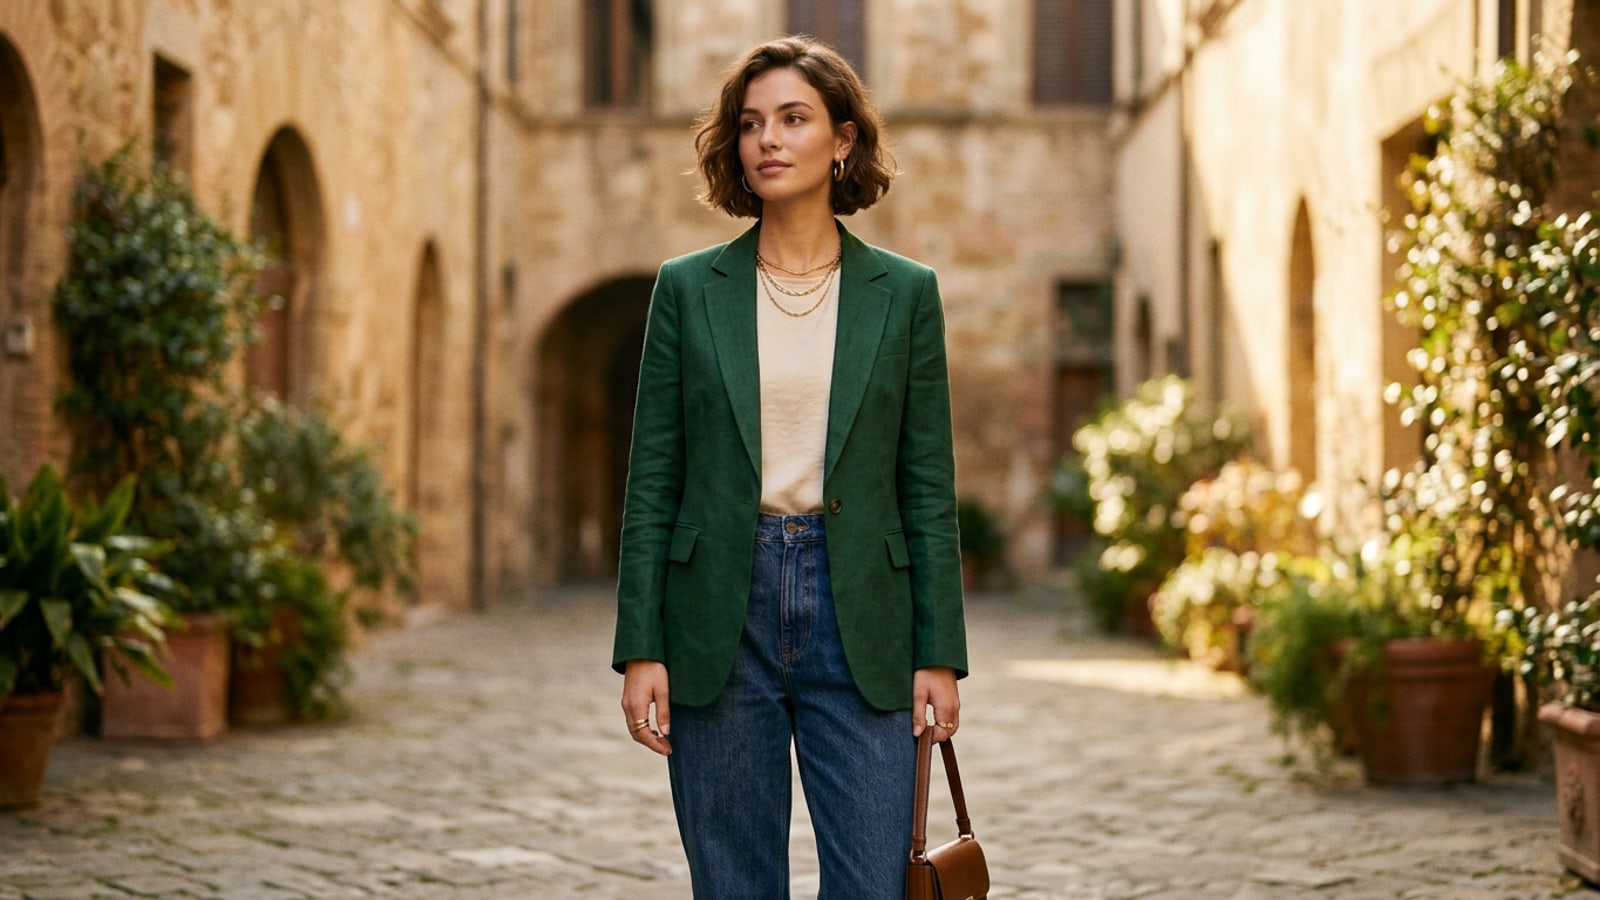
Attempting to change clothing by submitting a portrait photo to a general text-to-image generator frequently results in frustrating identity drift. Because full-image generative models recalculate every pixel across the canvas simultaneously, they inadvertently reshape facial features, alter skin tones, modify body proportions, and completely replace original background environments.[1][3]
Targeted AI Replace inpainting solves this fundamental problem by restricting generative computation strictly to a masked selection. By leaving non-selected regions pixel-locked, targeted inpainting preserves your exact facial geometry, hair texture, hands, body posture, and ambient lighting while generating new clothing textures directly inside the designated mask boundaries.[1][2]
Step-by-Step Guide to Swapping Outfits on iPhone Using AI Replace
Follow this mobile workflow to select photos, paint precision selection masks, and execute seamless wardrobe swaps.
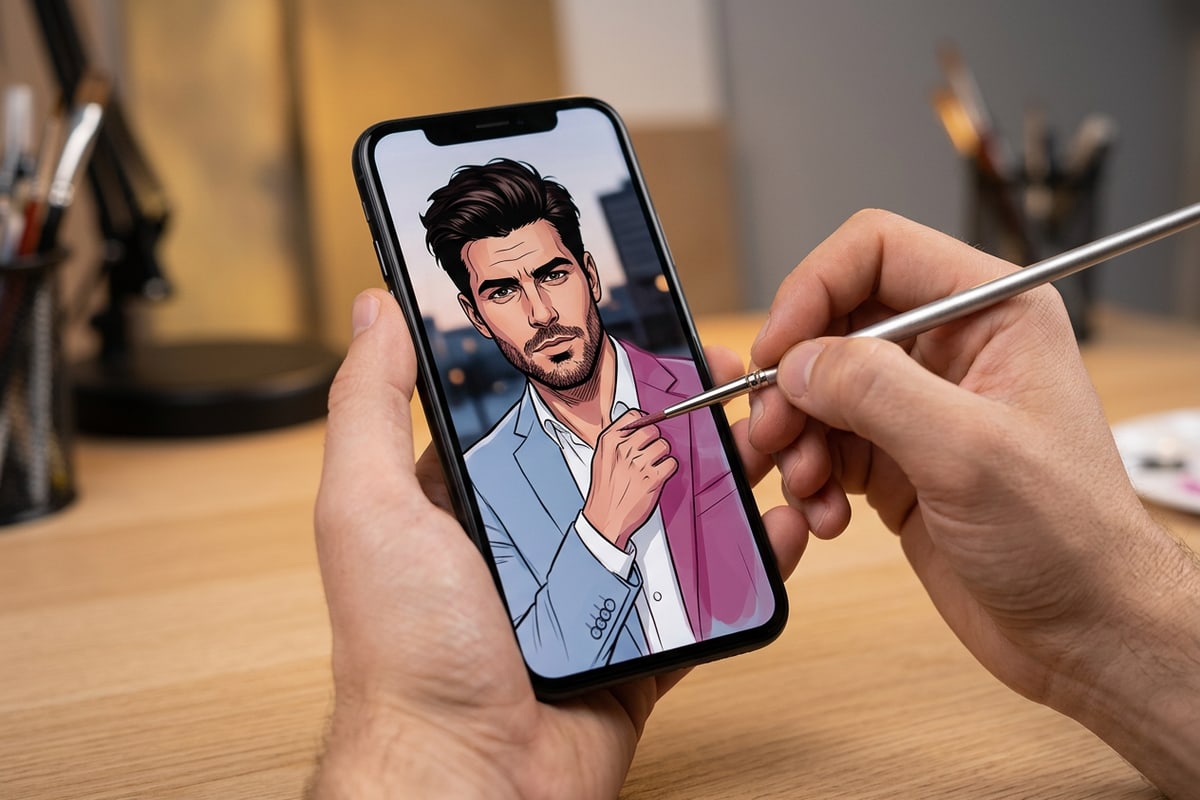
Executing a photorealistic outfit swap directly on your iPhone requires careful selection masking and clear text prompting. Following a deliberate step-by-step procedure ensures the AI model accurately interprets garment boundaries without distorting surrounding details.[1][2]
- Open AI Replace in CARA
Launch the CARA app on your iPhone and navigate to Home > AI Editing > AI Replace to open the targeted generative inpainting tool.[2]
- Import Your Portrait Photo
Select a clear portrait photo from your camera roll. Photos with distinct lighting and minimal physical hair overlap across the chest produce the cleanest generative transitions.[1]
- Apply the Inward-Brushing Mask Technique
Paint over the clothing area you wish to swap. Along skin borders like the neck, collarbones, or forearms, keep your brush selection 1 to 2 pixels inside the clothing edge rather than extending onto skin.[2]
The 3-Part OOTD Prompt Formula for Photorealistic Fabrics
Master a reusable prompt architecture that specifies garment cut, physical fabric weave, and preservation anchors for hyper-realistic drapery.
Vague prompts such as 'a black leather jacket' often result in flat, artificial textures that lack micro-details and depth. Generative models require descriptive language specifying physical fabric weight, weave density, and tailoring details to match natural camera grain and directional lighting.[3]
Structuring your text instructions using a 3-part framework delivers predictable, high-fidelity results across various fabric types including wool, linen, denim, and silk.[3]
- Part 1 - Garment Cut & Style: Define structural tailoring elements such as double-breasted lapels, ribbed cuffs, structured shoulder pads, or an oversized relaxed silhouette.[3]
- Part 2 - Fabric Physics & Texture: Specify tactile material properties such as heavy brushed wool weave, matte linen texture, raw indigo denim with contrast stitching, or soft silk sheen with natural micro-creases.[3]
- Part 3 - Preservation Anchors: Include explicit identity instructions such as 'keep facial features, posture, neck area, and background lighting completely unchanged'.[3]
Pre-Cleaning Overlapping Accessories for Layered Clothing Swaps
Learn how removing distracting straps, necklaces, or badges prior to inpainting prevents garbled edges and awkward fabric clipping.
When portrait photos feature cross-body bag straps, lanyard cords, or heavy necklaces overlapping the chest, painting an outfit replacement mask directly over them can confuse the AI model. This frequently results in garbled strap fragments or awkward fabric clipping.[2][3]
A highly effective pre-processing workflow involves clearing overlapping accessories before performing the outfit swap. By navigating to Home > AI Editing > AI Eraser, you can erase distracting straps or badges from the original photo first, providing a clean fabric canvas for AI Replace.[2]
If you frequently edit travel or outdoor portraits, you can also use similar techniques to remove crowds from vacation photos without ruining background ground textures.
Troubleshooting Common Outfit Swap Artifacts on Mobile
Diagnose and resolve edge color bleeding, jagged seams, and lighting mismatches with simple mask and prompt adjustments.
Even advanced generative replace tools can occasionally produce edge artifacts if selection boundaries spill onto skin or background areas. Recognizing how selection masks interact with contrast boundaries allows you to make fast corrections.[1][2]
If an initial generation produces color bleeding onto your neck or arms, reduce your brush size and re-mask slightly inside the garment border. Leaving a microscopic unmasked edge gives the AI model room to snap the new garment cleanly to natural physical contrast lines.[2]
- Fabric Color Spill on Skin: Shrink brush size and re-mask 1 to 2 pixels away from skin borders to prevent color blending.[2]
- Jagged Seam Lines: Pre-clean complex overlapping elements with AI Eraser or smooth the outer edge of the mask.[2]
- Lighting Mismatch: Add lighting descriptors (e.g., 'warm indoor ambient light' or 'soft outdoor shade') to align new fabric highlights with the original photo.[3]
Conversational Outfit Adjustments using Natural Language
Explore how natural-language photo editing in CARA Agent enables intuitive outfit updates through conversational chat.
In addition to dedicated brush-masking tools, conversational photo editing offers an interactive chat interface for requesting wardrobe adjustments. By accessing Home > Agent in CARA, creators can type natural-language commands to explore style variations.[2]
Conversational editing is ideal for rapid global clothing color adjustments or quick style experiments. For creators looking to turn stylized portraits into unique collectible concepts, check out our guide on how to create 3D AI action figure photos on iPhone.[2]