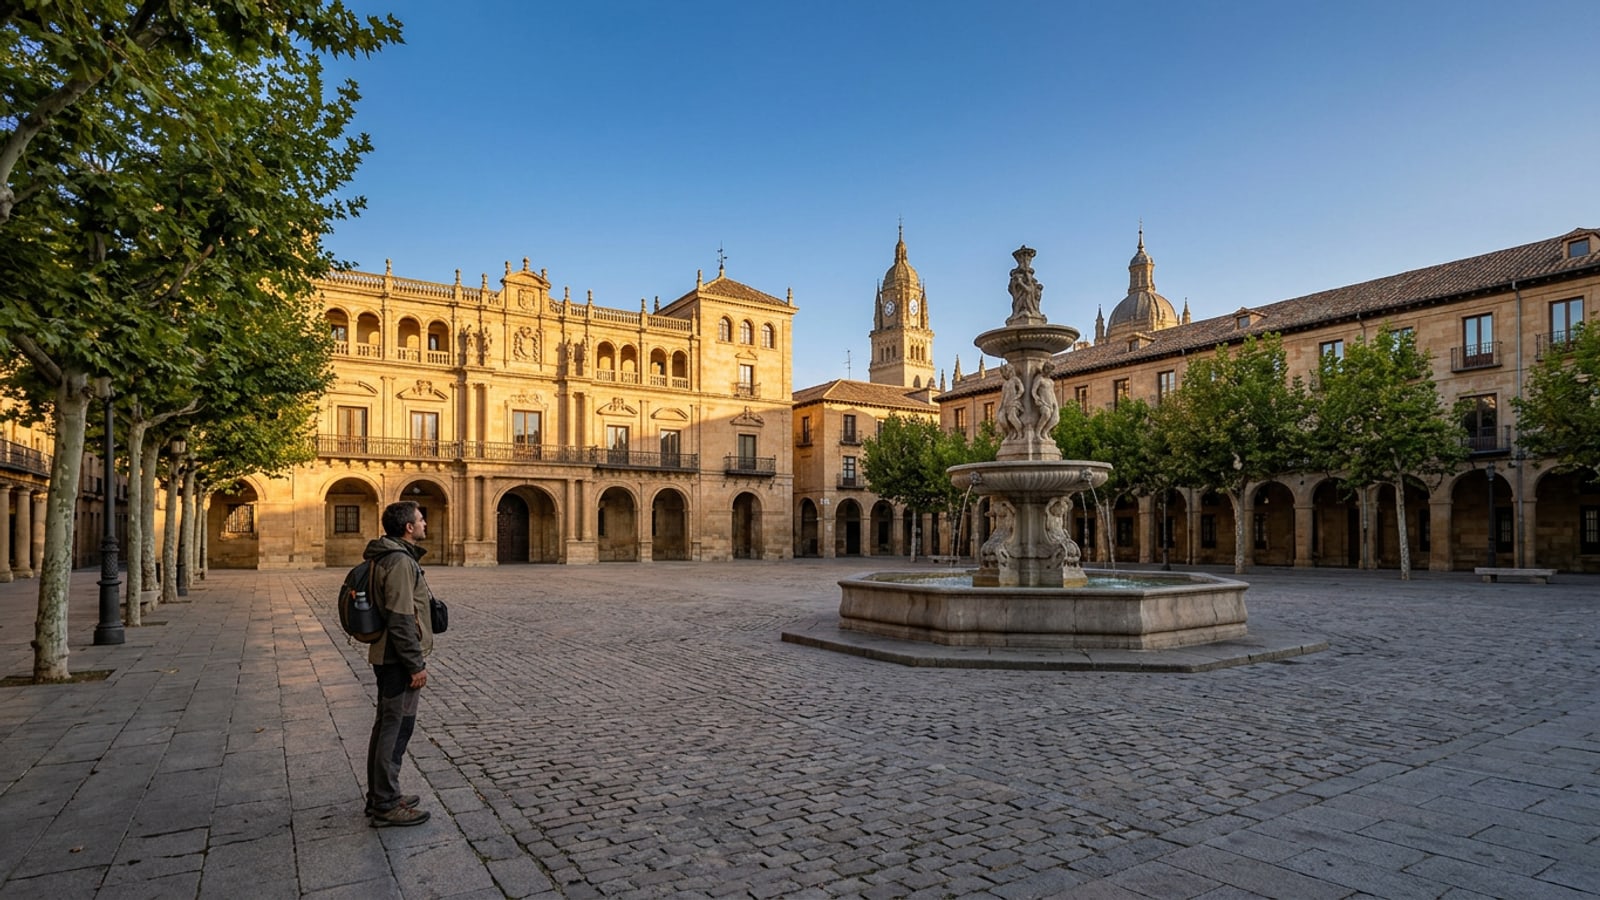
Why Traditional Phone Erasers Struggle on Busy Travel Shots
Basic object removers and single-stroke erasing often leave blurry smudges or distorted cobblestones on busy landmark shots.
Capturing iconic landmarks like the Trevi Fountain, Kyoto torii gates, or the Eiffel Tower usually comes with an unavoidable photography challenge: dense tourist crowds filling every square foot of your frame. When you try to clean up these scenes with basic mobile editing tools, the results are frequently disappointing. Simple object removers operate by copying nearby pixels directly over target areas. On complex travel shots, this single-stroke erasing routinely leaves obvious blurry smudges, unnatural repeating patterns, or twisted architectural lines across historic stone facades and tiled plazas.[2]
Native on-device AI features like Apple Intelligence Clean Up provide convenient built-in editing, but they come with strict hardware prerequisites—requiring an iPhone 15 Pro, iPhone 16 model, or newer device running iOS 18.1 or later. Furthermore, smaller localized AI models processed entirely on-device can struggle when synthesizing highly complex, non-repetitive backgrounds such as ornate cathedral brickwork, marble steps, or wet cobblestones bathed in directional sunlight. Reconstructing those intricate architectural details requires advanced cloud-based generative AI engines that can interpret global scene context and generate realistic structural fills.[1][2]
Step-by-Step: The 5-Step Crowd Removal Action Pipeline
Follow this systematic multi-pass process to remove background photobombers cleanly without degrading underlying architecture.
Rather than sweeping a massive brush over an entire crowd in one ambitious stroke, high-quality mobile photo editing requires an incremental, multi-pass strategy. Treating crowd removal as a multi-stage editing pipeline prevents generative engines from creating surreal visual artifacts, distorted perspective grids, or accidental blurring across critical architectural focal points.[2][3]
By systematically working from far-background horizon elements toward mid-ground photobombers, you give the AI eraser consistent structural anchors to rebuild surrounding surfaces correctly before tackling larger foreground subjects.[2][3]
- Pass 1: Isolate Distant Background Figures
Open CARA on your iPhone and navigate to Home > AI Editing > Object Removal. Adjust your brush to a small diameter and highlight tiny, distant background figures along the horizon first. Removing small background elements in isolation gives the generative fill engine a clean slate to rebuild far horizon lines.[2][3]
- Pass 2: Apply the 10 Percent Brushing Buffer
When selecting mid-ground tourists or individual photobombers, do not tightly trace their clothing contours. Extend your brush selection approximately 5% to 10% past the person's physical boundary into the adjacent pavement, wall, or steps. This intentional buffer margin allows the AI model to sample surrounding pattern frequencies and blend floor textures naturally.[2][3]
- Pass 3: Process in Incremental Batches
Run the AI Eraser tool (30 points per attempt) on small groups of 2 to 3 people at a time rather than highlighting dozens of individuals at once. Incremental processing reduces compute complexity and delivers dramatically sharper architectural reconstruction across brick, stone, and wooden structures.[2][3]
- Pass 4: Eliminate Orphan Shadows and Ground Reflections
Carefully inspect the ground surface directly beneath where erased tourists were standing. Brush directly over remaining cast shadows and ground reflections on stone pavement, wet marble, or asphalt to ground the scene correctly and maintain realistic sun angles.[2][3]
- Pass 5: Fine-Tune Seams and Final Framing
Perform a detailed zoom inspection along architectural edges, columns, and shadows. If removing tourists along the outer edges of your photo forced a tight crop that compromised your composition, use CARA Agent prompts or Image Extender outpainting to touch up seam consistency and rebuild scene framing.[2][3]
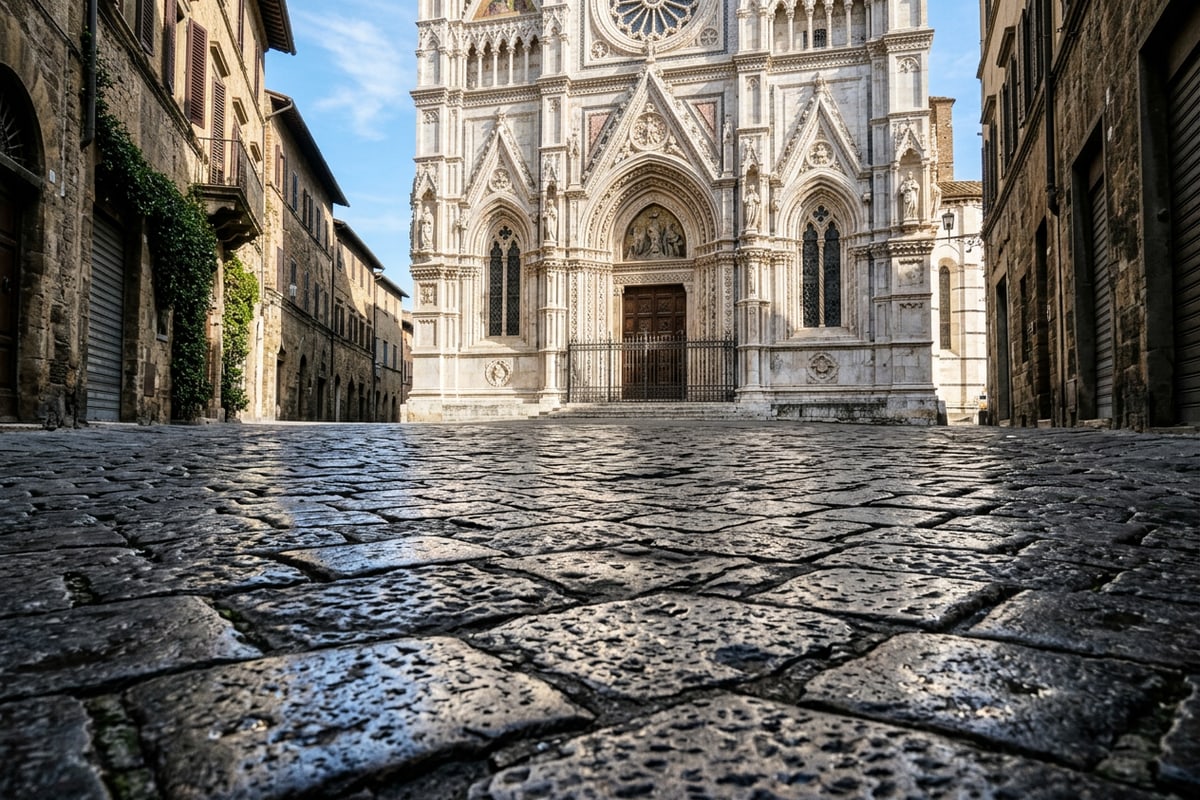
Erase Shadows and Reflections: The Pro Cleanup Difference
Unremoved ground shadows and water reflections are the most common reason travel photo edits look unnatural.
When background tourists are removed from a bright outdoor travel shot, their dark cast ground shadows often remain completely untouched. These orphan shadows leave mysterious dark patches across sunlit plaza paving or historical staircases, creating a subtle visual disconnect that instantly signals to viewers that the photo was digitally altered.[2][3]
Environmental surfaces like wet stone streets, polished fountain rims, and rainy marble plazas retain prominent dark reflections of background tourist clothing, shoes, and umbrellas. Conducting a dedicated second cleanup pass focused exclusively on deleting cast pavement shadows and watery mirror reflections eliminates floating subject artifacts and preserves natural spatial perspective across your entire photograph.[2][3]
Harmonize Complex Backgrounds with CARA Agent Prompts
Use natural language instructions in CARA Agent to smooth distorted brickwork and balance lighting across edited areas.
When object removal takes place across highly detailed geometric backdrops—such as patterned tile floors, cathedral archways, decorative iron railings, or intricate brickwork—the regenerated surface can occasionally display slight alignment glitches or subtle texture variations. Rather than spending time on tedious manual retouching, conversational photo editing offers a fast, intuitive solution.
By opening CARA Agent under Home > Agent, you can describe exactly how you want the background repaired using plain text prompts. Natural language requests allow the underlying generative model to re-evaluate overall scene context, smooth minor structural seams, and re-balance lighting gradients across edited areas to achieve a flawless finish.
- Prompt for Stone Seam Smoothing: 'Smooth the cobblestone pavement texture in the lower background while preserving natural golden hour sunlight highlights.'
- Prompt for Archway Reconstruction: 'Align the historical stone wall patterns behind the plaza fountain to match the adjacent marble columns flawlessly.'
- Prompt for Courtyard Lighting Balance: 'Rebalance the warm golden sunlight across the empty courtyard floor so lighting and shadows remain completely uniform.'
Restore Landmark Framing with Image Extender
Rebuild cropped cathedral roofs or widened plaza borders using AI outpainting when tourist removal forces tighter cropping.
Unwanted photobombers frequently stand directly on the outer borders of travel photographs. Removing edge subjects or manually cropping them out can inadvertently force a much tighter aspect ratio, cutting off iconic cathedral spires, landmark rooflines, or symmetrical plaza arches. Tight cropping destroys the grand scale and dramatic perspective of famous travel locations.[2][3]
Using CARA's Image Extender (outpainting) feature solves this problem by generating realistic surrounding content beyond your photo's original borders. The tool analyzes scene geometry, sky gradients, and foreground pavement to extend the canvas seamlessly. Rebuilding missing border area allows you to restore generous landmark framing and maintain ideal social media canvas aspect ratios (such as 4:5 vertical feed posts or 9:16 vertical stories) without losing any original subject detail.[2][3]