Quick-Start Guide: Recreating 90s Point-and-Shoot Flash with AI Chat
Transform modern photos into raw direct-flash party snapshots using instant conversational AI prompts.
Recreating the raw, nostalgic high-contrast look of late-1990s compact digicam photos does not require sourcing vintage hardware or configuring complex studio strobes. The signature aesthetic comes from a single hard light source firing directly from the camera lens toward the subject, causing background elements to drop into shadow. By describing physical flash behavior to a conversational AI agent, you can relight ambient photos or generate original portraits with authentic retro lighting in seconds.[1][3]
To turn ambient indoor or daylight photos into high-impact party snapshots, focus your prompts on three light dynamics: frontal beam angle, rapid background falloff, and specular surface glare.[1]
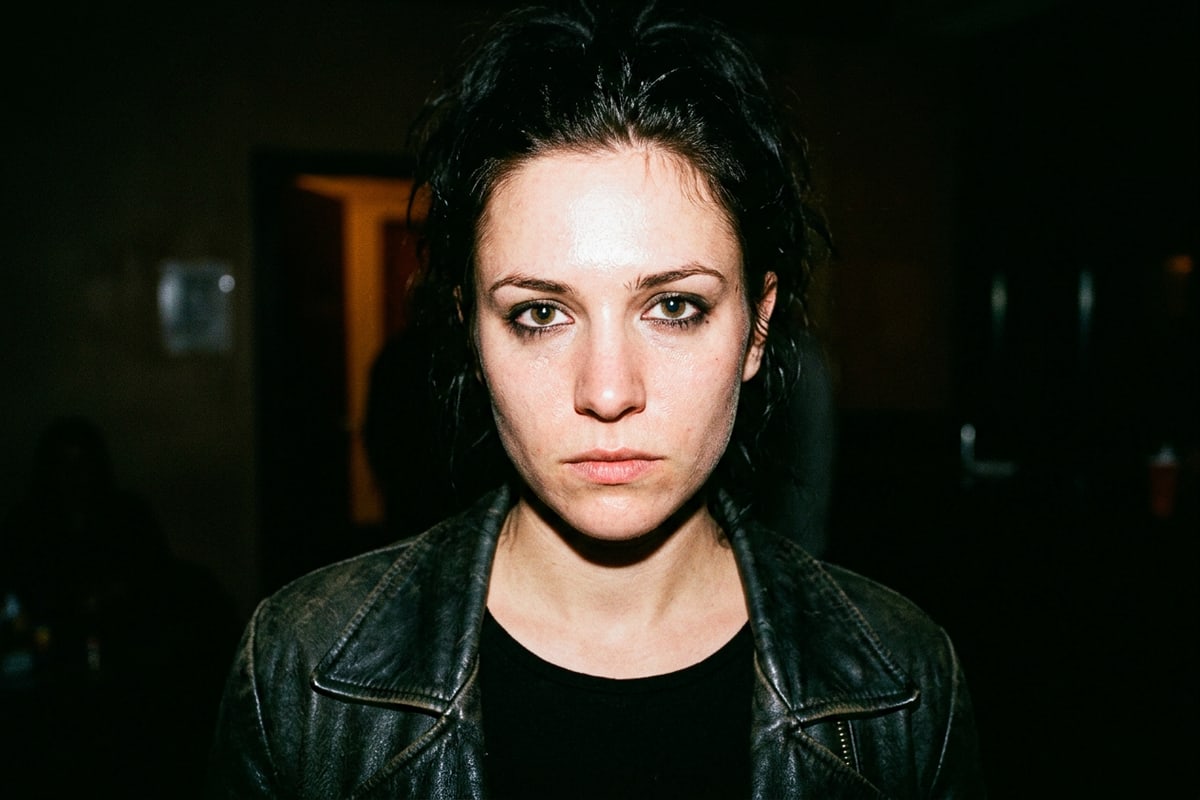
- Quick Relighting Formula: "Relight this portrait with an intense direct frontal camera flash, zero diffusion, sharp shadow falloff into a dark background, warm saturated skin tones, and subtle specular highlights on the face."[1][3]
- Quick Text-to-Image Formula: "A candid indoor party portrait of a stylish creator under a harsh point-and-shoot direct camera flash, deep dark background falloff, high contrast foreground lighting, raw 35mm compact camera snapshot style."[1]
Deconstructing the 90s Direct-Flash Aesthetic: 5 Optical Elements
Understand the five physical camera mechanics that defined the late-90s compact camera visual identity.
Modern smartphone portrait modes rely on computational algorithms that soft-blur backgrounds and balance even exposure across the entire frame. In contrast, 1990s compact film and early digital point-and-shoot cameras featured small built-in flashtubes mounted mere centimeters from the optical lens axis. Understanding these physical constraints allows you to craft precise prompt phrasing that steers AI models away from modern digital soft-focus looks.[1][2]
The direct flash aesthetic is defined by five key optical traits. First, the on-axis strobe position sits under five centimeters from the lens, eliminating lateral side shadows and flattening subject features. Second, zero diffusion produces hard, unsoftened edges around shadows cast directly behind the subject. Third, the inverse-square law dictates rapid light falloff, plunging background rooms into total darkness even if ambient lights were on.[1][2][4]
- On-Axis Strobe Proximity: The flash fires from the lens axis, casting tight rim shadows directly behind the subject rather than off to the side.[1]
- Inverse-Square Light Falloff: Illuminance drops sharply over distance, creating vivid subjects against pitch-black or dimly lit backgrounds.[1][2]
- Specular Skin Highlights: Unshielded flash tubes produce bright, focused reflections on skin, forehead, and cheekbones.[1]
- Saturated Color Cast: Hard white flash overpowers ambient light, producing punchy foreground colors and warm tungsten background tones.[1][3]
- Texture and Sensor Grain: Choice between organic 35mm film grain or early compact digital CCD sensor noise alters background texture.[1][3]
Copy-Ready AI Prompt Library: Relighting & Text-to-Image Generation
Structured prompt cards engineered for conversational photo relighting and original scene creation.
Whether you want to modify existing ambient photos using natural conversational requests or generate completely new scenes from text, using structured prompt formulas ensures consistent lighting accuracy. Conversational photo editing lets you refine lighting intensity iteratively by chatting with an AI agent.[1][3]
If you want to master broader lighting control, explore our guide on how to edit photo lighting and mood using natural AI chat prompts on iOS to build multi-step conversational workflows.
- High-Contrast Party Snapshot Relighting: "Apply a harsh direct point-and-shoot camera flash straight-on. Darken the background into deep shadows, add sharp outline shadows behind the shoulders, and increase skin glare speculars."[1][3]
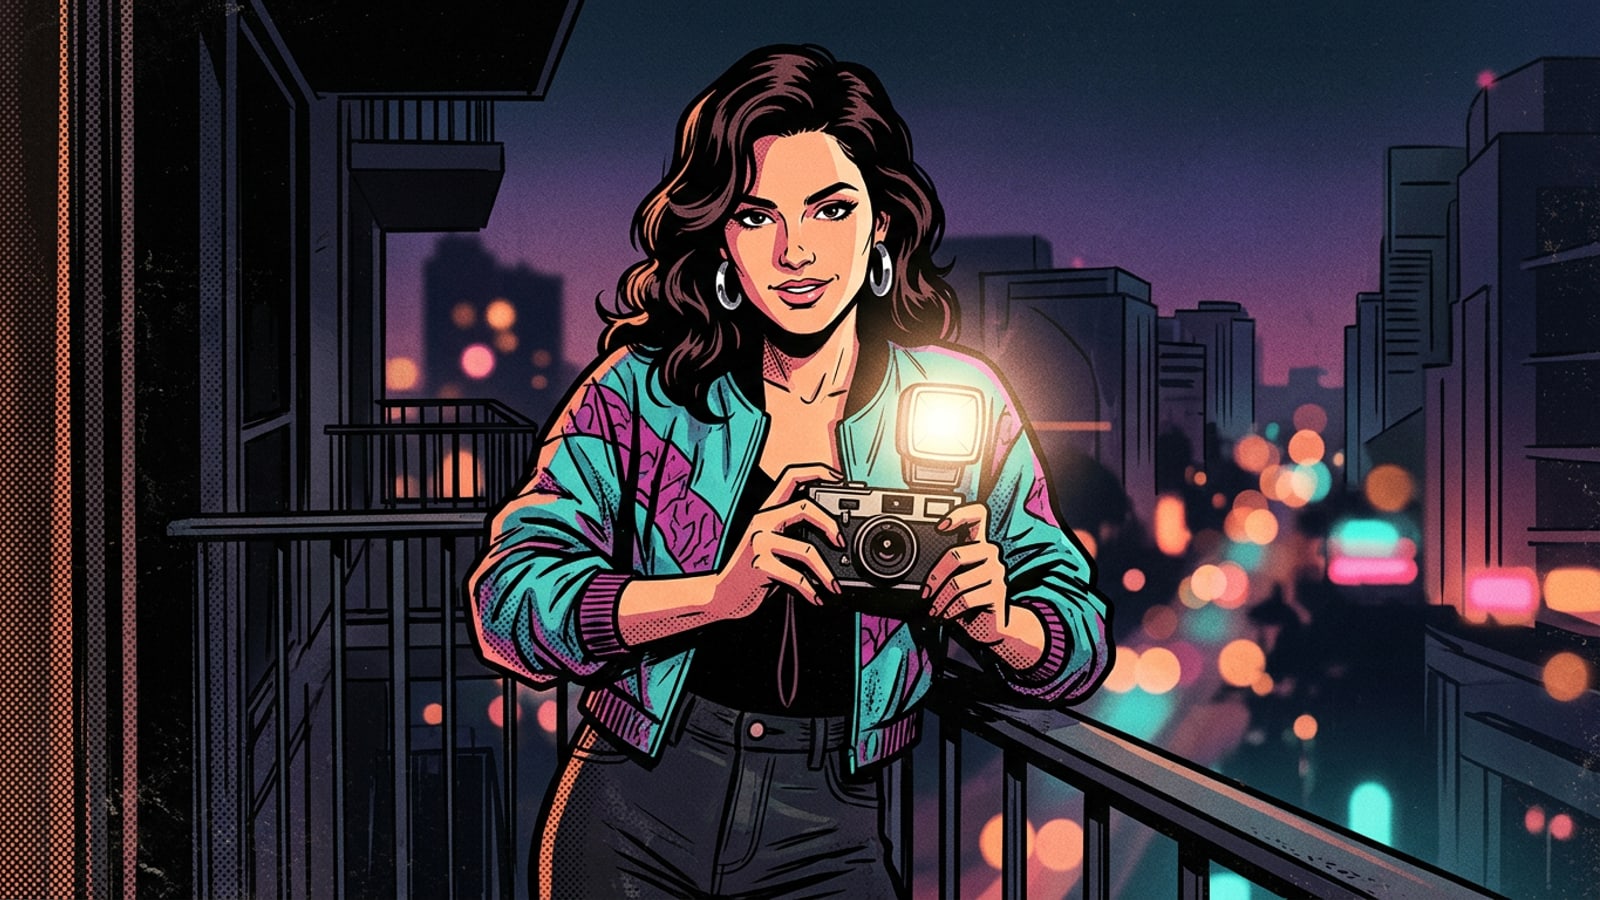
- Raw 35mm Compact Film Snapshot: "A candid night snapshot of a person on a balcony under an intense frontal camera flash, zero light diffusion, saturated skin tones, subtle 35mm grain, dark urban backdrop falloff."[1]
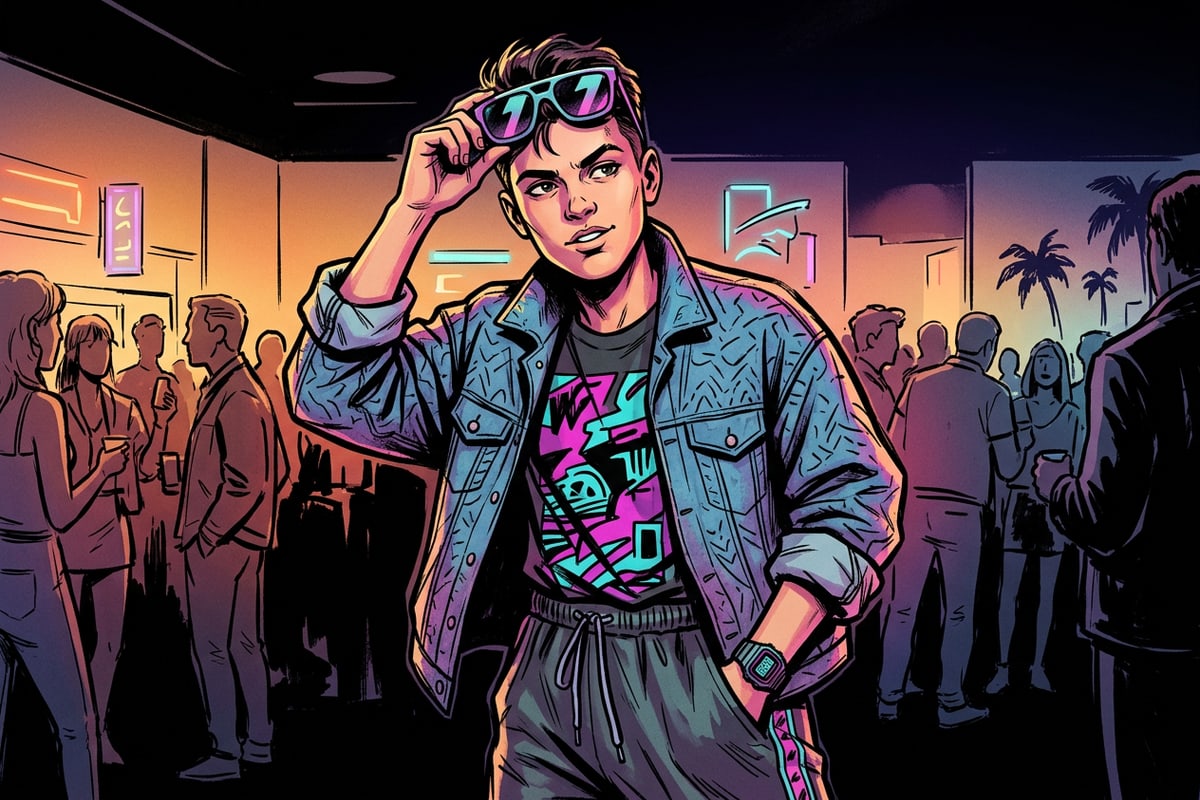
- Early Digicam Indoor Portrait: "A candid indoor party portrait lit by an on-axis direct strobe, high contrast foreground, muted background, subtle CCD sensor texture, authentic late 90s compact camera feel."[1][3]
Step-by-Step Mobile Workflow with CARA Agent on iOS
How to transform daylight or ambient photos into direct-flash snapshots on iOS using natural chat instructions.
Transforming your photos on iOS into retro point-and-shoot snapshots is straightforward when using natural language chat workflows. Through CARA's Conversational Photo Editing in the CARA Agent experience, you can describe lighting changes, re-light ambient scenes, and refine details in plain English.
When transforming scenes, you can also combine lighting adjustments with specialized tools. If unwanted background elements distract from your flash effect, use AI Eraser to clean up cluttered areas. For surreal prop swaps, consult our guide on mastering AI Replace object swaps to integrate retro party props seamlessly.[3]
- Step 1: Open CARA Agent and Upload Your Photo
Launch CARA on your iPhone or iPad, start a new chat session in the CARA Agent, and select an ambient portrait or indoor photo.
- Step 2: Request Direct Flash Relighting
Type a clear conversational request specifying direct flash physics, such as: "Relight this photo with an intense direct frontal camera flash, high contrast, and dark background light falloff."[1]
- Step 3: Refine Scene Elements and Background
Use natural chat commands to tweak lighting balance, or use AI Eraser to remove distracting background clutter that breaks the dark falloff effect.[3]
- Step 4: Generate or Swap Complementary Props
Enhance the retro mood by using AI Replace to swap modern items like smartphones or smartwatches for classic party accessories or vintage polaroids.
Pro Tips for Authentic Retro Digital Results
Diagnostic fixes and source selection guidelines to avoid over-processed AI artifacts.
Achieving a believable direct-flash portrait requires balancing sharp contrast with realistic skin texture and natural shadow placement. AI models can sometimes over-expose skin or generate unrealistic shadow angles if the prompt lacks physical boundaries.[1]
To master additional atmospheric visual styles like long-exposure street photography, review our tutorial on motion blur AI photo editing prompts to combine flash effects with dynamic movement.
- Choose Flat Ambient Source Photos: Source images with soft, even ambient light relight much more cleanly than photos with strong existing side directional light.[1]
- Preserve Facial Skin Texture: Instruct the model to maintain facial details with prompts like "keep natural skin pore texture, avoid smooth plastic blur" alongside flash requests.[1]
- Clean Cluttered Backdrops: Direct flash works best when background distance allows rapid light decay. Darkening or erasing bright background distractions emphasizes foreground flash punch.[1][2]
- Balance Sensor Texture and Film Grain: Specify whether you want organic 35mm film grain for an analog look or CCD noise for an early 2000s digital compact style.[1][3]