Direct Answer: What is AI Replace and How Does It Differ from AI Eraser?
Understand the core technical and creative distinction between subtractive object removal and additive generative element swapping.
Mobile photo editing has evolved beyond basic cleanup. While traditional cleanup tools remove distractions to simplify an image, generative element replacement synthesizes brand new visual details based on your exact text instructions.[1][2]
An AI eraser functions subtractively: you highlight an unwanted object, and the model analyzes surrounding background textures to patch the hole smoothly. In contrast, an AI replacement tool operates additively using generative diffusion models.[1][3]
When you mark a target region and enter a prompt, the generative engine analyzes the surrounding illumination, focal depth, and perspective. It then builds a completely new subject inside the masked area that looks like it was originally captured by your camera lens.[2][4]
- Subtractive AI Eraser: Removes unwanted objects and fills the void with nearby background texture.[1]
- Additive AI Replace: Replaces selected objects with entirely new items generated from your text prompts.[2][3]
- Lighting Integration: Evaluates environmental light to generate plausible reflections and contact shadows.[1][4]
3 Creative Applications: Elevating Photo Storytelling Beyond Simple Cleanup
Discover creative ways to swap mundane props for surreal metaphors, playful narratives, and high-fashion styling.
Replacing photo elements unlocks visual storytelling possibilities that go far beyond standard retouching. By swapping everyday handheld props or outdoor features, creators can craft captivating images that stand out on social media feeds.[2][3]
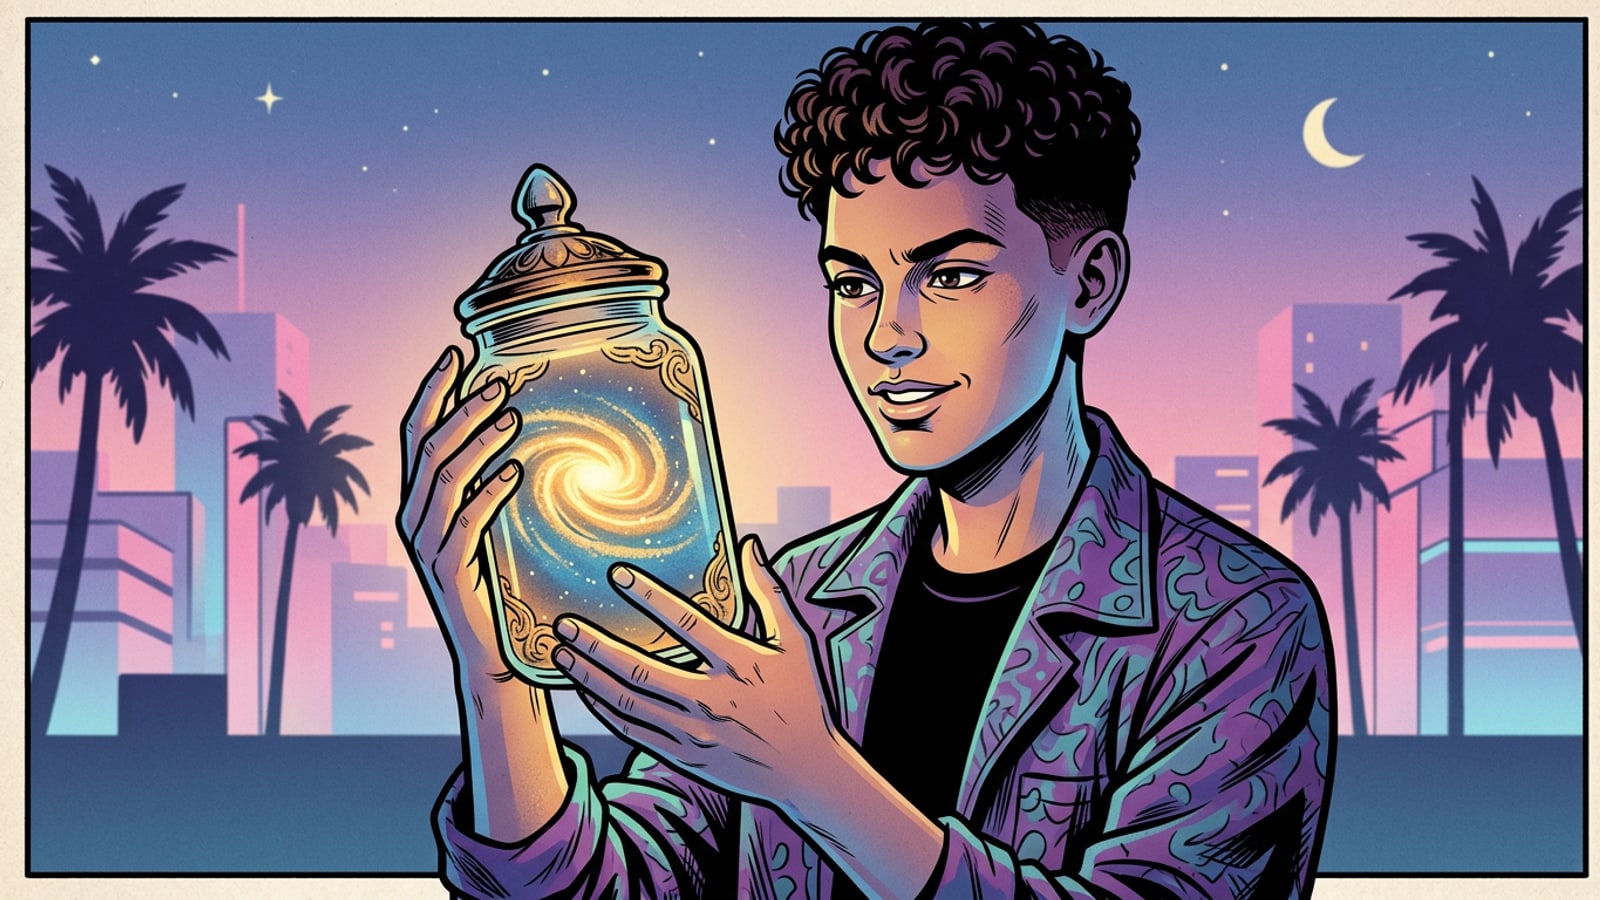
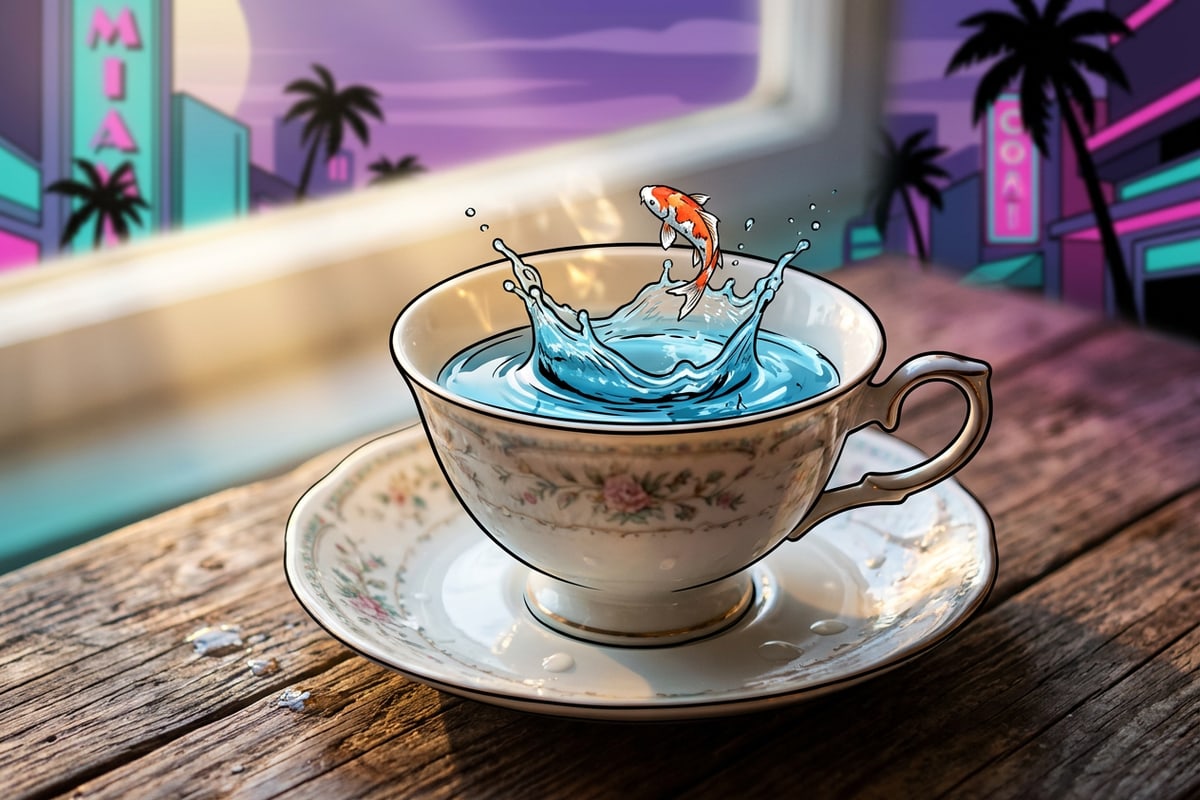
Surreal Concept Swaps: Transform mundane glass objects like coffee mugs or jars into glowing miniature galaxies or mini ocean waves with aquatic life. The underlying generative engine matches the curves of the container to maintain realistic refraction.[3]
Playful Storytelling: Swap everyday items like a folded umbrella or briefcase into unexpected objects like a cluster of pastel helium balloons or a vintage boombox to introduce humor and charm.[2]
Editorial Fashion Styling: Replace simple accessories—such as a basic hat brim or plain scarf—with organic floral crowns, woven glowing vines, or sculptural metallic elements for high-impact portrait styling.[3][4]
- Surreal Metaphors: Liquid into mini oceans, light bulbs into floating galaxies, or paper books into glowing portals.[3]
- Humorous Narrative Swaps: Walking sticks into oversized candy canes or smartphones into retro cassette players.[2]
- Artistic Portrait Swaps: Standard neck ties into draped silks or plain sunglasses into reflective mirrored goggles.[4]
Step-by-Step Workflow: Performing Seamless Object Swaps in Cara on iOS
A practical guide to uploading photos, applying generous masks, and generating element swaps using Cara on iOS.
Executing high-quality element swaps on your iPhone or iPad requires a methodical workflow. Cara provides an intuitive interface designed for mobile creators seeking swift, high-fidelity results.
In Cara on iOS, the AI Replace tool is accessible under Home > AI Editing > AI Replace. Each generation attempt costs 30 points and processes cloud-based generative inpainting to match your prompt.
For creators who prefer a conversational approach, Cara Agent under Home > Agent allows you to request photo edits directly in natural language.
- Launch Cara and Select AI Replace
Open the Cara app on your iOS or iPadOS device. Navigate to Home > AI Editing > AI Replace and select the source photo from your camera roll.
- Generate and Review Your Output
Tap generate to process the swap (30 points per generation). Review the composite for natural edge integration and perspective alignment.
Pro Prompting Framework and Ambient Lighting Matching Tips
Master the Subject + Material + Lighting prompt recipe to ensure generated items match your scene's perspective and luminance.
The secret to convincing generative swaps lies in prompt architecture. Simply naming an object often yields generic textures that look out of place under your photo's specific lighting conditions.[1][3]
To achieve photorealistic results, use the Subject + Material + Lighting prompt framework. State what the object is, describe its surface physical properties, and explicitly match the ambient light source of your background photo.[1][3]
For instance, if your base photo was taken during sunset, append 'illuminated by warm golden hour side-light, soft directional shadows' to your prompt. This instructs the diffusion model to generate consistent specular highlights.[3][4]
- Subject Identifier: Specify the primary object precisely (e.g., 'antique brass lantern' rather than 'lamp').[1]
- Material & Texture: Define surface properties like 'tarnished copper', 'smooth hand-blown glass', or 'matte ceramic'.[3]
- Lighting & Reflections: Match environment light (e.g., 'soft overcast diffuse lighting', 'dramatic neon blue glow').[1][3]
- Mask Padding Technique: Always paint 5-10% beyond target edges so contact shadows blend seamlessly into background surfaces.[2][4]

Actionable Takeaways and Community Creative Challenge
Key recommendations for mastering generative element swaps and an invitation to participate in creative photo challenges.
Mastering generative object replacement turns everyday photo sessions into playground opportunities for digital art. By replacing mundane props with imaginative concepts, you elevate simple snapshots into memorable visual art.[2]
Remember to maintain realistic scale, apply generous mask padding, and match environmental lighting in every prompt you write.[1][3]
Download Cara from the Apple App Store for iOS and iPadOS to explore AI Replace and conversational editing with Cara Agent today.