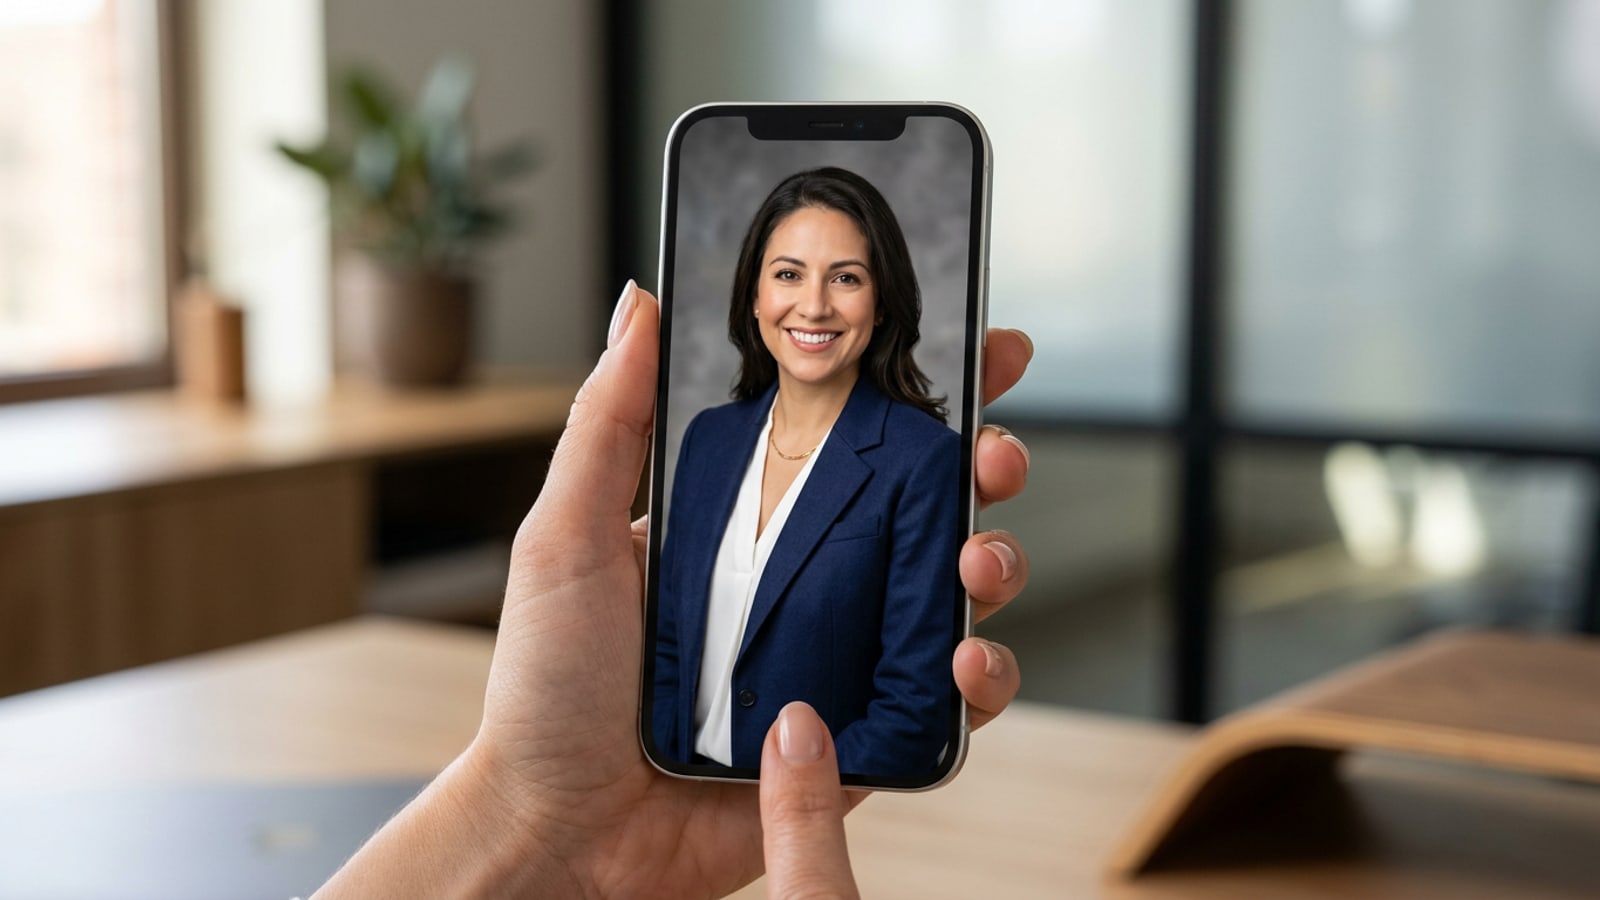
Why Selective AI Editing Beats Fully Synthetic Headshot Generators
Discover why modifying specific elements like clothing and backdrops on an authentic base selfie builds greater recruiter trust than generated AI avatars.
When job seekers upgrade their professional image, many turn to fully synthetic AI portrait generators. However, completely artificial face generation often produces overly smoothed skin, distorted earlobes, and altered eye catchlights that disrupt genuine recognition. LinkedIn profiles featuring authentic professional headshots receive 14 times more profile views and 36 times more direct recruiter messages, making natural recognition essential for career opportunities.[1]
Instead of replacing your entire face with an artificial avatar, diagnostic repair editing focuses solely on updating casual clothing and distracting room backgrounds. By keeping your original facial geometry, skin texture, and eye reflections intact, you preserve total authenticity while elevating your professional presentation.[1][3]
- Preserves your true facial features, eye catchlights, and distinct age markers for genuine interview alignment.[1]
- Eliminates uncanny valley facial smoothing caused by end-to-end text-to-image AI portrait generators.[3]
- Allows precise control over business attire textures and neutral studio backdrops.
Step 1: Diagnose and Capture the Ideal Base iPhone Selfie
Learn how to frame and illuminate your base selfie to maximize background separation and AI replacement quality.
The foundation of a convincing AI headshot edit is a high-quality base photo. Soft, natural light eliminates harsh shadows that interfere with subject cutouts and element replacement.[2]
Position yourself facing a large window during morning or afternoon daylight. If the sunlight is overly intense, diffuse it with a sheer white curtain to create balanced, wrap-around lighting across your face.[2]
- Position your iPhone camera at eye level, roughly two to three feet away, to maintain natural facial proportions.[2]
- Frame your photo from the chest up, leaving ample head space for LinkedIn's circular profile crop.[1][2]
- Look directly into the camera lens rather than the screen to establish strong eye contact.[1]
- Set Up Window Lighting
Face a north- or east-facing window to direct soft, indirect daylight onto your face, creating clear catchlights in your eyes.[2]
- Frame with Front or Rear Lens
Use the front selfie camera with a 2-second timer at eye level for easy framing, or mount your phone on a tripod using the rear lens for maximum detail.[2]
- Maintain Neutral Posture
Relax your shoulders, lift your chin slightly, and hold a comfortable smile to convey warmth and professional approachability.[1]

Step 2: Repair Casual Attire with AI Replace
Master targeted clothing selection and copyable prompt formulas to replace T-shirts or hoodies with tailored business wear.
Swapping casual clothes for corporate attire on iOS requires precise mask boundaries and detailed prompt wording. In CARA, open AI Replace under AI Editing and brush over your clothing.
The most critical rule is the Preservation Masking Rule: stop your mask selection at least two millimeters below your jawline and chin. Including skin or jawline inside the mask causes generative algorithms to alter your face shape.[3]
- Mask the casual shirt, shoulders, and collar area completely down to the bottom of the photo frame.
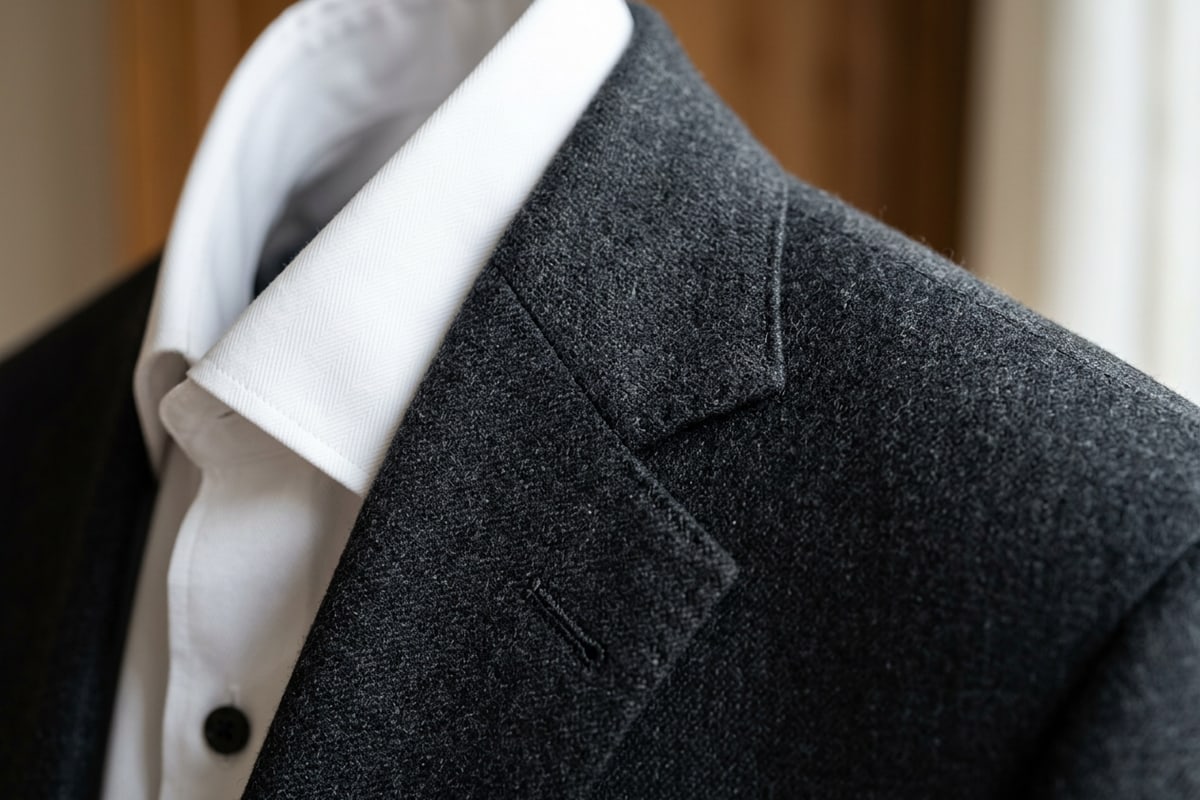
- Include descriptive fabric terms in your prompt like 'charcoal wool blazer' or 'tailored navy suit jacket' to avoid flat, synthetic renders.[3][4]
- Check our complete guide on virtual outfit swaps on iPhone for advanced garment layering techniques.
- Select the AI Replace Tool
Upload your base selfie into CARA and select AI Replace from the AI Editing menu.
- Apply Precision Masking
Brush carefully over your casual clothing, maintaining a 2mm gap below your chin and neck skin boundaries.[3]
Step 3: Swap Distracting Backgrounds for Corporate Studio Lighting
Isolate your portrait from household clutter and set up a soft neutral backdrop using automated background removal and natural language tuning.
A cluttered kitchen or bedroom background immediately signals an informal photo. Using CARA's Remove Background feature, you can isolate your portrait subject cleanly from surrounding room clutter.[1][8]
Once isolated, pair your headshot with a subtle, neutral backdrop—such as solid warm grey, textured slate, or an out-of-focus modern office setting. For subtle lighting adjustments or hue balance between your subject and backdrop, you can converse directly with Cara Agent using natural language commands.
- Select neutral studio shades like dark grey, navy, or off-white to maintain focus on your face.[1][7]
- Ensure backdrop lighting direction matches the key light source on your original face photo.[2]
- Learn how to expand standard photo dimensions seamlessly with our guide on extending square photos into vertical stories.
- Remove Room Clutter
Run Remove Background to automatically cut out your subject from messy home backgrounds.
- Fine-Tune Lighting with Cara Agent
Prompt Cara Agent with requests like 'Warm up facial lighting slightly to match the grey studio background' for seamless visual harmony.
Step 4: Format, Inspect, and Export for LinkedIn Specifications
Perform quality checks for masking artifacts and adjust crop dimensions to meet official LinkedIn profile standards.
Before uploading your new headshot to LinkedIn, conduct a close inspection around hair strands, shoulder seams, and collar boundaries to verify there are no jagged edges or AI distortion artifacts.[1]
LinkedIn displays profile pictures inside a circle, so your photo must remain centered when cropped square. Ensure your eyes are positioned roughly one-third down from the top of the circular frame.[1][5]
- Export your finished portrait as a high-resolution PNG or JPEG file.[1]
- Verify that collar edges and shoulder contours transition smoothly into the new backdrop.[3]
- Check that facial skin tone remains natural and free from unwanted AI smoothing filters.[1]
- Perform 100% Zoom Quality Inspection
Zoom in on hair borders, chin edges, and lapels to catch any lingering edge fringing or blur artifacts.
- Export and Upload
Save your image to your iOS Photos app and upload directly to your LinkedIn profile.