Why Single-Swipe Object Removal Fails on Intricate Travel Backgrounds
Understand the technical limits of single-pass AI erasure when working with repeating textures and detailed historic architecture.
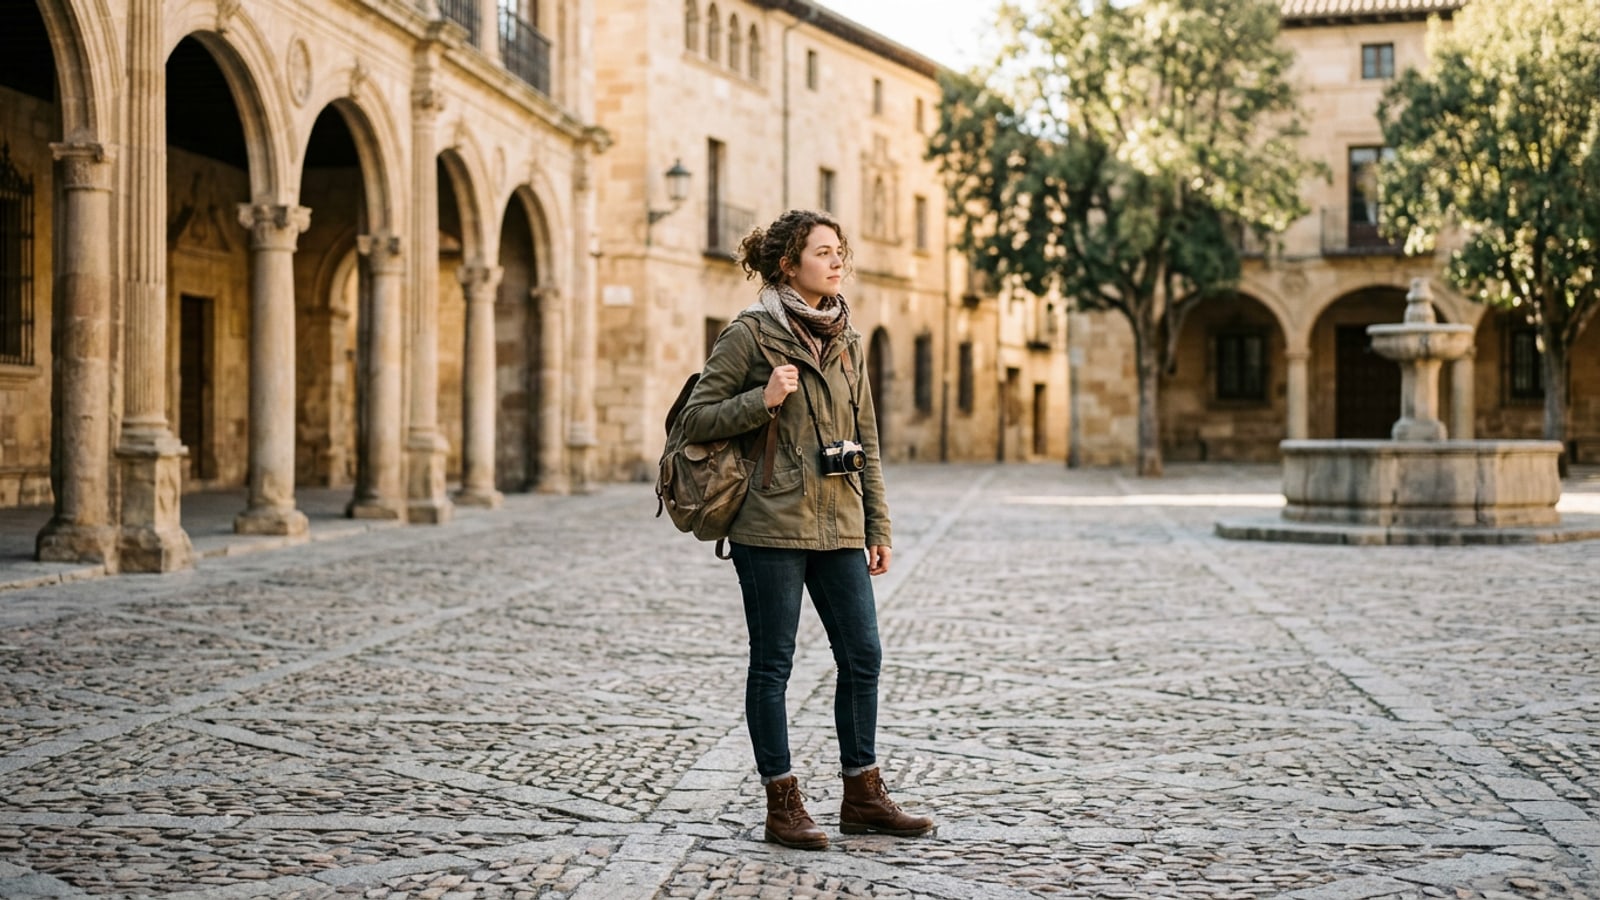
Capturing pristine travel photographs at iconic historical landmarks is a constant challenge for mobile creators due to dense, unpredictable tourist crowds. When editing on iPhone, a common instinct is to make a single wide selection across an entire cluster of background strangers in one go. However, sweeping across broad areas forces generative neural models to extrapolate missing visual context across expansive blank regions without sufficient local structural anchors. On complex architectural surfaces such as historic cobblestones, colonnades, or tiled plazas, this single-pass approach forces the underlying inpainting model to guess structural alignments over wide distances.[1][2]
Traditional optical clone stamping copies explicit pixel blocks from a user-designated source region to a target area, which preserves local pixel sharpness but inevitably creates unnatural repeating grid artifacts and abrupt perspective breaks across angled masonry. Modern generative AI inpainting operates differently by evaluating surrounding structural vectors, light falloff, and texture distributions to synthesize entirely new pixels that fit the scene physics. When a selection is too wide, the AI model lacks immediate surrounding reference anchors, causing it to hallucinate blurry patches, smudged ground textures, or distorted structural lines across historic stone facades.[1][4]
- Generative inpainting analyzes surrounding structural vectors and light falloff to predict missing visual details rather than simply copying pixel blocks.[1][4]
- Broad single-pass selections strip the AI engine of nearby reference context, causing smudged pavement and broken architectural perspective lines.[1][2]
The Multi-Pass Brushing Methodology for Crowded iPhone Travel Shots
Master an incremental object removal strategy combined with boundary extension to reconstruct stone pavement cleanly.
To overcome the limitations of wide single-swipe erasure on mobile devices, photographers should adopt a procedural multi-pass editing methodology. Rather than attempting to eliminate an entire crowd at once, break the scene down into isolated, sequential targets. By selecting individual background figures or small clusters starting from the furthest depth layer and working forward, you allow the generative engine to establish stable, unoccluded ground reference patches before addressing adjacent subjects.[1][3]
A critical technical rule in this multi-pass workflow is the 5% to 10% boundary extension principle. When an object selection mask is drawn too tightly along a person's jacket, hair, or limbs, high-contrast edge pixels contaminate the boundary zone during neural synthesis. This interpolation failure results in muddy edge halos, dark smudges, or unnatural color bleeding along reconstructed surfaces. Extending your selection boundary 5% to 10% beyond the subject's outer contour provides the neural model with clean adjacent stone and sunlight context, enabling smooth edge blending without visible artifacts.[1][3]
- Structure your edits in sequential passes, eliminating distant background bystanders first to build an unoccluded ground context.[1][3]
- Expand object selection boundaries 5% to 10% past clothing and hair edges to eliminate dark halos and color bleeding along stone surfaces.[1][3]
Reconstructing Repeating Architectural Patterns and Curved Colonnades
Apply targeted section isolation to maintain precise linear symmetry across historic pillars, arcades, and patterned stone.
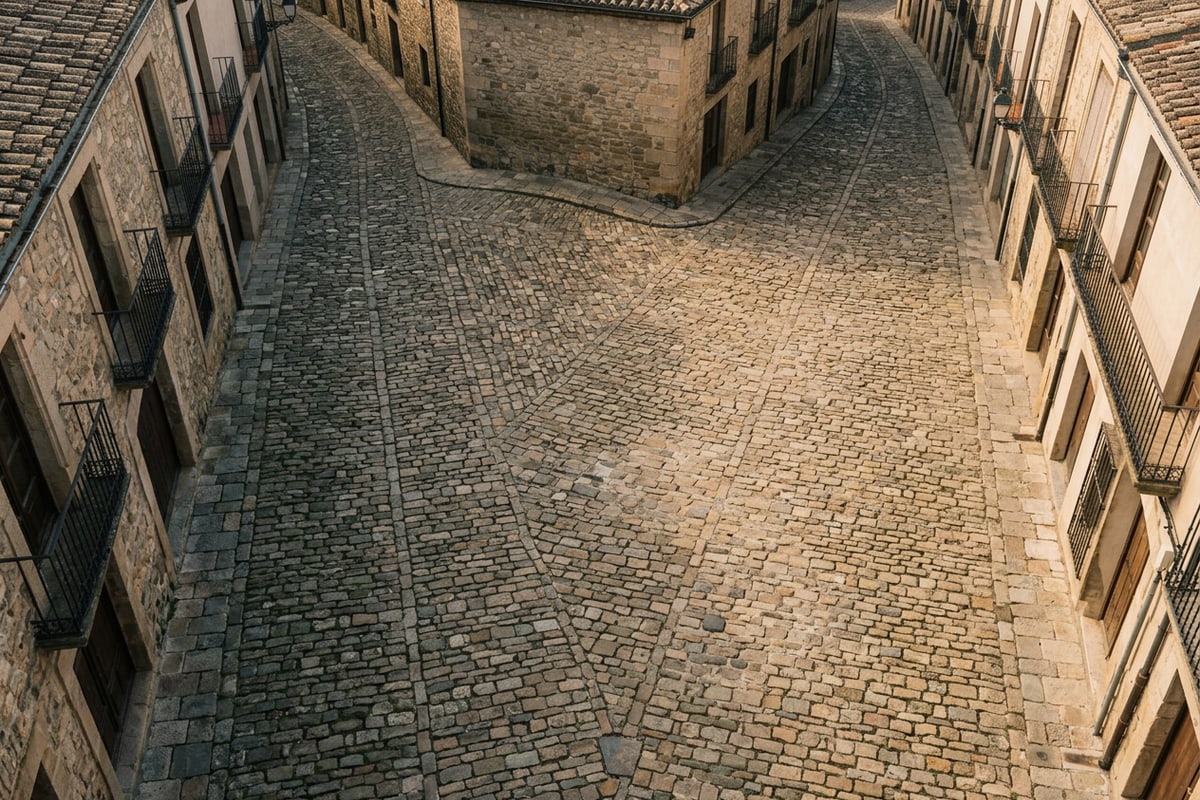
Historic monuments frequently feature complex repeating architectural geometries, such as vaulted arcades, stone colonnades, concentric brick arches, and intricately patterned pavement tiles. When tourists occlude parts of these repeating structures, removing them requires preserving continuous geometric symmetry. Selecting a subject that covers multiple structural elements simultaneously causes generative models to break linear continuity, resulting in sagging archways or misaligned pillar bases.[1][2]
To maintain geometric precision when restoring arched arcades or repetitive stone pillars on iPhone, isolate each structural segment individually. Erase the portion of a subject obstructing a single pillar before addressing adjacent elements. This technique allows the neural engine to sample the intact, exposed structural intervals on either side and extrapolate symmetrical curves and parallel lines cleanly. If your travel shot also requires expanding the overall composition for vertical video or story formats, you can pair this technique with specialized tools like CARA Image Extender to naturally expand canvas borders beyond the original shot without cropping critical architectural details.[1][2]
- Isolate subject removals section-by-section across repeating pillars or arches to prevent the neural engine from distorting symmetrical geometric lines.[1][2]
- Leverage exposed structural intervals on both sides of a tourist to give the AI precise reference angles for reconstructing parallel masonry.[1][2]
Handling Shadows, Reflections, and Secondary Urban Clutter
Eliminate ground contact shadows and street distractions to maintain natural lighting physics across historic plazas.
Removing the physical body of a tourist is only half the battle in travel photography restoration. Photobombers cast distinct directional ground shadows and subtle reflections across polished stone or wet cobblestones. If an editor erases a subject's torso and legs but leaves their contact shadow intact on the ground, the final image immediately feels artificial, creating the illusion that remaining elements are floating in mid-air.[2][3]
To achieve physical realism across historic plazas, every object removal selection must encompass both the subject and their corresponding ground contact shadow. Furthermore, travel scenes are often burdened by secondary urban clutter, such as metal barrier ropes, trash receptacles, construction cones, and directional signage. Executing dedicated cleanup passes on these minor visual distractions after clearing primary tourist crowds strips away modern clutter and allows the AI engine to lock in a seamless, timeless architectural landscape.[2][3]
Step-by-Step Workflow in CARA AI Eraser on iOS
Follow a practical mobile workflow using CARA AI Eraser and Image Extender on your iPhone.
Executing a multi-pass tourist removal workflow on iOS is efficient with CARA. Located under Home > AI Editing > Object Removal, CARA AI Eraser uses context synthesis to reconstruct background detail directly on your mobile device at a fixed cost of 30 points per generation attempt. Because complex or multi-layered architectural scenes may require another attempt, reviewing each generation before committing to subsequent edits guarantees structural fidelity.
If adjusting tourist distractions or lighting reveals that your source image suffers from dull or unbalanced natural light, you can complement your object removal workflow by exploring conversational AI adjustments in CARA Agent under Home > Agent to adjust atmosphere and lighting using simple natural language requests. If your final edited photo needs expanded framing for social media platforms, CARA's Image Extender tool expands canvas borders naturally beyond the original edges.
- Open CARA and Navigate to Object Removal
Launch CARA on iOS, navigate to Home > AI Editing > Object Removal, and import your crowded travel photograph.
- Review Architectural Alignment and Refine Frame
Examine detailed cobblestone lines and colonnades at 100% zoom. If required, use CARA Image Extender to expand canvas margins naturally for vertical story displays.