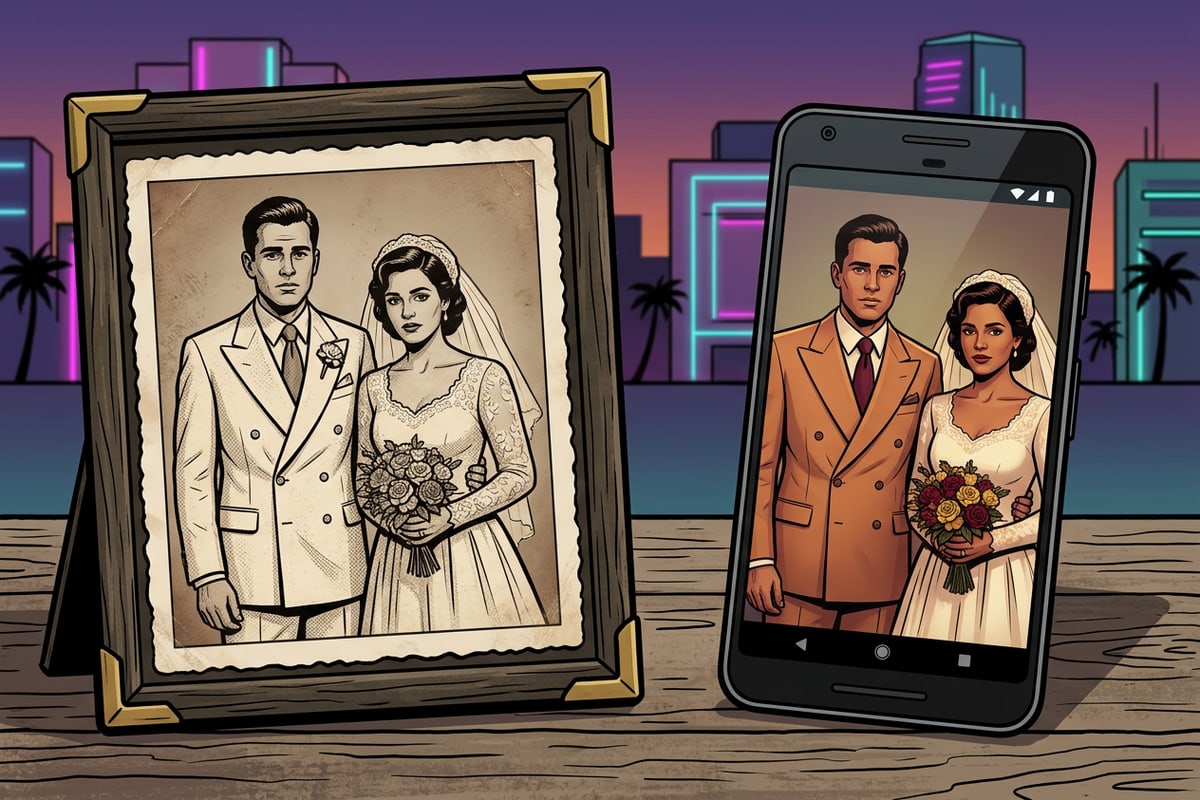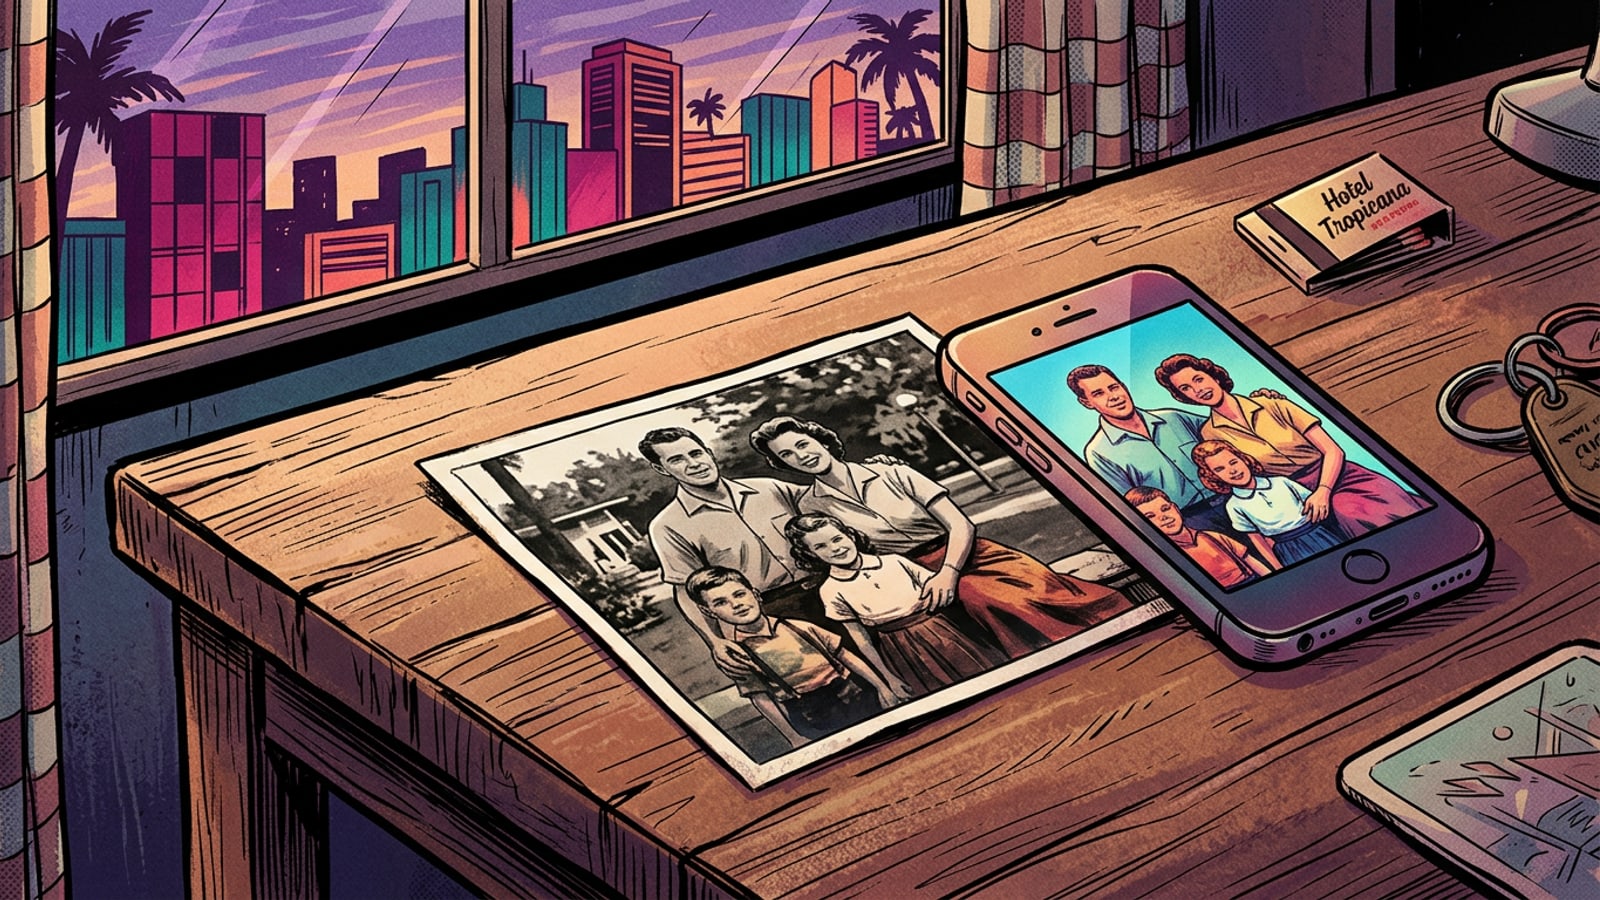
How to Colorize Black and White Family Photos on iPhone with AI
Revive vintage family heritage photographs directly on iOS using fast automated AI color estimation without manual painting or technical expertise.
Vintage black-and-white photographs preserve irreplaceable family history, but aging monochrome prints often feel distant to modern generations accustomed to full color. Historically, bringing a decades-old family portrait into color required specialized desktop graphic design software, digital tablets, and hours of tedious manual brush masking across skin tones, clothing folds, and environmental backdrops.
Modern computer vision algorithms on mobile devices have completely transformed physical photo restoration. By leveraging deep neural networks trained on vast catalogs of modern photographic imagery, iOS devices can now analyze the subtle luminance grayscale variations in vintage prints and automatically estimate plausible color palettes in seconds.
This direct step-by-step tutorial guides you through digitizing your physical family archives using your iPhone camera, optimizing input quality to avoid common artificial artifacts, and running automated AI colorization without touching a manual brush or layer mask.
- Zero manual brush selection, color mixing, or layer masking skills needed.
- Deep neural networks evaluate light distribution and surface textures to infer probable color maps.
- Entirely mobile workflow conducted directly on your iPhone or iPad.[1]
Step 1: Capture a Clean, Glare-Free Digital Scan on Your iPhone
Prepare vintage paper prints for digital colorization by ensuring flat overhead alignment, soft indirect daylight, and ideal camera focus.
The single most decisive factor influencing the realism of an AI-colorized photograph is the visual quality of your digital capture scan. Automated color estimation models map color hues based on subtle contrast variations across the monochrome spectrum; if your scan contains bright camera reflections, direct indoor ceiling bulb spots, or harsh shadows, the AI model misinterprets those visual flaws as subject details, resulting in muddy skin tones or unnatural color splotches.[1]
Avoid using your iPhone built-in camera flash, which creates a localized white highlight near the print center and washes out delicate background details. Instead, set up your scanning area flat on a stable tabletop located next to a large window receiving indirect daylight. Bright, soft window light illuminates original paper grain evenly without burning out essential highlights.
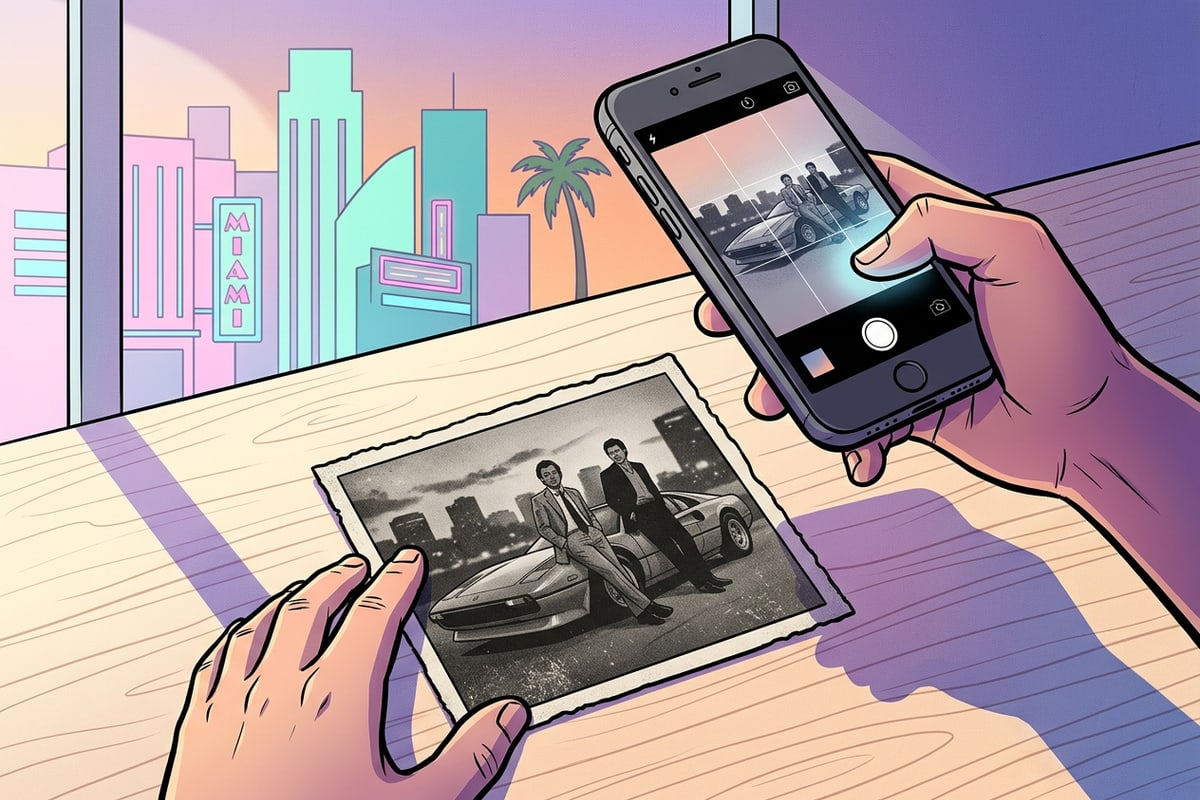
When framing the capture, position your iPhone directly parallel to the photograph at a strict 90-degree overhead angle. Holding the device at an incline causes perspective warping and uneven focus falloff across print corners, confusing the neural model during full-frame color assignment.[1]
- Position physical prints near bright windows with soft, indirect ambient daylight.
- Disable device flash entirely to prevent specular reflection spots on glossy photographic paper.[1]
- Maintain a strict 90-degree overhead angle to prevent optical keystoning and edge blur.[1]
- Establish Flat Indirect Lighting
Place the monochrome print on a non-reflective matte table near a window, ensuring no direct sunlight rays strike the print surface.
- Align iPhone Overhead at 90 Degrees
Hold your iPhone directly above the photo. Enable the built-in iOS Camera grid in Settings > Camera to help level crosshairs perfectly parallel.[1]
- Lock Focus and Capture Exposure
Tap the center subject on your screen to lock camera focus, verify your hands are not casting shadows across the photograph, and tap the shutter.[1]
Troubleshooting Damaged, Faded, or Yellowed Vintage Prints
Optimize aged paper prints affected by sepia discoloration, surface silvering, or heavy fading before passing them to neural color engines.
Vintage photographs printed decades ago often suffer from chemical degradation, silvering metallic sheens, or paper yellowing caused by acidic storage envelopes. When an AI colorization engine ingests a photo scan that has turned yellow or warm brown over time, the neural network mistakes that background paper color tint for original color data, producing overly saturated orange skin tones or brownish backgrounds.
To solve paper yellowing on your iPhone prior to colorization, apply a clean black-and-white filter using the native iOS Photos edit tool. Converting an aged sepia print into a true neutral grayscale file strips out warm yellow discoloration while keeping crisp black shadow values and clean white highlights intact, giving the AI model a pristine foundation.
For prints with physical surface wear, silvering along borders, or surface dust, take a gentle microfiber cloth and clean the print surface before scanning. Avoid liquid cleaners on old paper emulsion. Crop away damaged mounting board borders or silvered print margins inside iOS Photos so the AI colorizer concentrates exclusively on the visual subjects inside the frame.
If you notice that dark shadowy areas on your mobile scan appear muddy or overly compressed before uploading, you can learn how to balance camera exposure using specialized prompts in our guide on fixing over-processed iPhone camera shadows with AI.
- Neutralize sepia and yellow paper discoloration by applying a native iOS Mono or Silvertone camera filter prior to colorizing.
- Crop torn edges, mounting mats, and reflective silvered margins before initiating AI processing.
- Dust physical prints lightly with a dry microfiber optical cloth to remove lint spots.
- Boost native exposure and shadow contrast slightly if dark vintage suits blend completely into dark backgrounds.
- Open Scan in iOS Photos
Select your captured photo scan inside the Apple Photos application and tap Edit.
- Apply Neutral Grayscale Preset
Select Filters and choose Mono or Noir to strip yellow sepia color artifacts from old paper fibers.
- Crop Outer Surface Damage
Use the Crop tool to pull borders tightly around the intact photo image, removing torn paper corners or damaged frame mats.
Step 2: Open CARA and Launch Photo Colorize
Navigate directly to the dedicated Photo Colorize tool within CARA on iOS or iPadOS.
With your cleaned digital scan saved in your iOS Photo Library, open CARA on your iPhone or iPad. CARA integrates high-speed cloud vision processing inside a streamlined mobile interface, allowing users to restore photos without navigating complex desktop menus.[1]
The navigation path to access colorization inside the app is direct and standardized across both iOS and iPadOS devices. Locating the dedicated module ensures your image is routed to neural models trained specifically for monochrome luminance translation.
- Fully supported on both iPhone and iPad devices running current iOS/iPadOS builds.[1]
- Dedicated utility module optimized specifically for single-frame color estimation.
- Direct access route without requiring manual parameter sliders or color balance setups.
- Launch CARA
Tap the CARA app icon on your iOS home screen to open the main workspace.[1]
- Navigate to Photo Colorize
From the main bottom navigation tab, select Home > AI Editing > Photo Colorize.
- Import Your Scan
Tap the photo selector and choose your cropped, glare-free black-and-white scan from your library.[1]
Step 3: Generate Automatic AI Color Estimation
Execute automated colorization to generate realistic skin tones, fabric hues, and background colors in seconds.
Once your monochrome photo scan is loaded into Photo Colorize, initiating the restoration requires just a single tap. Cloud processing servers evaluate the lighting structure, background scenery, and facial features before returning a full-color result in seconds.
CARA utilizes a transparent fixed point model for specialized tools. Processing a photo through Photo Colorize costs exactly 30 points per generation. If any network timeout or server processing disruption occurs during generation, point charges are automatically refunded to your user point balance.[1]
Once generated, inspect the color output closely. Evaluate natural warmth across skin tones, vegetation greens in background trees, and depth in vintage clothing. If you ever want to expand narrow square vintage photos into widescreen wallpaper proportions after colorization, check out our tutorial on expanding square photos into 16:9 wallpapers on iPhone without cropping.
- Fixed rate of 30 points per completed Photo Colorize attempt.
- Guaranteed automatic point refund if processing encounters network failures.[1]
- High-speed cloud processing delivers full-resolution renderings in seconds.
- Tap Colorize
Confirm your photo selection and tap the colorize action button inside CARA.
- Allow Cloud Processing
Wait a few seconds while neural networks analyze grayscale values and synthesize color layers.
- Review and Save
Examine the generated color photograph for natural tone distribution and save the result.
Understanding AI Color Estimation vs. Historical Reality
Manage creative expectations by learning how computer vision models infer color patterns rather than reading historical dye data.
To fully appreciate AI photo restoration, family archivists must understand the fundamental physical boundary of monochrome media. A black-and-white silver-halide photograph records only light intensity (luminance); it contains zero hidden chemical information about original color hues (chrominance).
When an AI colorizer processes a vintage portrait, it does not 'recover' lost pigments. Instead, the underlying computer vision model evaluates structural patterns—such as the texture of a wool suit, the visual shape of an oak tree leaf, or the contrast ratios of human cheeks—and matches those patterns against millions of full-color photographic training examples.
Because of this pattern-matching process, common natural elements like blue skies, green grass, brown tree bark, and human skin tones are predicted with remarkably high statistical accuracy. However, highly specific artificial choices—such as whether a 1940s dress was navy blue or dark red, or whether a vintage automobile was emerald green or burgundy—represent intelligent predictions rather than verified historical facts.
Understanding this distinction helps frame AI colorization as a wonderful visual tool for bringing emotional resonance to family memories, rather than an indisputable historical archive record.
- Monochrome photos store lightness values only; no original physical pigment data exists in silver emulsion.
- Neural networks match structural visual patterns against modern color image datasets.
- Natural environmental elements yield very high prediction accuracy due to universal color consistency.
- Specific fabric dyes, eye colors, and painted objects represent statistical guesses rather than historical proof.