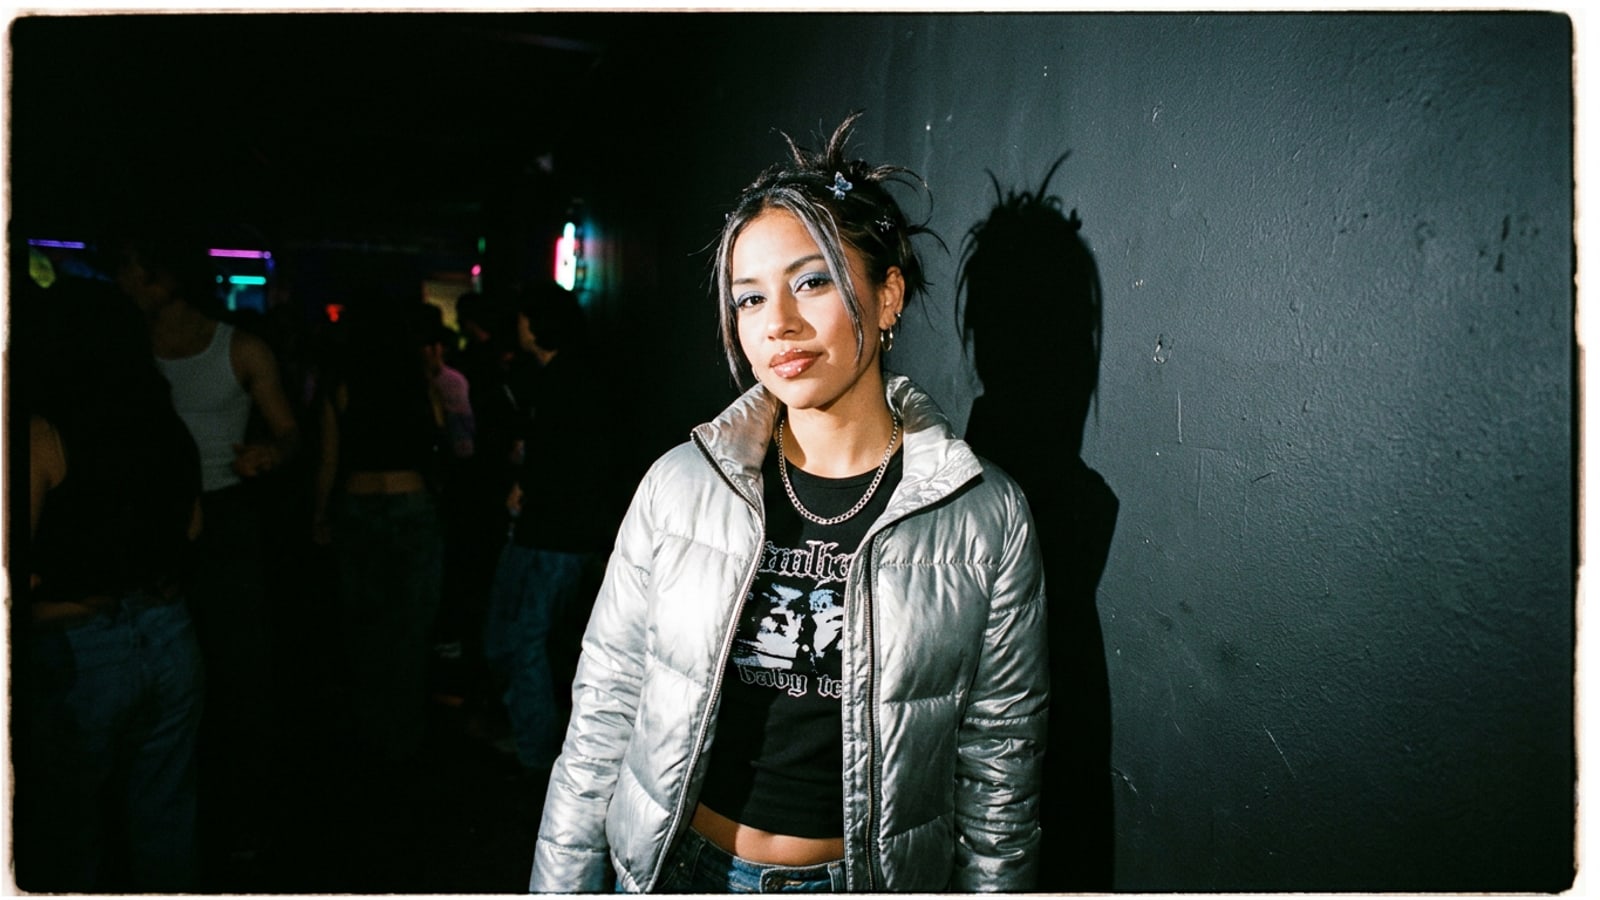
The Direct-Flash Revival: Why Y2K Digicam Lighting is Trending
Explore the cultural movement back to high-contrast early 2000s snapshot aesthetics and how direct flash contrasts with modern smartphone multi-frame processing.
In an era where modern smartphone cameras automatically tone down harsh shadows and balance bright exposures through multi-frame HDR processing, younger creators are actively embracing the raw energy of early 2000s direct flash photography. The deliberate return to point-and-shoot camera aesthetics offers an unpolished, high-contrast visual style that feels immediate and authentic compared to heavily smoothed computational photography.[1][2]
Unlike diffuse studio lighting or soft ambient room light, direct camera flash introduces bright specular highlights on skin and clothing while casting dramatic shadows directly behind the subject. Recreating this aesthetic digitally requires more than just applying a warm color filter; it demands realistic light recalculation across the portrait surface.[1]
- Computational HDR versus Direct Flash: Modern iPhone processing balances highlights and shadows to preserve dynamic range, whereas Y2K digicams intentionally overexpose foreground subjects and crush dark backgrounds.[1][2]
- Cultural Resonance: The aesthetic reflects a broader youth culture movement seeking vintage snapshot realism and moody evening party photography.[2]
Optical Anatomy of Y2K Flash Photography
Understand the four physical lighting markers that define authentic early 2000s compact camera snapshot illumination.
To guide a conversational AI model effectively, creators must understand the physical optics behind compact film and early digital cameras. Point-and-shoot cameras mounted a small, un-diffused xenon flash tube right next to the lens axis, creating unmistakable lighting physics.[3]
The primary structural driver of this look is light falloff governed by the inverse-square law. Because light intensity drops significantly over distance, a bright direct flash heavily illuminates the immediate subject while allowing the surrounding background to fall rapidly into deep, atmospheric darkness.[1][3]
- Frontal On-Axis Lighting: The light source travels parallel to the camera view, eliminating soft side shadows on the face and emphasizing frontal specular sheen.[3][4]
- Inverse-Square Shadow Falloff: The intensity of light decreases exponentially with distance, creating high-contrast separation between subject and background.[3]
- Sharp Hard Drop Shadows: Off-center flash alignment creates a crisp, dark silhouette outline cast directly onto nearby walls or background surfaces.[1][4]
- Digital Sensor Noise and Specular Gloss: High-intensity flash reflects off glossy lips and cheekbones while adding fine, subtle sensor noise in dark regions.[2][4]
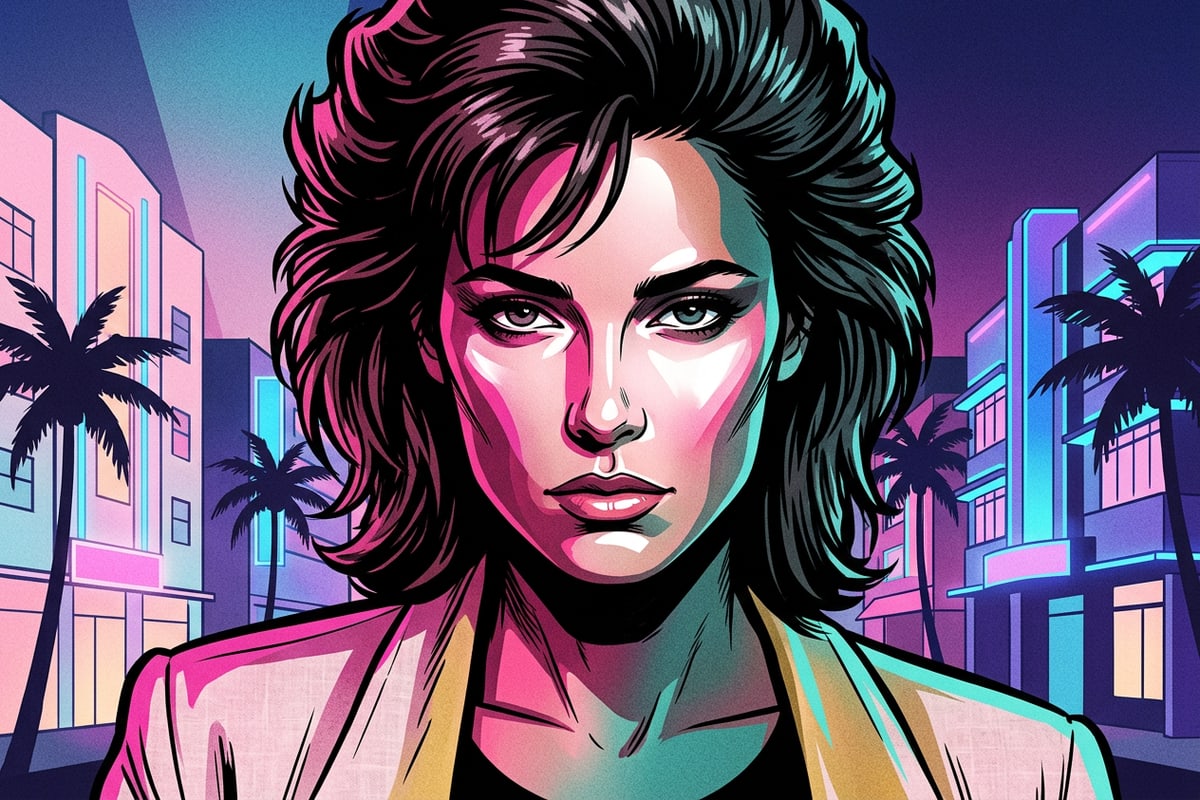
The 4-Part Conversational AI Flash Re-Lighting Prompt System
Discover the modular 4-block natural language prompt architecture engineered for conversational AI photo editing.
To convert standard daytime or ambient iPhone photos into believable 2000s flash portraits, generic requests like 'make this retro' are insufficient. Using CARA's Agent experience for conversational photo editing on iOS, you can supply natural language instructions structured into four distinct physical light parameters.[1][4]
By breaking your request into Key Light Placement, Background Falloff, Color Response, and Texture, you give the AI agent precise coordinates to recalculate scene illumination while preserving facial identity.[4]
- Block 1 (Key Light): 'Recalculate scene lighting with a harsh, direct on-camera flash coming from the lens axis, creating bright specular gloss on cheekbones and forehead.'[1][4]
- Block 2 (Background Falloff): 'Crush background exposure according to inverse-square light falloff, darkening ambient room light and projecting a sharp dark drop shadow contour onto the wall behind.'[3][4]
- Block 3 (Color Response): 'Apply punchy contrast with warm tungsten undertones and high-saturation highlights on clothing.'[1]
- Block 4 (Texture & Atmosphere): 'Add subtle fine compact digital sensor grain across shadow areas for an authentic 2000s snapshot feel.'[2][4]
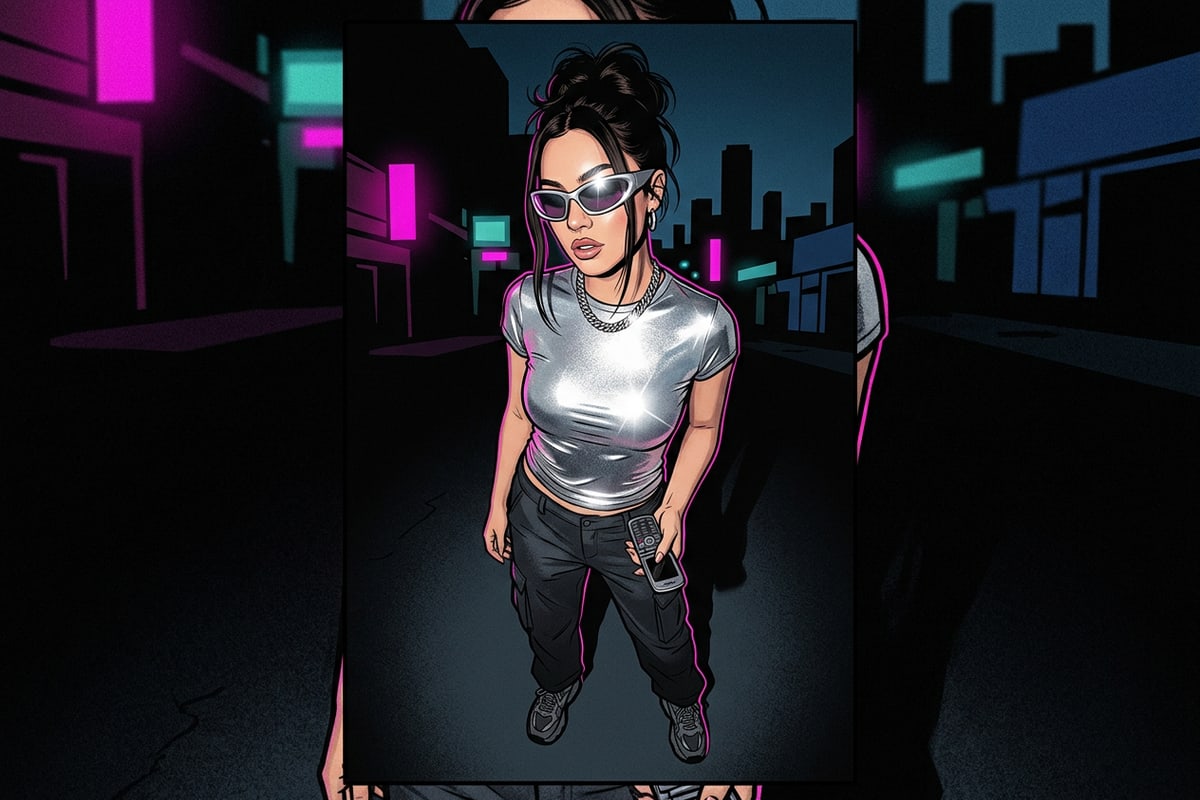
Step-by-Step Tutorial: Re-Lighting iPhone Photos in CARA Agent
Follow this practical workflow to upload ambient portraits and re-light them using natural conversational instructions in CARA on iOS.
Recreating retro direct-flash portraits requires zero complex manual editing skills or external lighting gear. By leveraging CARA's cloud-based conversational photo editing feature on iOS and iPadOS, you can complete the entire transformation through simple chat requests.[2][3]
- Select a Compatible Source Photo
Open your iPhone Photos app and choose a well-focused portrait taken in neutral or low ambient lighting, ideally with the subject facing forward near a wall or dark backdrop.[2]
- Open CARA and Launch Agent Chat
Launch the CARA app on your iOS device and navigate to the Agent section from the home screen to open the natural-language editing chat interface.
- Upload Portrait and Send the 4-Part Prompt
Attach your selected portrait to the chat and paste the 4-part direct-flash re-lighting prompt, asking the AI to adjust lighting physics and background shadows.[4]
- Refine Lighting Intensity via Chat
Review the cloud-processed result. If the shadows look too light or bright, chat back with simple adjustments like 'Make the wall shadow darker and sharpen the direct flash highlights on skin'.
Troubleshooting Lighting Conflicts and Source Image Quality
Learn how to avoid lighting artifacts, fix severe directional sunlight, and maximize AI re-lighting quality.
While conversational AI re-lighting can dramatically alter scene illumination, strong pre-existing light sources in your original photo can create physical conflicts. For instance, strong direct sunlight casting side shadows on a face can confuse AI flash algorithms.[2][4]
For maximum realism, start with portraits taken under soft, diffused indoor light or shaded outdoor settings. If your source image contains unwanted background objects before re-lighting, you can also use CARA's AI Eraser to clear background clutter before applying flash prompts.[4]
- Avoid Direct Daylight Shadows: Strong outdoor sunlight creates opposing shadow directions that clash with direct frontal flash simulation.[2]
- Utilize Neutral Backdrops: Position subjects within 3 to 6 feet of a wall to give the AI space to project dramatic drop shadows.[1][3]
- Iterative Chat Adjustments: Since cloud processing results vary depending on source lighting, refine your prompt in small steps through conversational dialogue.