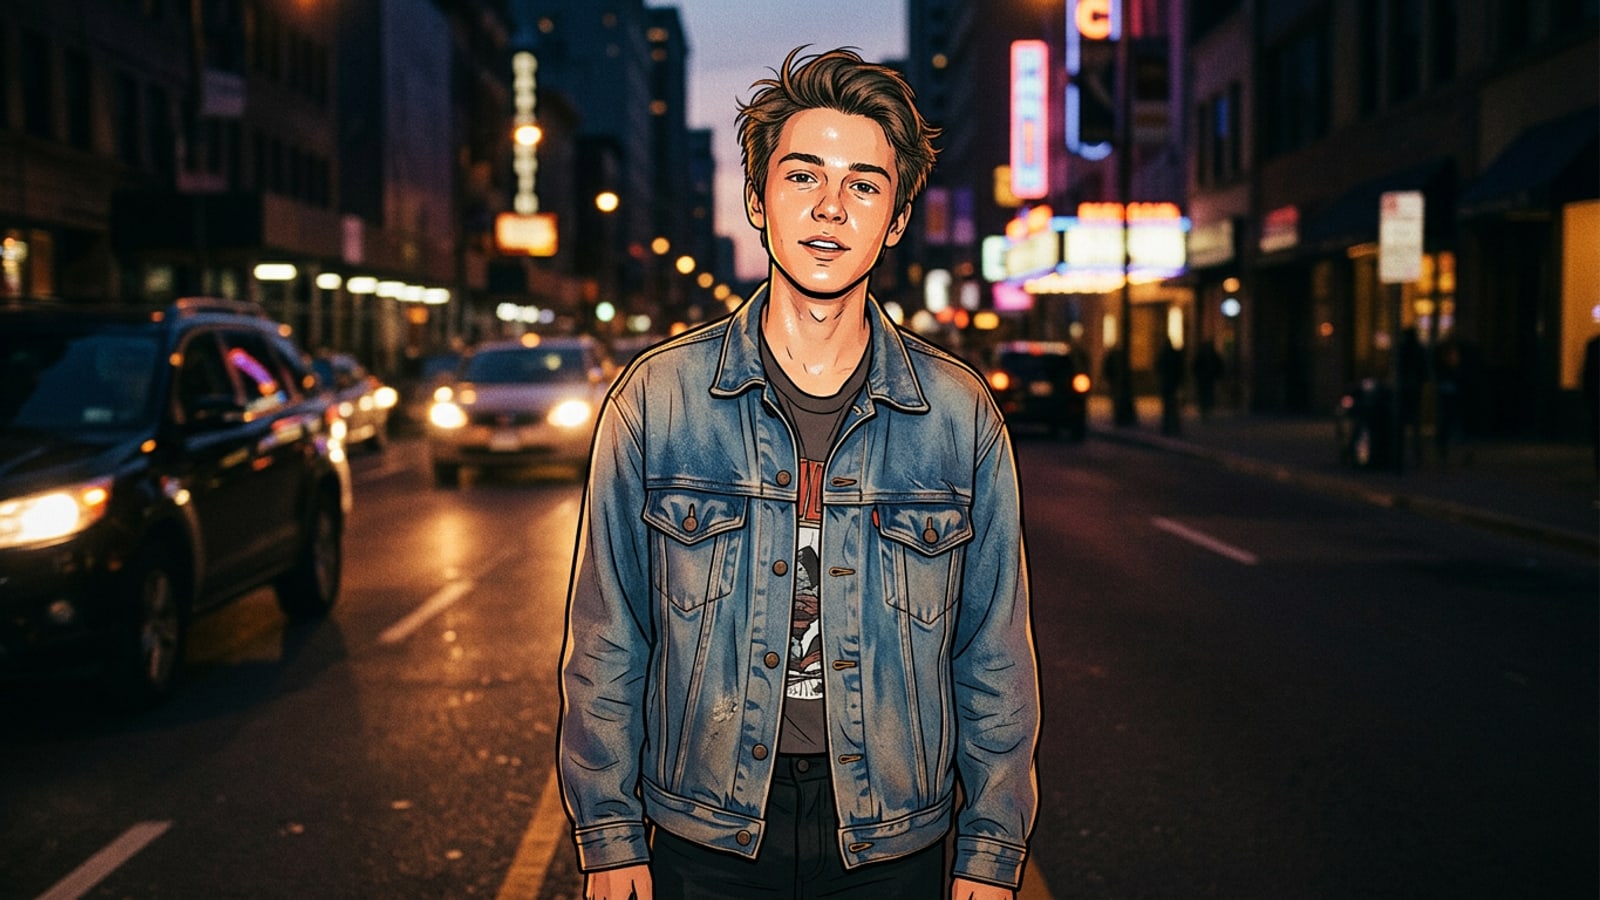
Direct Answer: Recreating the 2016 Instagram Aesthetic on iPhone
Achieve the viral 2016 throwback photo aesthetic by prompting AI tools with explicit optical lighting parameters rather than relying on legacy presets.
To recreate the viral 2016 Instagram aesthetic on an iPhone, capture photos using your built-in direct camera flash or process your existing camera roll images through a conversational AI editing tool. Instead of searching for non-existent legacy filter presets, instruct the AI in natural language to apply frontal point-source direct flash, heavy shadow falloff, saturated amber tones, and lifted matte blacks.[1][2]
By describing the physics of mid-2010s mobile sensors and intense flash illumination, prompt-based editing bypasses modern iPhone dynamic range processing to deliver punchy, candid retro photos instantly.[2]
Deconstructing the '2026 is the New 2016' Social Media Trend
Explore why the 10-year nostalgia cycle is driving Gen Z and Millennials away from hyper-curated minimalist edits toward candid direct flash photography.
Social media visual aesthetics move in periodic waves, and ten years after 2016, creators are actively rejecting the hyper-polished, perfectly balanced look of modern computational photography. Search queries for 2016 photo editing styles have experienced massive growth across global video and search platforms as users look back at an era defined by spontaneous nightlife snapshots and vibrant colors.[1][2]
In 2016, mobile camera hardware had limited dynamic range compared to current sensors. When shot with direct LED flash in low ambient light, photos exhibited bright specular highlights on skin, strong specular reflections on apparel, and rapid light drop-off into dark background shadows.[3]
Generative AI photo editing allows creators to simulate these optical traits on crisp, modern iPhone captures. Understanding these lighting physics enables you to write prompts that precisely trigger throwback color palettes.[3]
The 2016 Prompt Blueprint: Structured Formulas & 3 Copyable Recipes
Use modular prompt architecture to recreate direct flash party shots, sun-drenched warm outdoor portraits, and classic indoor mirror selfies.
Generic prompts like 'make this look retro 2016' often yield inconsistent blur or unwanted grain filters. To achieve authentic mid-2010s camera output, break your text request into four structured core parameters: Lighting Source, Color Saturation, Shadow Profile, and Sensor Grain.[3]
When submitting requests to natural-language photo tools like CARA Agent, framing instructions around camera optics ensures the AI modifies contrast curves and color balances accurately without hallucinating subject features.
- Recipe 1: Direct Flash Nightlife Candid
Copy and paste: 'Apply harsh frontal direct camera flash illumination to the subject. Increase skin specular highlights, create steep dark background falloff, boost color saturation with warm amber undertones, lift black levels to a matte finish, and add fine digital camera sensor noise.'[3]
- Recipe 2: Golden Warm Daylight Saturation
Copy and paste: 'Transform lighting to bright direct warm sunlight fill. Saturate primary colors including blues and yellows, apply a soft warm lens haze across highlights, reduce modern HDR detail recovery in midtones, and set shadow contrast to a classic 2016 warm tone.'[2]
- Recipe 3: Retro Indoor Mirror Selfie
Copy and paste: 'Recreate a 2016 indoor smartphone mirror flash snapshot. Add a bright central flash glare reflection in the glass, warm tungsten interior room lighting, punchy warm skin tones, and low dynamic range shadow compression.'[3]

Step-by-Step iPhone & AI Editing Workflow
Follow a practical editing workflow on iOS from initial photo capture to conversational AI editing and local face privacy protection.
Recreating throwback looks requires combining good camera technique with versatile editing tools. On iOS, you can refine your photo step-by-step using conversational AI requests, targeted generative replacement, and local privacy adjustments before publishing to social media.[3]
For creators sharing archival group photos, respecting peer privacy is essential. Tools that run locally on your device allow you to obscure background faces quickly before sharing your nostalgic edits.
- Capture or Select Your Base Photo
Choose a high-resolution photo from your iPhone camera roll. For best results with direct flash edits, select images shot at eye level in low-to-medium ambient light.[3]
- Process with Conversational AI
Open CARA and enter the CARA Agent conversational photo editing interface. Type your structured prompt describing direct flash falloff and warm saturation to apply the visual transformation.
- Swap Outfits or Elements with AI Replace
If you want to update clothing to match mid-2010s fashion trends, select the clothing area and use AI Replace with instructions like 'change shirt to a vintage bomber jacket' to keep face details intact while altering wardrobe elements.
- Protect Privacy in Group Shots
Before uploading throwback party photos, open the free Face Mosaic tool in CARA to automatically detect and blur multiple faces locally on your iPhone.
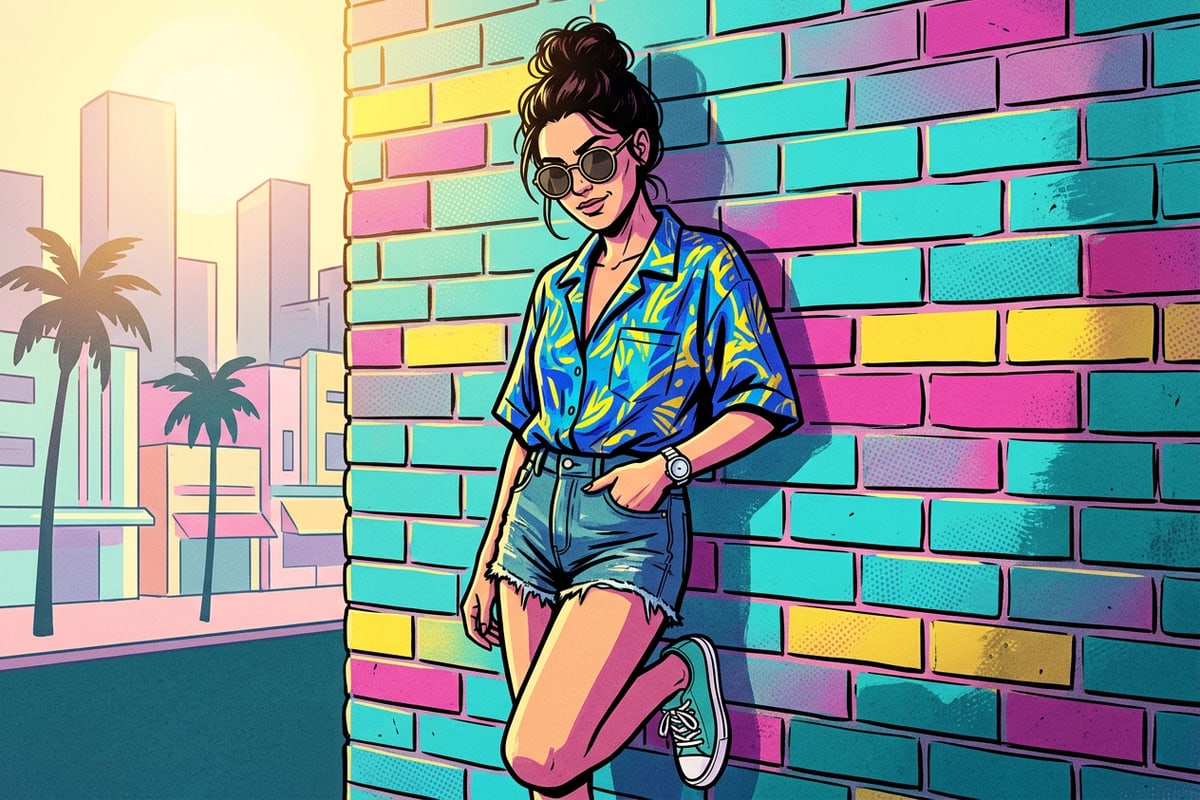
Demographic & Style Adaptation Guide
Adapt retro flash aesthetic parameters across global regions, skin tones, and diverse shooting environments.
The 2016 social media trend exhibits distinct regional nuances across global markets. While North American edits frequently emphasize heavy flash drop-off and party candid vibes, creators in East Asia often favor golden daylight saturation with softer shadow lifts, and European aesthetics lean toward stark high-contrast urban street photography.[1]
When editing portraits across deep skin tones, standard direct flash prompts can sometimes overexpose highlights. Adjust your prompt by specifying 'rich warm bronze skin specular highlights with preserved midtone detail' to maintain natural skin depth while capturing the retro flash aesthetic.[3]
You can also customize your photos further by adding creative text overlays or graphic elements. Learn how to layer bold typography behind your subjects by reviewing our walkthrough on how to create the text behind subject 3D depth effect on iPhone.