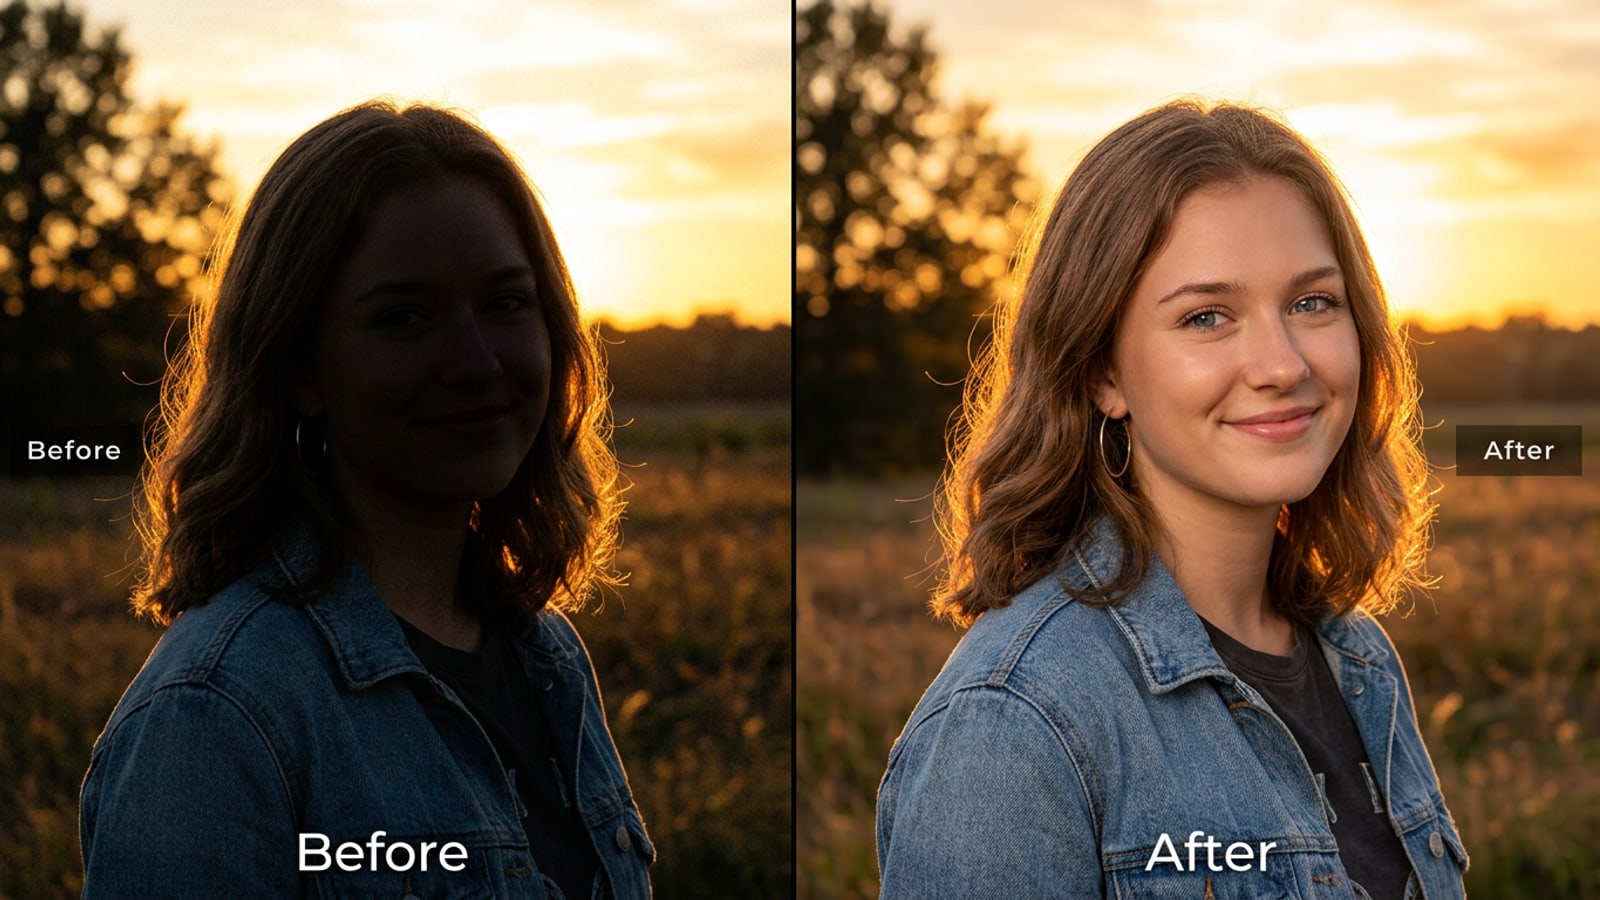
The Backlit iPhone Dilemma: Why Standard Tone Sliders Fail
High-contrast backlighting creates a multi-stop exposure gap between subjects and bright backdrops that native global adjustments cannot easily resolve.
Taking photos on an iPhone against high-contrast light sources, such as a radiant sunset or a sunlit window, often forces the camera sensor into an exposure compromise. Because the background luminosity far exceeds the ambient light hitting the subject's face, the image frequently yields a dark, silhouetted foreground paired with a properly exposed background, or a brightened subject framed against a blown-out sky.[1]
Native iOS Photos adjustments offer tools like Exposure, Shadows, and Highlights sliders to help rebalance images. However, adjusting global tone controls affects the entire frame uniformly. Dragging the Shadows slider upward lifts shadow detail across your face, but it frequently introduces digital noise on skin tones while flattening overall scene contrast.[2]
Conversational AI editing changes this paradigm by using neural segmentation to separate the subject from the backdrop. Rather than applying a single uniform filter, conversational AI photo agents interpret descriptive prompts to relight the foreground while preserving background details.[1][3]
- Exposure Stop Gap: Outdoor backlit scenes often exhibit a 3+ EV stop differential between light sources and shadowy faces.[1]
- Global Slider Limits: Native iOS Shadows adjustments lift dark areas but risk flattening overall image contrast.[2]
- Dual-Zone Separation: AI lighting models segment foreground subjects from ambient background elements for localized adjustments.[1]
Diagnostic Assessment: Identifying Exposure Flaws in Backlit Shots
Evaluating shadow noise, highlight clipping, and edge contrast helps determine whether a shot can be restored or requires generative lighting.
Before running a relighting prompt, evaluate your original iPhone image to determine the condition of its pixel data. Photos with recoverable shadow details retain faint facial outlines, hair texture, and eye reflections even when under-exposed.[1]
Severe underexposure produces completely clipped black pixels with an RGB luminance value of zero. Native editing tools struggle here because lifting zero-value pixels only amplifies luminance noise without recovering detail. Conversational AI photo editors handle this by synthesizing plausible light textures based on localized visual cues.[1][2]
- Recoverable Shadows: Subtle facial features and eye catchlights remain visible under low lighting conditions.[1]
- Clipped Black Silhouettes: Subject areas display pure black values with no underlying sensor data.[1]
- Edge Flare Artifacts: Strong backlight creates wash-outs or color fringing around shoulders and hair borders.[2]
The 4-Part Natural Language Prompt Framework for Relighting
Structure conversational AI requests using a modular formula to control fill light quality while protecting original background colors.
Prompting an AI photo editor with a vague command like 'make face brighter' often results in overexposed background elements or unnaturally saturated skin tones. To achieve realistic depth, structure your text instruction using a targeted 2-zone framework.[2]
The 4-part prompt framework pairs a Subject Lighting Action with a Background Lock Rule, followed by Light Quality and Color Tone directives. This structure directs the AI agent to illuminate the foreground subject while leaving ambient sky and window lighting untouched.[2]
- 1. Subject Action: Specify the target feature (e.g., 'Add soft warm fill light to the subject's shadowy face and torso').[2]
- 2. Background Lock Rule: Explicitly command exposure preservation (e.g., 'Keep the golden sunset sky and background clouds unchanged').[2]
- 3. Lighting Quality: Define the bounce character (e.g., 'Use soft studio reflector illumination with natural eye catchlights').[2]
- 4. Color & Atmosphere: Ensure tone consistency (e.g., 'Match ambient golden hour skin tones without changing background saturation').[2]
Step-by-Step Execution: Relighting Backlit Shots in Cara Agent
Follow a practical workflow in Cara Agent using natural language requests and localized AI Replace tools for clean exposure balancing.
Executing exposure recovery on iOS requires an editing platform designed for natural language interactions. In Cara, mobile creators can edit photos via text instructions inside the conversational Agent experience. Cloud processing processes the request to balance multi-zone lighting.
If residual glare or spotty lighting remains on secondary elements, targeted features like AI Replace allow you to select specific regions and adjust them independently. Additionally, if high-contrast light leaks create unwanted edge spots, the AI Eraser can clean up flare artifacts.
- Upload Photo to Cara Agent
Open Cara on your iOS device, select the Agent tab, and upload your backlit iPhone portrait.
- Submit the 2-Zone Relighting Prompt
Type your natural language relighting instruction using the 4-part framework to separate subject fill light from background preservation.
- Refine Localized Lighting with AI Replace
If clothing or hair shadows remain dark, select the AI Replace feature, highlight the region, and prompt for targeted fill light.
- Clean Up Lens Artifacts with AI Eraser
Use the AI Eraser to clear unwanted lens flare spots or color fringing along extreme highlight boundaries.
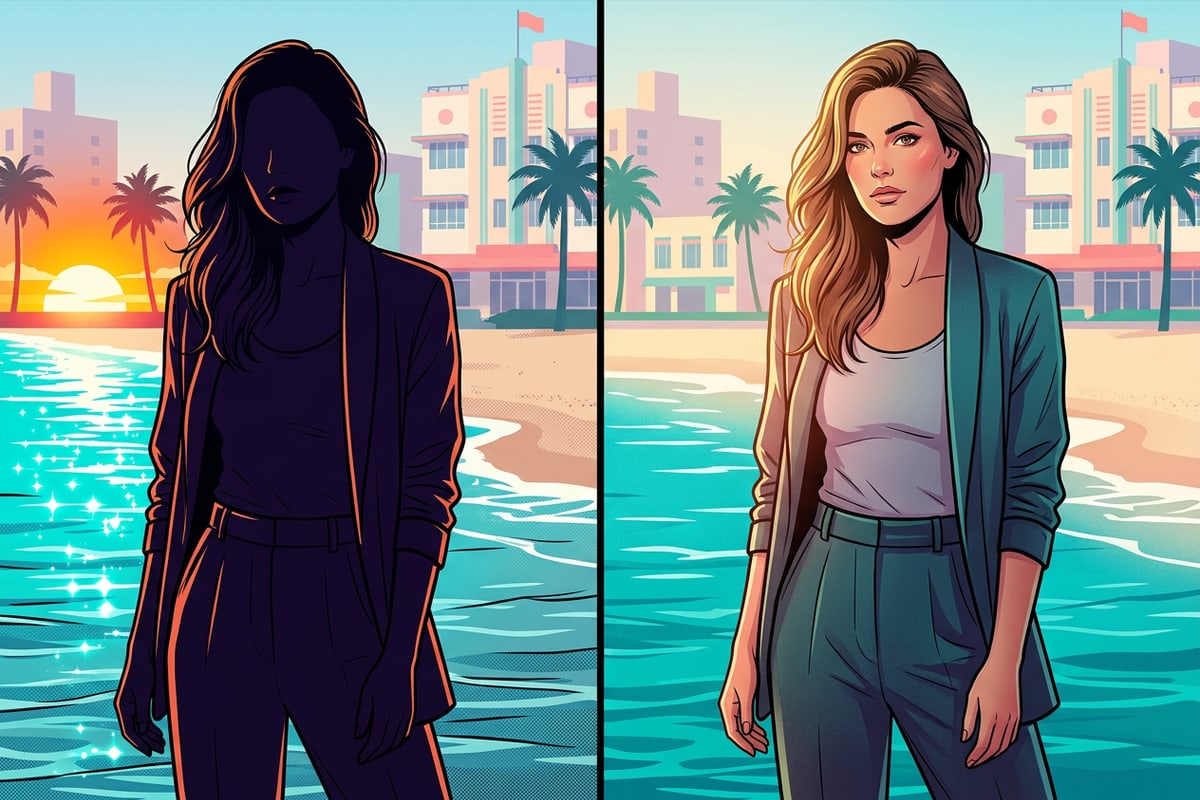
Managing Light Physics & Realism Expectations
Balancing directionality, skin texture retention, and boundary halos ensures generated lighting looks photorealistic rather than artificial.
While AI photo models excel at estimating depth and synthesizing bounce light, edits must respect natural lighting physics to look convincing. If your background features strong direct sunlight from behind, lighting the subject's face from the front with ultra-bright cool light creates visual mismatch.[1]
Watch for edge haloing around fine hair strands and shoulders, which can happen when background highlights bleed into dark foreground subjects. Prompting the AI agent to maintain soft rim light along clothing edges helps smooth the transition between dark subjects and bright backdrops.[1][2]
- Directional Consistency: Match generated fill light color temperature (warm vs. cool) to the primary environmental light source.[1]
- Texture Preservation: Ensure prompts request natural skin texture rather than heavy blur.[2]
- Halo Prevention: Specify gentle rim illumination around hair boundaries to prevent edge masking cutouts.[1]
Backlight Repair FAQs and Quick-Reference Summary
Review essential prompt rules and practical answers to common mobile exposure correction questions.
Mastering backlit photo recovery on iPhone comes down to pairing accurate prompt instructions with the right editing tools. By separating foreground lighting requests from background exposure rules, conversational AI transforms shadowy photos into well-balanced portraits.[1][3]
When expanding narrow vertical iPhone captures into wide aspect ratios after relighting, learn how to expand iPhone portrait photos to 16:9 widescreen wallpapers without distorting your subject.