The Small-Space Creator Problem: Why Casual Indoor Backgrounds Fail
Diagnose why apartment clutter and mismatched lighting break studio portrait and product photography.
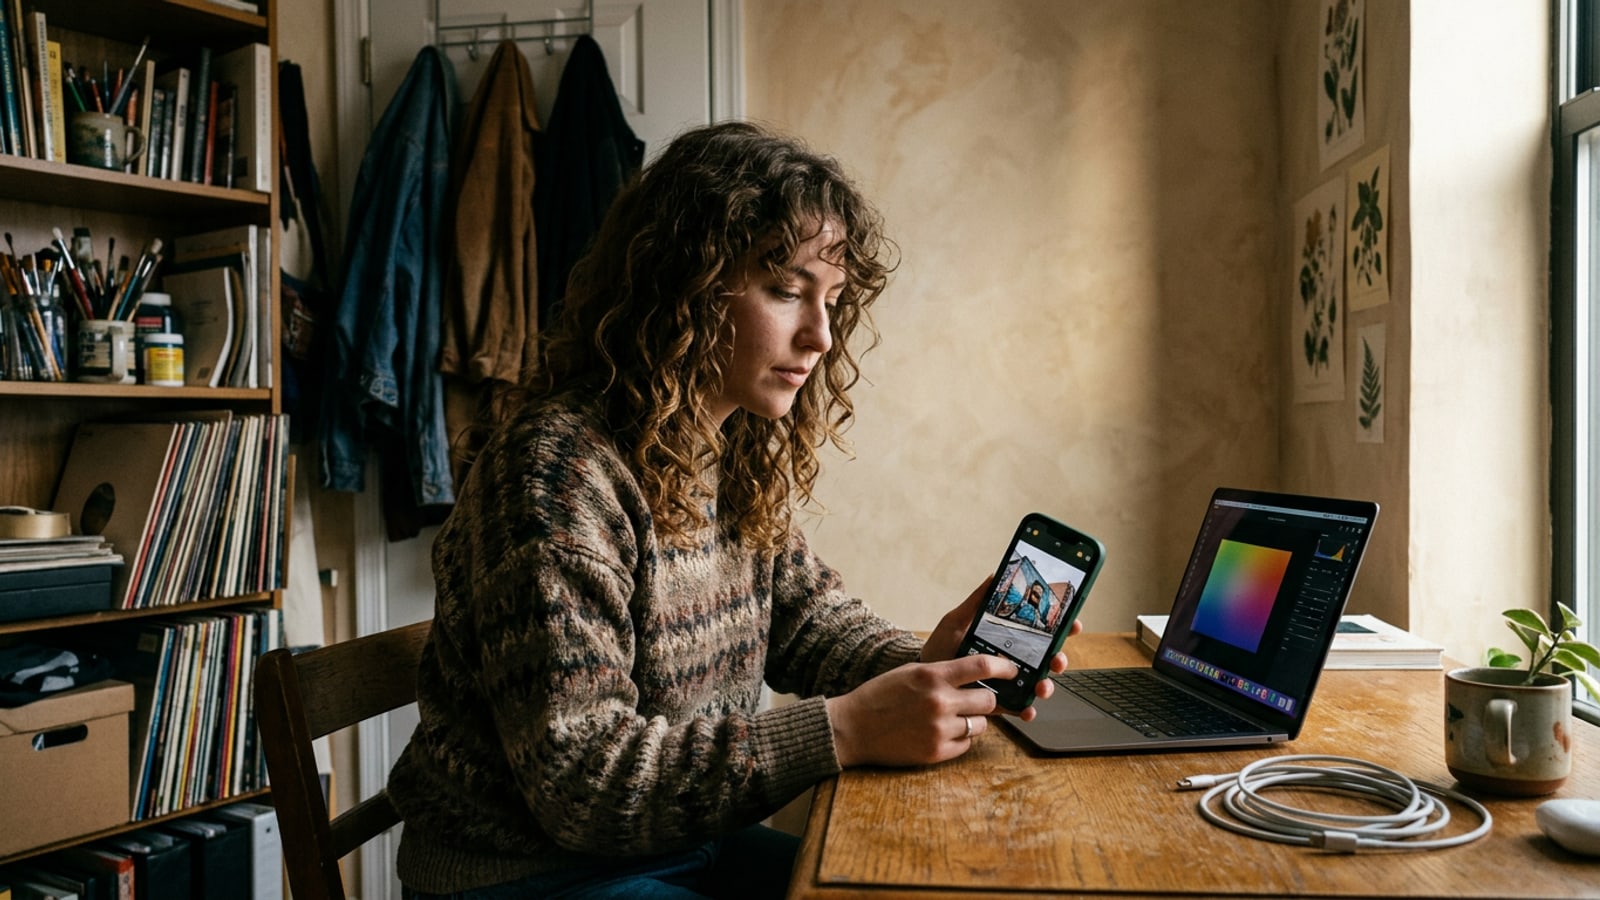
Shooting portraits or product images in small apartments often results in distracting visual noise such as electrical outlets, messy bedsheets, visible furniture edges, and uneven overhead room lighting. Standard portrait background blurs fail to solve this problem effectively because depth-of-field algorithms merely soften clutter rather than eliminating it, leaving awkward blur transitions along complex background objects and fine hair boundaries.[1][3]
Replacing backgrounds entirely using mobile tools can introduce new visual challenges, including edge color bleeding and light vector mismatches. When subject highlights do not align with the replacement backdrop's key light direction, subjects appear detached from their environment, creating an unnatural composite look.[1][2]
- Depth Blur Smearing: Optical blurs retain room color patches, turning clutter into distracting soft blobs rather than clean studio space.[1]
- Perimeter Color Bleeding: Tight cutouts cut off ambient illumination, causing original room wallpaper tones to fringe subject silhouettes.[1][3]
- Key Light Mismatch: A subject illuminated from the left looks artificial when placed against a backdrop with right-side highlights.[2]
- Missing Contact Shadows: Backdrops generated without ground contact surfaces leave subjects looking suspended in mid-air.[2][3]
Step 1: Isolate the Cluttered Region with Precision Brush Masking
Learn how to select messy room backgrounds while preserving subject outlines using local brush tools.
In CARA, background replacement begins by opening the AI Replace feature alongside on-device Drawing and Brush Tools. Painting over unwanted room background areas allows you to specify exactly which parts of the frame should be re-rendered while keeping the subject intact.
Edge halo artifacts usually occur when selection masks stop short of high-contrast subject boundaries. Brushing 3 to 5 pixels past subject contours onto background areas gives the generative inpainting engine room to blend boundary lighting cleanly without clipping clothing or hair details.[1][3]
- Subject Protection: Keep brush marks focused strictly on unwanted room furniture, power cords, and background walls.
- Over-Masking Boundary: Extend brush strokes 3 to 5 pixels past subject edges to eliminate residual wall color bleeding.[1][3]
- Variable Opacity Feathering: Lower brush opacity slightly along flyaway hair strands to maintain gradual edge transparency.[1]
- Open AI Replace in CARA
Load your target photo into CARA's AI Replace workspace on iOS.
- Brush Over Unwanted Room Areas
Use the brush tool to cover visible background clutter, wall outlets, furniture, and distracting background lighting.
Step 2: Engineer 5-Element Studio Prompts for Plaster & Concrete
Apply a structured 5-element prompt framework for realistic plaster, travertine, and concrete textures under distinct photographic lighting setups.
Generic prompts like 'studio wall' often produce flat, 3D-like gradients lacking tactile surface grain. Using a 5-element studio prompt structure—combining Style, Surface, Lighting, Optics, and Grounding—delivers far more photorealistic backdrop textures with genuine surface micro-depth.[2]
When writing backdrop prompts, explicitly mirror the primary light angle and warmth of your original capture. Whether your photo features harsh directional key lighting, diffuse afternoon sunlight, or subtle rim backlighting, specifying matching light parameters in your instruction prompt ensures natural light integration.[2][3]
- Lime Wash Plaster (45° Directional Light): Architectural studio backdrop, warm beige lime-wash plaster wall, fine hand-troweled texture, soft directional key light from top left at 45 degrees, shallow depth of field, subtle floor horizon line.[2]
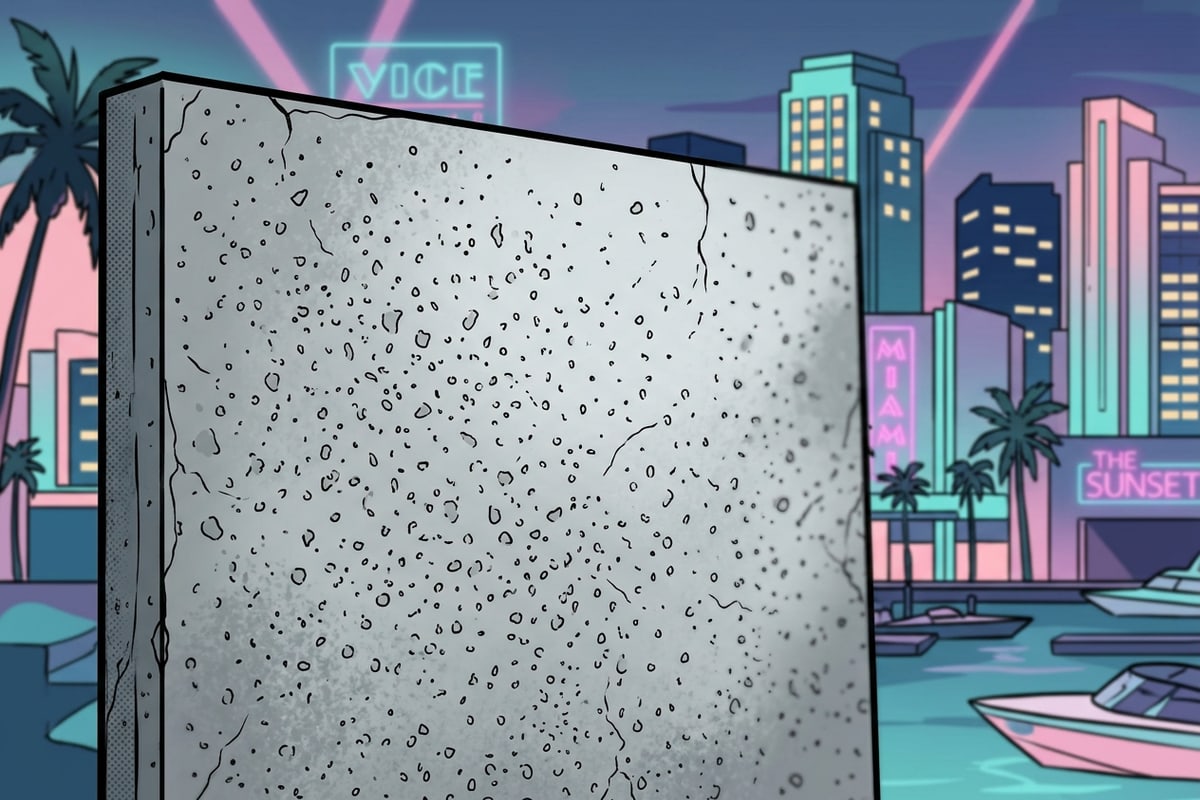
- Micro-Aggregate Concrete (Cool Industrial Rim Light): Industrial photography backdrop, smooth grey micro-aggregate concrete wall, subtle cement grain, cool-toned rim accent lighting along right edge, soft rear fill blur, 85mm lens perspective.[2]
- Travertine Stone (Golden Hour Warmth): Minimalist product studio backdrop, raw warm travertine stone texture with natural pore variations, diffuse golden hour window light from upper right, soft shadow falloff, grounded surface contact.[2]
- Matte Clay Wall (Dramatic Top-Down Spotlight): Editorial portrait studio setting, deep terracota matte clay plaster backdrop, subtle trowel marks, dramatic overhead top-down soft spotlight beam, subtle low-key gradient shadows.[2]
- Define Style and Surface Material
Specify exact tactile materials such as 'hand-troweled lime wash plaster' or 'micro-aggregate grey concrete' rather than generic plaster.[2]
- Set Lens Perspective and Grounding
Add optical parameters like 'shallow depth of field' and grounding notes such as 'subtle floor shadow falloff' to tie subject and background together.[2]
Step 3: Ground Subject Contact Shadows and Non-Destructive Refinement
Position contact shadows correctly to avoid floating subject artifacts and maintain full project flexibility across multi-layer compositions.
A common mistake in background replacements is creating a subject that appears detached from the surface beneath it. Including explicit grounding phrases like 'subtle floor contact shadow' or 'soft surface gradient' forces the generative system to construct realistic weight contact shadows where the subject meets the ground plane.[2][3]
For complete non-destructive control, creators can also utilize CARA's Remove Background feature to separate subjects into isolated cutouts. These cutouts can then be arranged alongside shapes, text overlay layers, signatures, and custom backdrop art on CARA's Free Creative Canvas as local reusable projects that can be adjusted without destroying the original capture.
- Contact Shadow Physics: Ensure shadow opacity is darkest directly beneath subject contact points and tapers softly into ambient falloff.[2][3]
- Horizon Line Alignment: Match the background horizon line to the eye level or camera tilt of the original shot to avoid perspective distortion.[2]
- Multi-Layer Canvas Layouts: Combine subject cutouts with graphic text overlays and watermark tools on Free Creative Canvas for high-impact social assets.
- Verify Floor Contact Prompting
Ensure your background replace prompt contains explicit contact shadow instructions to lock the subject onto the floor plane.[2]
- Isolate Subject with Remove Background
Extract your subject into a standalone cutout layer using CARA's Remove Background tool for multi-layer editing.
- Assemble on Free Creative Canvas
Combine the backdrop, subject cutout, text overlay, and signature marks in Free Creative Canvas as a local non-destructive project.

Advanced Studio Background Editing Workflow on iOS
Combine subject isolation, prompt parameter matching, and multi-layer composition for professional results.
Replacing apartment backgrounds with architectural studio textures offers creators working in tight spaces a reliable workflow for producing high-end portrait and product visuals. By pairing precise brush masking with structured 5-element prompts, you eliminate room clutter while preserving true photographic lighting physics.[1][2]
To expand your creative photo workflow on iPhone, learn how to swap outfits and props in our guide on how to replace clothes and props in iPhone photos using AI prompts, or master facial identity locking with identity-preserving AI profile picture prompts on iPhone. If you are sharing public group photos, protect privacy using our guide on how to blur faces in iPhone photos free for zero-cloud privacy.