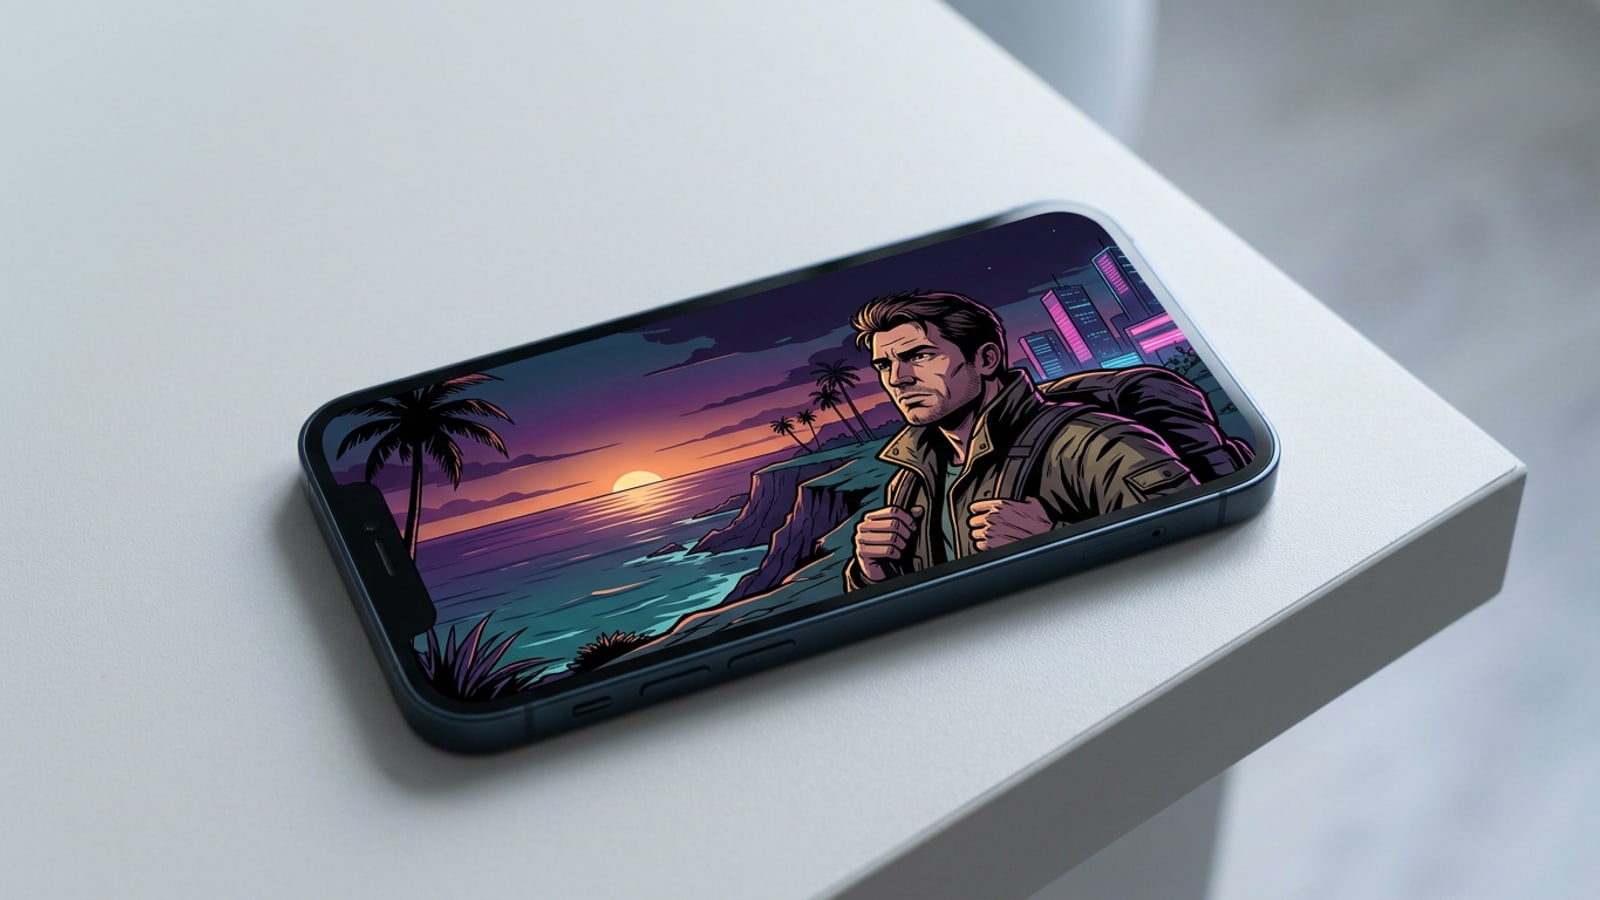
The 16:9 Framing Dilemma: Why Native iPhone Cropping Destroys Tight Shots
Understand why traditional ratio cropping in iOS shaves off critical subject details and how AI outpainting solves aspect ratio conversion.
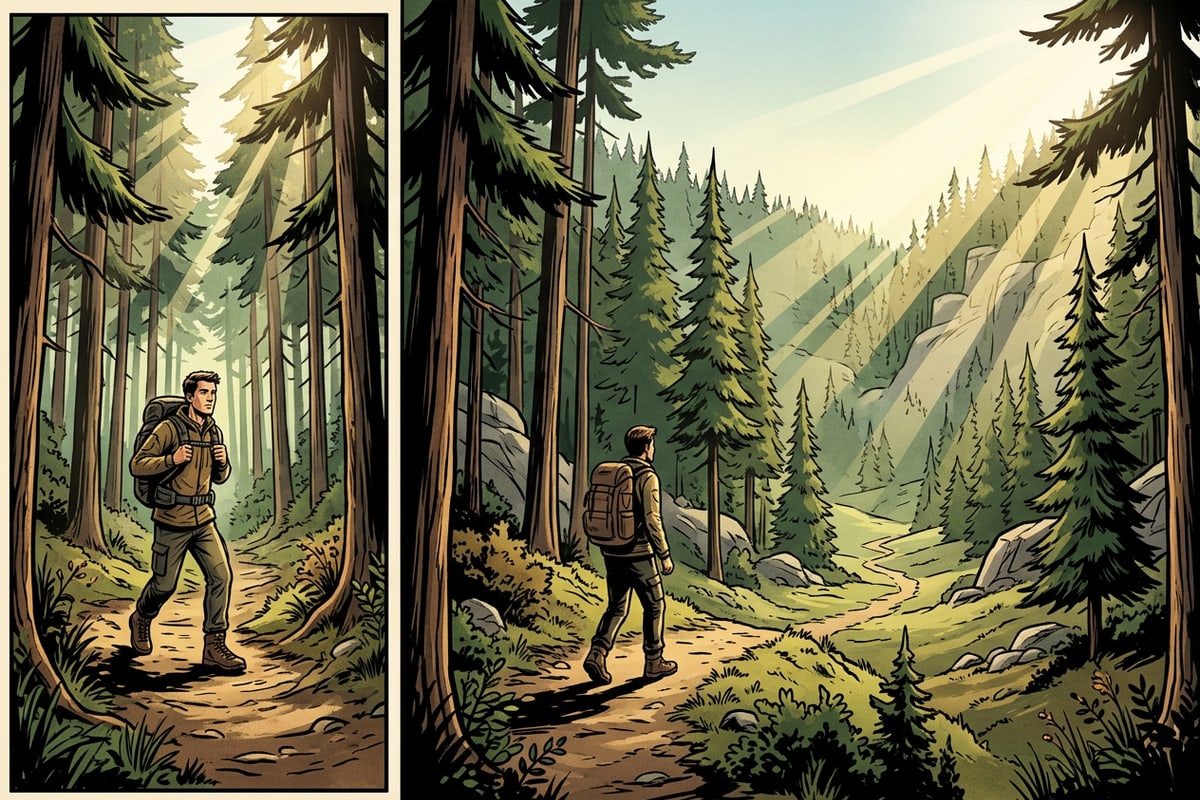
Converting tight portrait or 1:1 square photos into 16:9 widescreen banners is a common friction point for iPhone creators building YouTube thumbnails, blog headers, and video covers. When using standard crop adjustments, the system fits the original photo into a landscape rectangle by discarding pixel region blocks from the top and bottom. This inward trimming almost always decapitates subjects, slices off feet, or eliminates essential environment details.[1]
Generative AI outpainting reverses this dynamic by padded aspect ratio expansion. Instead of discarding valid central pixels, generative tools analyze surrounding textures, lighting patterns, and structural vectors to synthesize contextual background content outward.[1][2]
- Native Inward Cropping shaves up to 60 percent of vertical pixel depth to force a 16:9 ratio, destroying framing balance.[1]
- Generative Outpainting calculates surrounding context and expands canvas boundaries horizontally while leaving central subjects untouched.[1][2]
- Letterbox Fallbacks add artificial solid or blurred side bars that visually separate modern continuous video thumbnails and article layouts.[2]
Pre-Expansion Assessment: Subject Framing and Background Pattern Rules
Evaluate source photos using margin buffer rules and horizon alignment to ensure clean AI background synthesis without distortions.
Before submitting an image to AI outpainting, checking subject placement significantly improves the realism of generated background edges. Generative models extrapolate existing edge details outward; if a subject's arm or hat touches the extreme outer border of the source file, the model attempts to synthesize extended body structures, leading to unnatural limb duplications.[2]
Maintaining a minimum 5% background margin buffer around primary subject extremities allows the generator to sample clean ambient background textures like walls, foliage, or sky, ensuring seamless landscape extensions.[1]
- Margin Buffer Threshold: Keep at least 5 percent background space around subject heads and arms so outpainting models extrapolate environments rather than limbs.[1]
- Pre-Outpainting Horizon Alignment: Level slanted ocean horizons, floorboards, or architectural pillars beforehand so extended horizontal vectors do not warp into exaggerated diagonal slants.
- Symmetric vs. Asymmetric Extension: Centered hero portraits benefit from balanced dual-side expansion, while asymmetrical offset leaves empty canvas room for graphic typography.[1][2]
Step-by-Step Remediation: Expanding Photos to 16:9 with CARA Image Extender
Follow a step-by-step workflow to expand vertical and square photos into 16:9 widescreen banners using CARA Image Extender.
CARA provides a dedicated Image Extender tool built specifically for outpainting mobile photos beyond original frame boundaries using cloud processing. Executing a 16:9 outpainting run costs 30 points per generation and preserves subject pixels while synthesizing seamless landscape backgrounds.[1]
To pair your expanded backgrounds with balanced compositions across social feeds, review our guide on how to create viral photo carousels on iPhone for grid layout strategies.
- Open Image Extender in CARA
Launch the CARA app on iOS and navigate to Home > AI Editing > Image Extender.
- Import Source Photo and Target 16:9 Ratio
Select your tight vertical or square photograph from the photo picker and choose 16:9 as your target widescreen aspect ratio.[1]
- Position Central Subject
Drag and scale the original frame to center your subject for hero banners, or slide it to one side to reserve banner canvas space for overlay text.[1]
Quality Control and Artifact Remediation Workflow
Detect edge mismatches and clean up AI artifacts using CARA AI Eraser and free on-device creative tools.
While AI outpainting handles high-contrast backdrops and uniform textures accurately, complex environments like crowded street scenes or detailed brickwork may occasionally generate minor seam mismatches or repeating pattern artifacts at original photo boundaries.[1][2]
Rather than re-running full canvas outpainting generations, targeted remediation using CARA AI Eraser quickly removes unwanted peripheral edge distortions. For portraits requiring consistent aesthetic styling, explore our tutorial on identity-preserving AI profile picture prompts on iPhone.
- Seam Inspection: Zoom into outer transition boundaries on the left and right to verify lighting direction, texture continuity, and color accuracy.[2]
- Targeted Object Erasure: Select CARA AI Eraser to highlight repeating patterns or floating artifacts along newly synthesized background borders.
- Generative Context Replacement: Use AI Replace to swap out awkward background objects in generated spaces by entering direct text prompts.
Finalizing 16:9 Graphics with On-Device Text and Canvas Tools
Optimize point usage by combining cloud outpainting with free local canvas tools to craft finished YouTube thumbnails and blog headers.
To keep workflows budget-friendly and fast, distinguish cloud generative workflows from local graphic adjustments. Cloud outpainting via Image Extender requires GPU processing (30 points per use), whereas layout design, typography overlay, and vector line work run cost-free on local device hardware.[1]
Once your 16:9 canvas is expanded and cleaned, import the updated image into CARA's Free Creative Canvas. From there, you can add custom typography layers with Text Editing and Overlay or apply precise markings using local Drawing and Brush Tools without consuming cloud points. If your expanded image features group crowds, you can also run Face Mosaic locally to protect privacy before sharing.
For complete step-by-step instructions on zero-cloud privacy techniques, check out our guide on how to blur faces in iPhone photos free.
- Free Creative Canvas: Build horizontal composite banners using native local layers, shapes, and signature tools free of cloud charges.
- Text Overlay Tools: Add, align, and style headline typography directly over extended side panels on your device.
- Local Face Privacy: Protect street backdrops in widescreen edits using on-device Face Mosaic blurring.