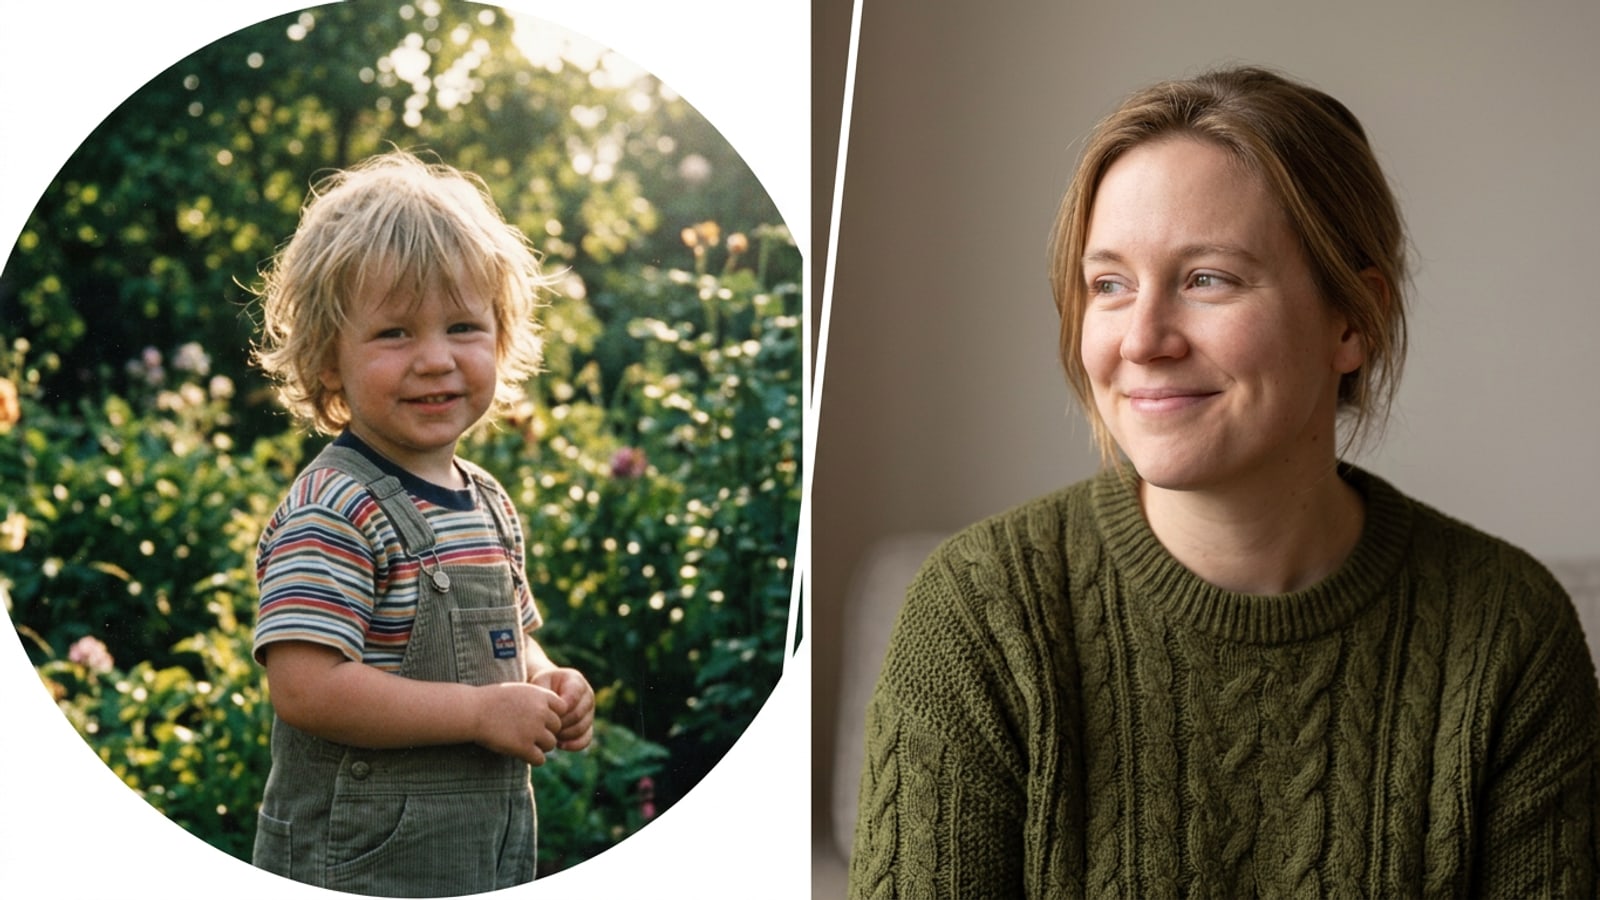
Direct Takeaway: Quick Workflow for the 'Meet Your Younger Self' Edit on iPhone
A concise summary of the four-phase editing framework for combining colorized vintage scans with modern adult selfies on iOS.
Creating a compelling 'Meet Your Younger Self' photo edit on iPhone relies on preserving personal memory rather than using face-altering generative AI synthesis.[1][2]
By restoring physical childhood prints and aligning them alongside matched modern selfies in a clean split layout, creators produce emotionally resonant posts for birthdays and personal growth milestones.[1][2]
- Digitize physical childhood prints under glare-free indirect lighting using your iPhone camera.[2]
- Apply Photo Colorize in CARA to generate estimated color tones on black-and-white scans, then clean dust spots using AI Eraser.[2]
- Shoot a present-day selfie that mirrors the lighting direction and head tilt of your childhood photo.[1]
- Build a side-by-side two-panel layout with Photo Collage Maker, then apply Image Extender to expand vertical 9:16 Story canvases without cropping portrait content.[1][2]
Phase 1: Digitizing and Restoring Vintage Childhood Scans with AI Colorization
How to capture glare-free digital copies of paper photos and use AI tools to generate estimated colors and remove physical dust specks.
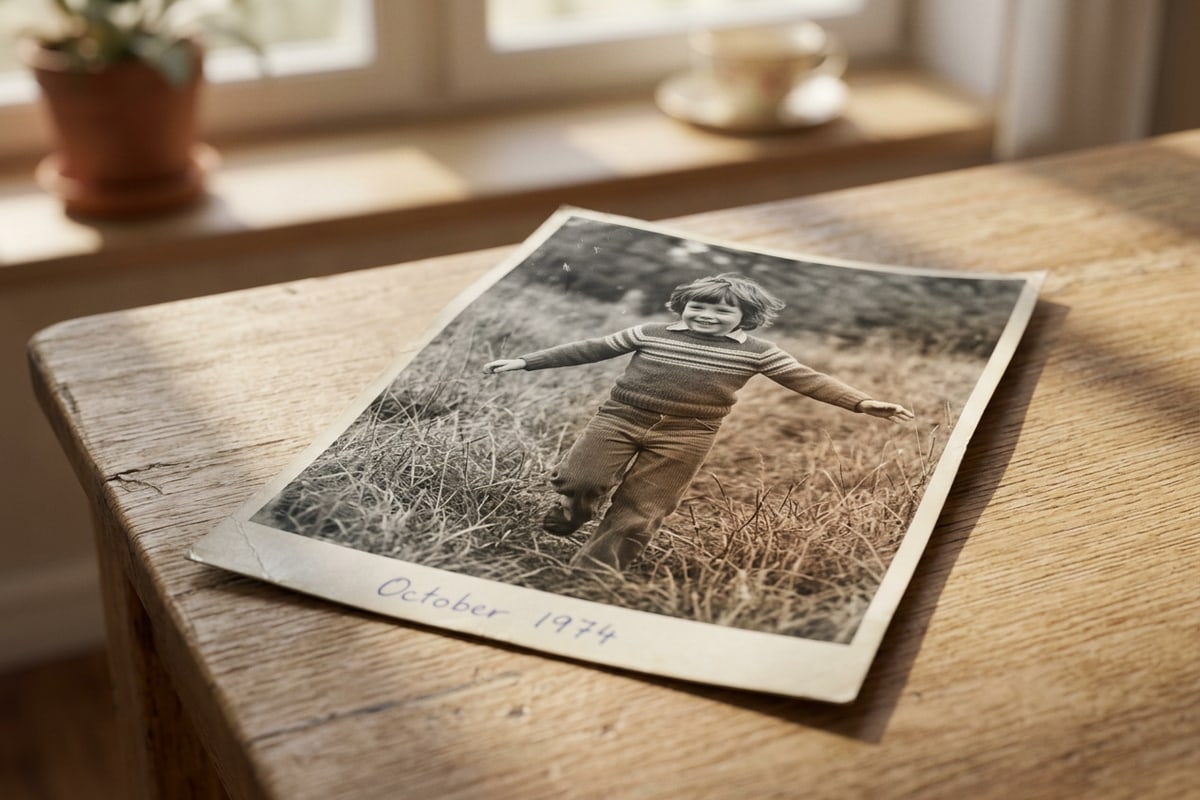
The foundation of a high-quality past-and-present edit begins with a clear digital capture of your printed childhood photograph. Direct overhead lighting often creates reflective glare on glossy photo paper, so place physical prints near a window receiving indirect daylight and hold your iPhone parallel to the picture.[2]
Once captured on your device, black-and-white childhood photographs can be converted into color using CARA's Photo Colorize capability. This feature analyzes light gradients to add estimated color hues across skin tones, clothing, and background settings. Generated hues represent algorithmic color estimates rather than historical factual verification.[2]
Vintage paper prints frequently exhibit small surface scratches, dust spots, or corner creases from years of physical storage. Using AI Eraser allows you to isolate unwanted background noise or surface blemishes while preserving the original facial contours.[2]
- Capture Glare-Free Scan
Place the vintage paper print under bright indirect sunlight and hold your camera parallel above the image to avoid glass or surface reflections.[2]
- Apply Estimated Colorization
Import the monochrome image into CARA and select Photo Colorize to add estimated skin, hair, and environmental hues.[2]
- Clean Surface Blemishes
Use AI Eraser over noticeable dust spots or scratch lines to smooth out background areas without distorting facial features.[2]
Phase 2: Shooting and Framing the Matching Modern Selfie
Posing and studio lighting techniques to create a believable visual connection across split panels.
A memorable 'Meet Your Younger Self' post relies heavily on directional visual connection. Before taking a modern selfie, examine your restored childhood photo to note primary illumination angles, eye direction, and head posture.[1]
If your childhood picture shows daylight entering from the left side, position yourself so window light hits your adult portrait from the left frame direction. Angle your head slightly toward the central border where the split line will sit, creating an engaging illusion that your adult self is looking across time toward your younger self.[1][2]
- Match primary lighting angles (left-lit, right-lit, or frontal) to keep shadow distribution natural across both panels.[1]
- Align head posture and eye height so neither portrait dominates the overall visual scale.[1]
- Replicate subtle expression cues—such as a warm smile or quiet gaze—to reinforce personal reflection themes.[1][2]
Phase 3: Assembling a Balanced Side-by-Side Split Collage
Step-by-step assembly of a clean two-panel grid layout using Photo Collage Maker.
With both images prepared, open CARA's Photo Collage Maker to organize your two-panel grid. Placing the childhood photo in the left frame and the contemporary selfie in the right frame matches standard left-to-right reading habits, drawing viewers naturally along your timeline.[1][2]
Choosing a simple vertical two-panel grid keeps the viewer focused on the core story without clutter from ornate frames or borders. Adjust the scale of each panel until eye level aligns evenly across the center line.[2]
- Select a 2-Panel Grid
Open Photo Collage Maker in CARA and select a clean two-panel side-by-side template.[2]
- Align Scale and Eye Line
Pinch and reposition each photo inside its cell until both faces share matching proportions and eye height.[1]
Phase 4: Expanding Canvas Ratios and Conversational Lighting Refinement
How to expand square collages for vertical Story feeds using Image Extender and unify color balance with natural-language prompts.
Vintage prints and basic collage grids are often formatted in square 1:1 or 3:2 aspect ratios. When uploaded to vertical channels like Instagram Stories or TikTok, these square edits result in dark top and bottom letterboxing. To expand your canvas natively without cropping subjects, use Image Extender in CARA. This outpainting tool generates surrounding background patterns to complete full 9:16 vertical layouts.[2]
To harmonize color temperatures between an old warm scan and a cool modern selfie, open Cara Agent for Conversational Photo Editing. Entering plain language requests such as 'warm up the overall color lighting' or 'add soft golden hour glow' helps unify tone across the finished collage.
If you want to master additional canvas extension methods beyond collages, review our detailed guide on how to extend square photos to 16:9 vertical stories on iPhone. You can also experiment with creative studio styling techniques in our guide to create AI action figure toy box photos on iPhone.
- Uncrop Borders with Image Extender
Run Image Extender on your finished collage to outpaint outer edges into a full 9:16 vertical canvas.[2]
- Harmonize Tone via Cara Agent
Use Conversational Photo Editing prompts to request subtle warmth or color balance adjustments across both panels.