The Glass Reflection Dilemma: Why Manual Brush Tools Fail on iPhone Photos
Understand why traditional touch-screen eraser brushes blur glass glare and how optical superposition creates reflection artifacts on iPhone camera sensors.
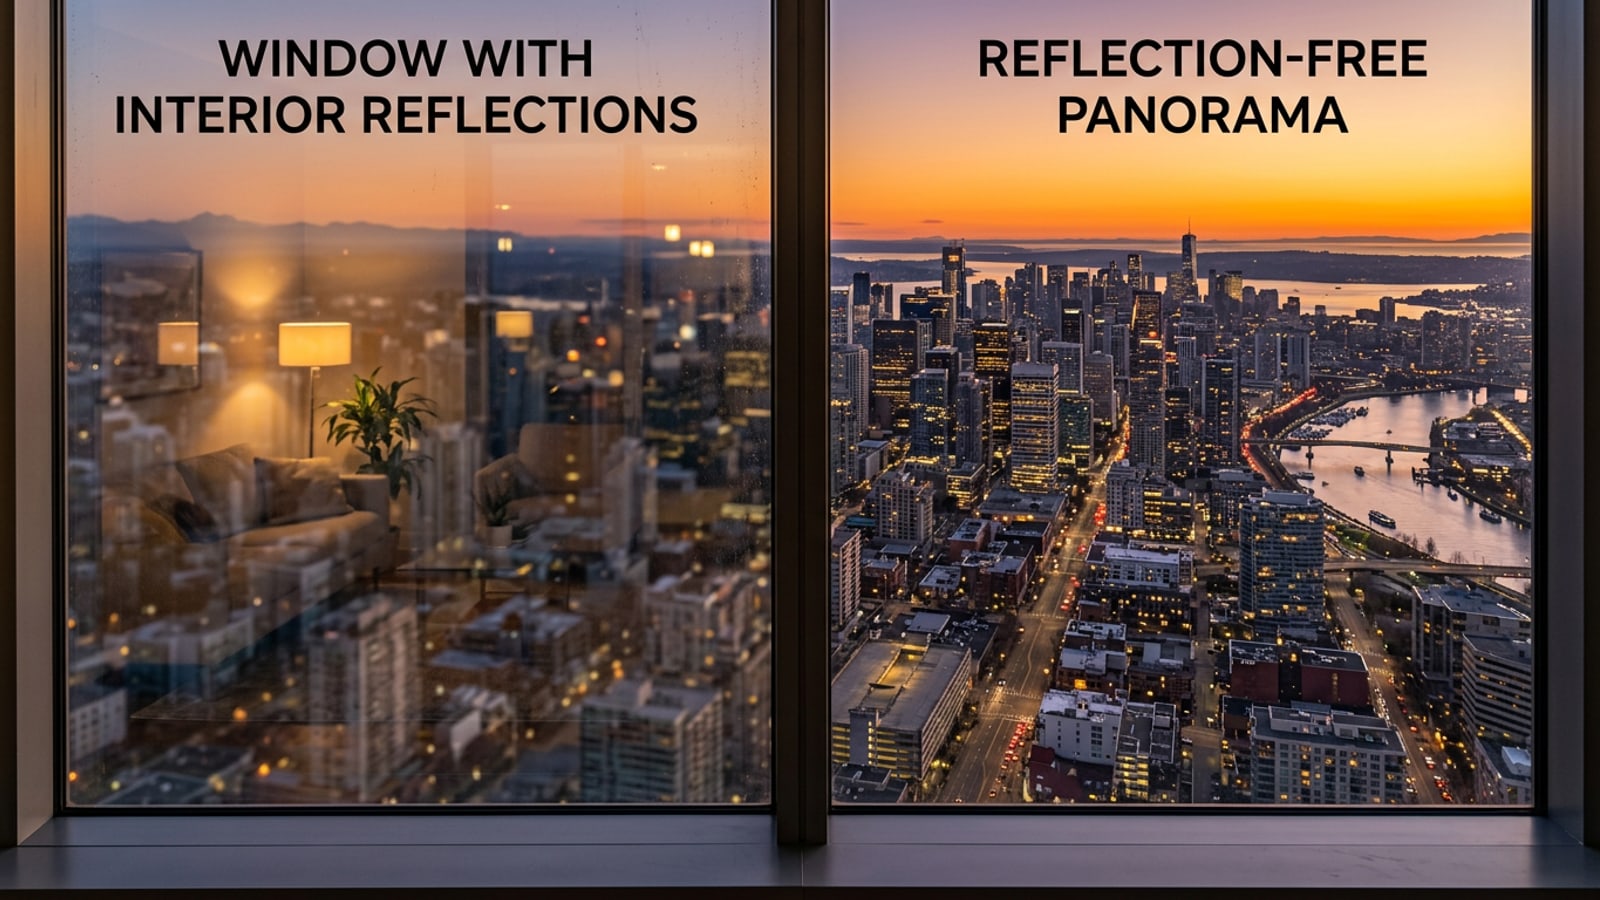
Capturing a breathtaking sunset from an airplane window, an ancient artifact inside a museum display case, or a cozy street view from a city cafe frequently leaves iPhone photographers facing the same frustration: unwanted glass reflection and bright ambient window glare. Physical glass glare occurs because ambient specular reflection superimposes over transmitted scene light on mobile camera sensors, creating a complex double-exposure effect across your image.[1]
When attempting to remove reflection from photo AI app tools or built-in mobile erasers, traditional touch-screen finger brushes often produce disappointing results. Standard object erasers operate on an occlusion assumption—they assume an unwanted element is a solid barrier blocking background pixels. When you swipe a finger brush across window glare, the algorithm attempts to patch the area by copying adjacent pixels. Because glare is semitransparent and spreads across intricate textures, this manual pixel-cloning creates muddy smudges and artificial blur patterns.[3]
Conversational text editing provides a fundamentally superior solution. Rather than forcing users to manually trace irregular reflection streaks on a touch screen, generative AI models analyze the semantic context of the entire image. By interpreting plain-language text instructions, the AI separates the superimposed reflection layer from the transmitted scene beneath it, restoring original clarity while preserving background architectural details and subject textures.[1][3]
- Physical glass glare acts as a light superposition problem rather than a physical object blocking your lens.[1]
- Touch-screen brush masks fail on glare because they blur adjacent pixels instead of unmixing light layers.[3]
- Conversational AI editing identifies scene context automatically, allowing targeted glare removal without manual masking.
How CARA Agent Removes Window Glare Through Natural Language
Explore how cloud-powered conversational AI in CARA Agent processes text prompts to separate specular reflections from underlying scene details on iOS.
CARA Agent introduces a streamlined approach to mobile photo editing on iOS and iPadOS through its Conversational Photo Editing feature. Located in the app under Home > Agent, CARA Agent allows creator-oriented photographers to edit images using direct, natural-language text instructions instead of navigating complex sliders or drawing imprecise masks.
When you upload an iPhone photo affected by glass reflection photo eraser iPhone challenges, CARA Agent sends the image through cloud generative processing. The model evaluates how ambient interior light interacts with the glass surface and reconstructs the hidden underlying visual elements. By describing what should be eliminated—such as overhead spotlight reflections or room lamp halos—you guide the AI to unmix the light layers cleanly.[2]
Because conversational photo editing relies on cloud GPU resources, generations carry a defined points structure. Processing an image request in CARA Agent costs 30 points per generation, with follow-up text turns consuming 5 points. Active Plus subscribers receive 3 daily free Agent edits, while Pro subscribers receive 5 daily free Agent edits. For simple single-object removal tasks on solid backgrounds, CARA also offers a dedicated AI Eraser under Home > AI Editing > Object Removal for a fixed cost of 30 points.[2]
- Conversational photo editing operates in the cloud via CARA Agent (found under Home > Agent in the iOS app).
- Each AI Agent generation costs 30 points, while active Plus users get 3 daily free edits and Pro subscribers get 5 daily free edits.
- Prompt-driven edits preserve fine details beneath semitransparent glare without relying on manual brush tools.
Copyable AI Prompt Recipes for Common Glass Glare Scenarios
Use these tested text prompt templates in CARA Agent to fix museum exhibit reflections, high-rise window glare, and indoor portrait reflections.
To fix museum photo reflection iOS captures or clean up high-rise window shots, tailoring your natural-language prompts to the visual physics of the scene yields the sharpest results. Modular prompt recipes allow you to swapped key descriptive terms based on your specific lighting conditions.[1][2]
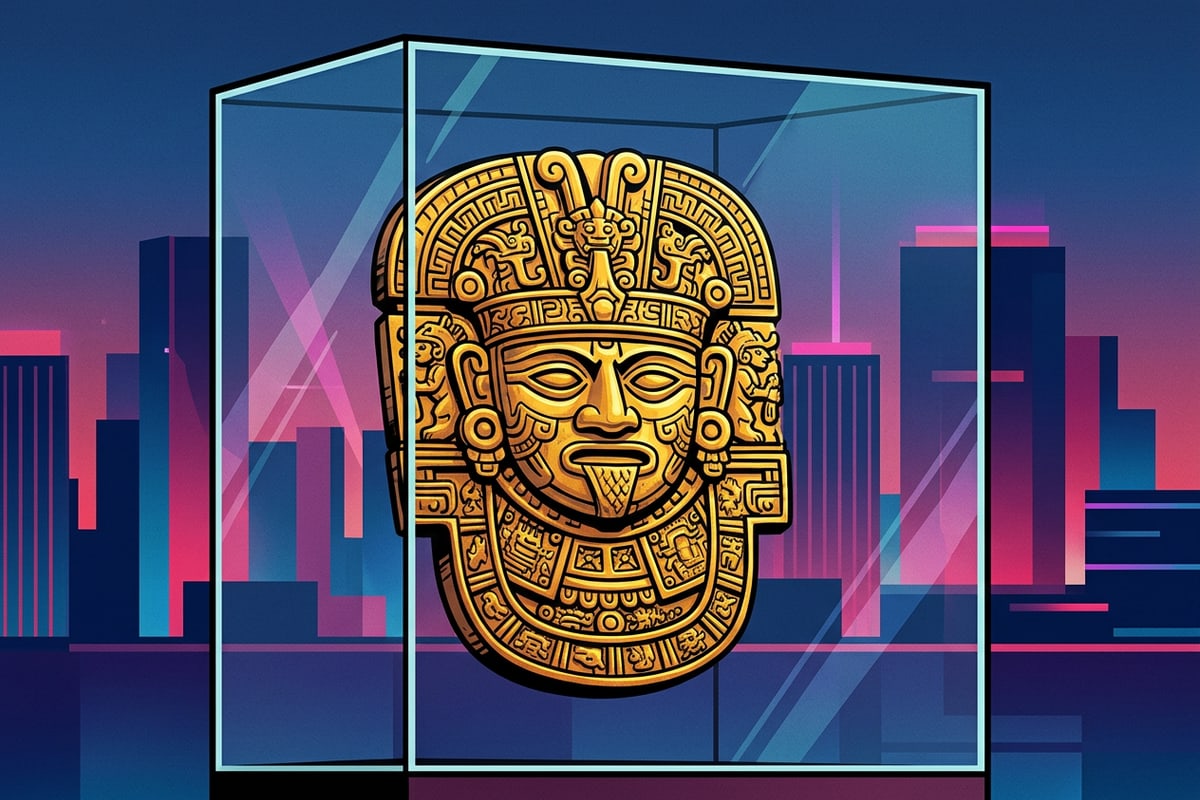
For museum display cases where glass panels catch bright gallery spotlights, your prompt should explicitly direct the AI to isolate glass glare while preserving metallic, wooden, or paper textures underneath. If you frequently shoot in low-light environments, pairing glare removal prompts with subtle ambient light tweaks can also help maintain original contrast, similar to workflows used when you recreate the viral 2016 direct flash look on iPhone night shots using AI prompts.[1]
- Museum Exhibit Recipe: 'Surgically remove all glass display reflections and ambient spotlight glare from the glass box. Keep the ancient artifact sharp, preserving metallic textures and gallery lighting without smudging details.'[1]
- Airplane & High-Rise Window Recipe: 'Remove window glass reflection, room interior glare, and double-exposure haze from this aerial view photo. Enhance clarity of the outdoor cityscape skyline and preserve rich sunset sky gradients.'[2]
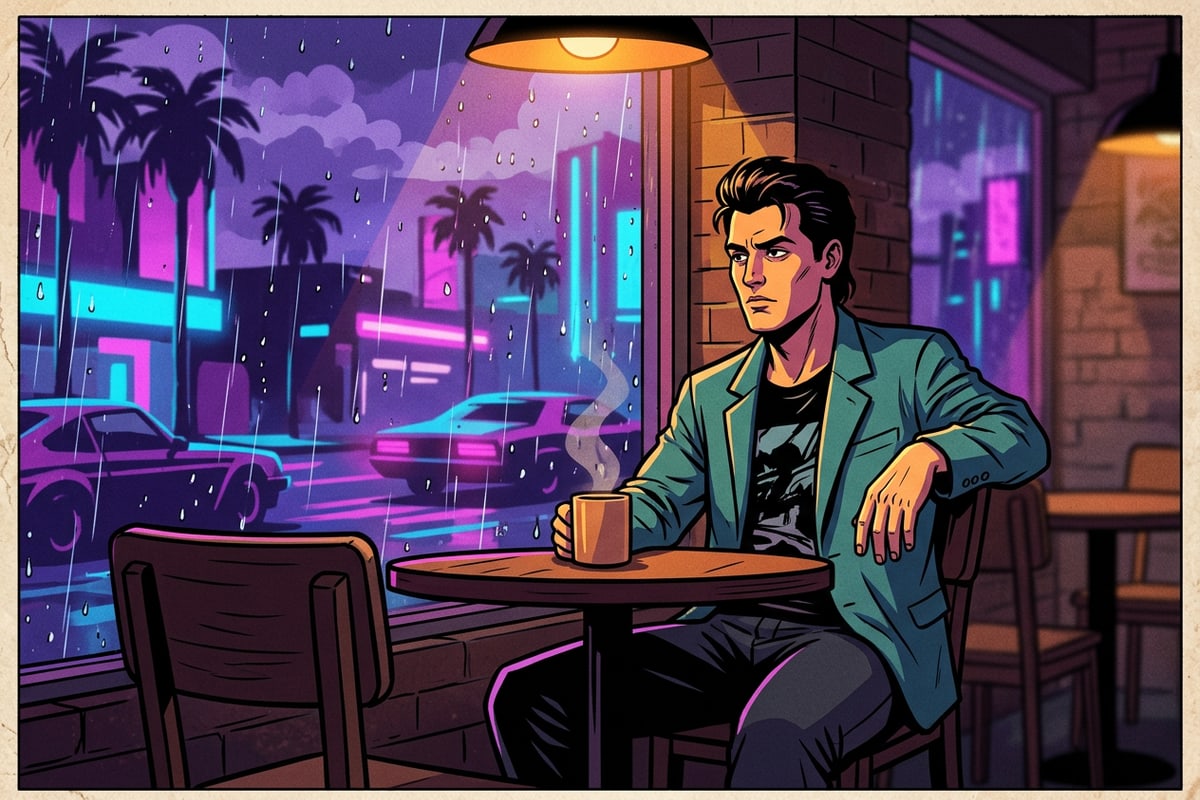
- Indoor Cafe & Street Portrait Recipe: 'Clean up street light window reflections and room light shine across the glass panel. Keep the person sitting near the window completely intact with natural skin tone and soft ambient lighting.'[2]
Step-by-Step Guide: Cleaning Glare in CARA Agent on iOS
Follow this step-by-step walkthrough to import photos, execute glare removal prompts, and refine results inside CARA Agent on iPhone.
Cleaning up window glare iphone photos takes only a few taps inside CARA on iOS and iPadOS (version 1.4.6). The conversational workflow eliminates the need for manual drawing tools, making professional glare remediation accessible directly from your camera roll.[2]
If your original photo suffers from extreme off-center composition due to dodging heavy glare spots during capture, you can also explore how to re-center off-center iPhone selfies with AI outpainting after completing your primary reflection cleanup.
- Open CARA and Navigate to Agent
Launch the CARA app on your iPhone or iPad. Tap the Home tab at the bottom of the screen, then select the Agent button (Home > Agent) to open the conversational editing interface.
- Import Your Glass Reflection Photo
Tap the photo upload icon inside the Agent chat bar to select the image with unwanted window glare or museum glass reflections from your iOS Camera Roll.[2]
- Enter a Targeted Glare Removal Prompt
Type a precise text instruction into the message field, such as: 'Remove all glass reflections and specular glare from the window panel, revealing the clear scene behind.' Tap send to initiate cloud processing (30 points per generation).[2]
- Review and Refine via Text Turns
Examine the generated output. If minor reflections or ambient light streaks remain along the edges, reply with a short refinement turn like 'Remove residual light haze on the left glass edge' (5 points per text turn).[2]
Capture-Time Tips vs Post-Processing Reflection Control
Learn physical lens positioning techniques to minimize window glare when shooting and understand when post-capture AI editing is necessary.
While CARA Agent provides powerful post-capture reflection control, pairing AI software remediation with smart physical shooting habits yields optimal clarity. Eliminating glare at capture time saves cloud generation points and preserves maximum optical resolution on your iPhone lens sensor.[1]
To reduce reflections when taking photos through glass, place your iPhone camera lens directly against the glass surface or hold it as close as physically possible. Angling the lens slightly (around 40 to 45 degrees) can shift specular room light reflections out of the frame. Shielding the lens with your off-hand or using a dark jacket behind the camera creates an impromptu shading hood that blocks interior room lights from bouncing into the glass panel.[1]
When physical shooting conditions prevent close lens contact—such as restricted museum barriers or fixed observation deck glass—rely on post-capture conversational AI editing in CARA Agent. If your photo also features unwanted background distractions, you can complement reflection removal with techniques to change cluttered mirror selfie background on iPhone with AI to maintain a polished final image.[1]
- Position your iPhone camera lens flush against glass panels to block ambient room light from entering the optical path.[1]
- Use your body or a dark piece of clothing to shade the camera from overhead lighting reflections.[1]
- Rely on CARA Agent conversational editing when physical barriers prevent close-range lens positioning.