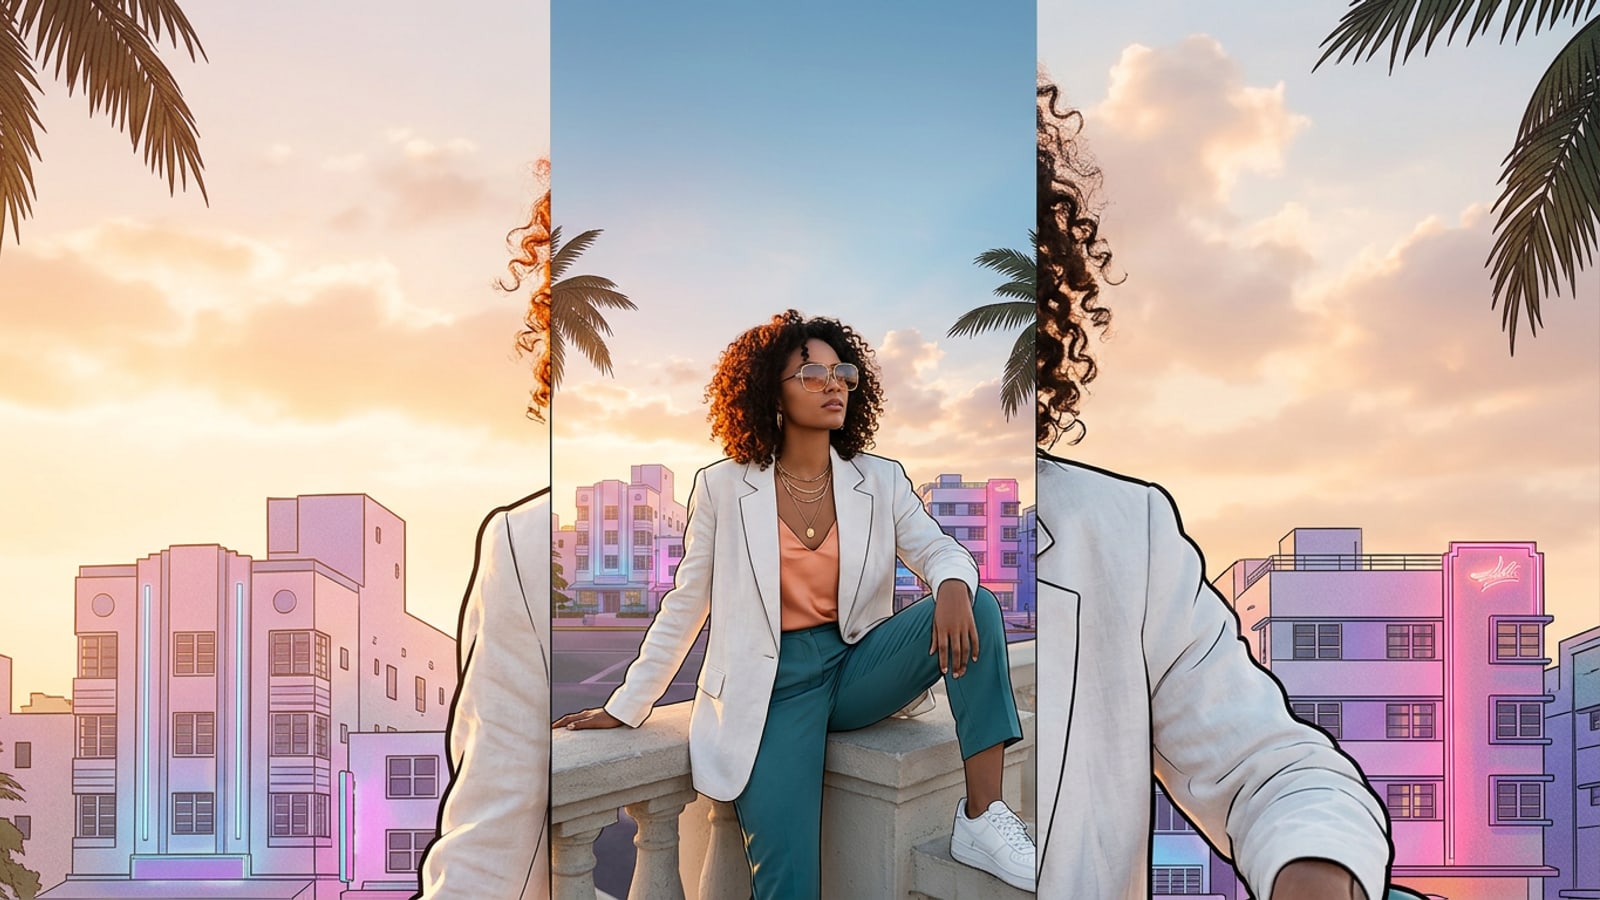
Why Tight Selfies Block Your iPhone Lock Screen Clock (and Trigger Gradient Blur)
Understand the collision between subject segmentation algorithms, cramped portrait framing, and automatic iOS gradient blurs.
The iOS Lock Screen Depth Effect creates a 3D aesthetic by isolating the primary portrait subject and placing the digital clock numerals directly behind their head or shoulders. However, when a photo is tightly cropped above the subject's forehead, the iOS segmentation engine cannot establish a distinct visual boundary between the head and the top of the display screen.[1][3]
When you pinch down on a cropped photo in the Lock Screen editor to reposition the subject below the clock, iOS attempts to fill the empty upper canvas by automatically generating a gradient blur. Instead of showing clear sky, trees, or indoor lighting, the top third of your display becomes obscured by a muddy color fill that detracts from the original photograph.[1][3]
- Insufficient Upper Canvas: When a selfie framing lacks clear background above the hair, subject segmentation algorithms default to placing the clock entirely over the subject.[1][2]
- Gradient Blur Fallback: Native iOS repositioning injects a fuzzy blur across the top edge when stretched beyond native photo dimensions.[3]
The 3-Step Pipeline: Expand Upper Borders with AI Outpainting for Depth Effect
A direct action plan to extend canvas headroom, restore 9:16 framing, and unlock seamless clock depth separation.
Rather than settling for artificial blur or covered time displays, you can expand the top border of your portrait using generative AI outpainting. By calculating existing lighting, background textures, and focal distance, AI image extension fills newly added canvas area with contextually accurate surrounding scenery.[2]
This transformation requires a systematic three-stage pipeline: extending the top boundary, saving the balanced 9:16 portrait, and configuring subject depth separation in iOS Settings.[1]
- Analyze Headroom Deficit
Inspect your portrait to determine how much upper canvas is missing. Ideally, the space between the top of the subject's head and the upper frame edge should constitute roughly 30% to 35% of the total image height.[1]
- Generate Synthesized Canvas
Process the image through an AI outpainting tool like CARA Image Extender to stretch the top border vertically into a standard 9:16 frame while synthesizing seamless background continuity.
- Calibrate iOS Depth Layering
Apply the extended wallpaper on your iPhone Lock Screen, aligning the clock numerals slightly behind the top hair edge for natural 3D depth.[1]
Step-by-Step Tutorial: Uncropping Your Portrait in CARA Image Extender
How to use CARA Image Extender on iOS to expand vertical borders and generate realistic headroom for wallpaper customization.
CARA Image Extender provides dedicated outpainting specifically optimized for mobile photographic proportions on iOS and iPadOS. By processing background extensions through secure cloud pipelines, the tool adds realistic environmental texture above portrait subjects without softening source subject details.
You can find this outpainting workflow directly inside CARA by navigating to Home > AI Editing > Image Extender. Each image generation run costs 30 points and generates clear background continuations matched to existing scene lighting.
- Open CARA on your iPhone or iPad and navigate to Home > AI Editing > Image Extender.
- Select your close-up portrait photo from the library.
- Set the output canvas ratio to 9:16 and direct the canvas expansion focus toward the upper edge.
- Run the generation (30 points) and export the finished vertical picture to your Photos library.
iOS Lock Screen Calibration & Depth Effect Verification
Step-by-step wallpaper application instructions to confirm clean depth layering and clock positioning on iOS.
Once your expanded 9:16 image is exported, open your iPhone Wallpaper settings or tap and hold your current Lock Screen to open the customization gallery. Select your newly expanded photo from your recents album.[1]
Because the image already matches the 9:16 screen display ratio with ample upper background space, iOS will automatically detect subject depth boundaries without forcing top gradient blurs. Tap the three dots menu icon in the lower right corner to confirm that Depth Effect is toggled on.[1][3]
- Navigate to Settings > Wallpaper > Add New Wallpaper, or press and hold the active Lock Screen.[1]
- Select Photos and choose the expanded 9:16 wallpaper generated by CARA Image Extender.[1]
- Gently reposition the image so the clock digits sit right behind the crown of the subject's head.[1][3]
- Verify that Depth Effect remains checked in the bottom right context menu.[1]
Troubleshooting Depth Effect Failures and Widget Conflicts
Resolve common depth rendering issues caused by Lock Screen widgets or subject segmentation conflicts.
Even with optimal canvas headroom, certain system settings can cause the iOS Depth Effect toggle to become grayed out or disabled. The most frequent reason for this behavior is the presence of active Lock Screen widgets located directly beneath the clock.[1]
Apple's user interface architecture places Lock Screen widgets on the same foreground render plane as Depth Effect graphics. Consequently, adding any widget into the lower clock row forces iOS to disable 3D depth separation completely to prevent visual overlap conflicts.[1]
- Remove Widget Row: Delete all widgets placed underneath the main Lock Screen time display to re-enable the Depth Effect toggle.[1]
- Check Subject Coverage: Ensure the subject's head covers no more than 20% to 30% of the clock height. Covering the entire clock causes iOS to disable depth layering.[2][3]
- Avoid Over-Pinching: Do not pinch down excessively inside the native iOS editor, as this activates the automatic top gradient blur fallback.[3]