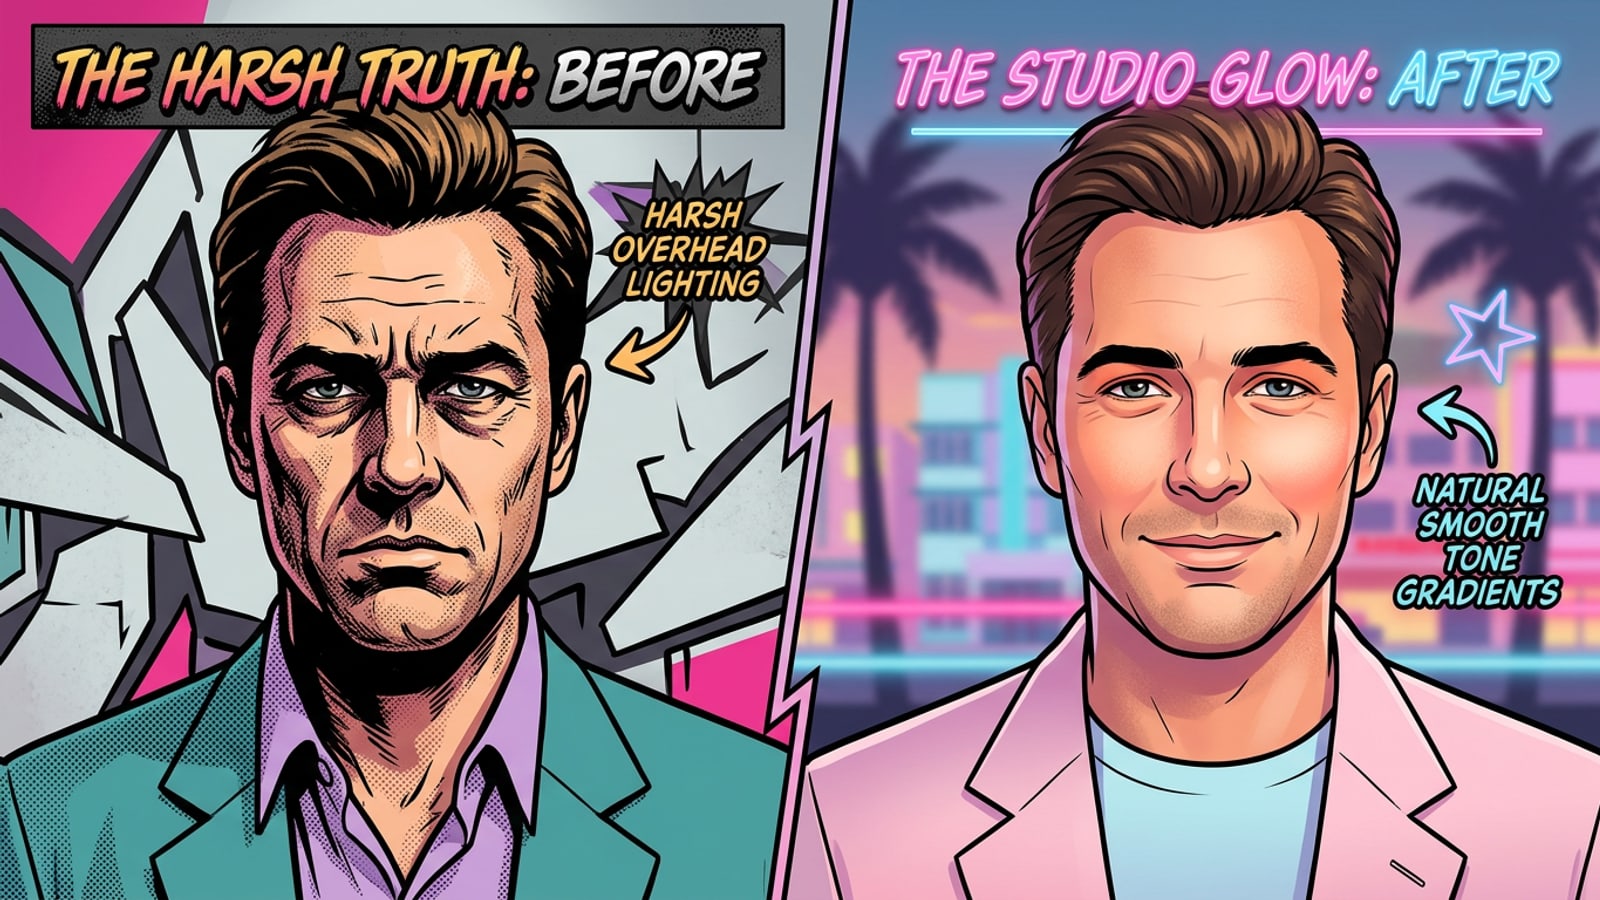
Why Modern iPhone Cameras Create Over-Processed Shadows and Gritty Skin
Understanding how iOS multi-frame HDR and Deep Fusion algorithms turn subtle lighting into harsh facial contrast.
When taking selfies or portrait photos on recent iPhone models, many users notice heavy shadows under their eyes, deep cheek contours, and unnaturally coarse skin texture. This visual artifact is not necessarily a limitation of the physical camera lens, but rather a direct result of Apple's automated Image Signal Processor (ISP) architecture.[1][2]
Modern iOS devices automatically trigger Smart HDR and Deep Fusion multi-frame exposure merging to maximize dynamic range across high-contrast environments. In bright or overhead lighting, the camera ISP merges multiple underexposed and overexposed frames. This local tone mapping process frequently exaggerates mid-frequency micro-contrast, treating skin pores and subtle facial shadows as sharp geometric edges.[1][2][3]
Furthermore, Apple removed the dedicated toggle to disable Smart HDR for standard photo mode on modern iPhone hardware. Because the camera pipeline bakes this high-contrast tone mapping directly into the final HEIF or JPEG file, photographers cannot prevent computational shadow crushing at capture time without switching to uncompressed RAW formats.[1][3]
- Smart HDR multi-frame synthesis forces localized tone mapping, which can crush dark facial areas into flat black patches.[1][2]
- Deep Fusion neural sharpening scans for texture patterns and inadvertently boosts localized edge contrast on skin.[2][3]
- The lack of a standard manual HDR toggle in modern camera settings makes post-capture editing necessary for balanced portrait lighting.[1]
Step-by-Step Remediation: Fixing Shadow Crushing in CARA Agent
A complete guide to importing over-processed iPhone photos into CARA Agent and executing chat-based lighting adjustments.
While traditional sliders struggle to fix hyper-localized camera artifacts, conversational AI photo editing offers a flexible alternative on iOS and iPadOS. By describing lighting adjustments in natural language, CARA Agent analyzes the underlying scene geometry and recalculates light behavior across the subject's face.[3]
Because CARA Agent relies on cloud processing to execute generative conversational requests, image outputs depend on the accuracy of your prompt instructions and original capture lighting. Following a structured prompt sequence ensures consistent results without degrading overall image clarity.
- Open CARA Agent on iOS
Launch the CARA app on your iPhone or iPad and navigate to the Agent chat interface from the main home screen.
- Import Your Over-Processed iPhone Photo
Tap the image upload icon in the chat box to select the portrait from your iOS camera roll containing harsh shadows or over-sharpened contrast.[3]
- Enter a Precise Ambient Fill Light Prompt
Type a descriptive instruction specifying where to add warm ambient fill light and how to soften harsh facial micro-contrast.[3]
- Evaluate and Refine the AI Output
Review the generated result. If necessary, submit follow-up conversational prompts to adjust light warmth or retain specific facial details.

Copy-Paste Prompt Formulas for Shadow Restoration and Skin Tone Balance
Field-tested natural language prompts engineered to lift harsh under-eye shadows and preserve authentic facial texture.
Writing effective conversational prompts requires avoiding generic buzzwords like 'beautify' or 'retouch,' which can lead to over-smoothed airbrushed effects. Instead, use directional lighting terminology and descriptive texture parameters that instruct the AI model to balance luminescent fill light.[3]
Below are copy-paste prompt formulas engineered specifically to remediate common iOS camera processing artifacts across overhead sunlight, harsh indoor lighting, and deep facial shadows.[3]
- For Overhead Daylight Shadows: 'Softly illuminate dark shadows under the eyes and chin with diffused warm daylight, maintain authentic skin pore texture, gentle highlight transitions, photorealistic ambient balance.'[3]
- For Harsh Indoor Lighting: 'Add soft ambient bounce light across facial shadows, reduce gritty micro-contrast on cheeks, keep original hair detail and sharp eye catchlights.'[3]
- For Heavy Deep Fusion Edge Sharpening: 'Balance intense shadow contrast across facial contours, apply gentle diffused fill light, keep natural skin tone warmth and sharp focus on features.'[3]
Comparing Standard iOS Adjustments vs. Conversational AI Remediation
Why global Photos exposure sliders degrade image quality while conversational fill light protects depth.
When attempting to fix dark shadows using native iOS tools, most users turn to the Exposure, Highlights, and Shadows sliders in the Photos app. However, global exposure boosts apply uniformly across the image matrix. Raising the Shadows slider lifts dark facial areas, but it simultaneously amplifies digital background noise and degrades color saturation in neutral midtones.[2][3]
In contrast, conversational photo editing in CARA Agent evaluates scene lighting contextualization. Rather than linearly pulling pixel luminosity curves upward, the AI Agent introduces localized ambient bounce light while keeping shadow depth intact around natural anatomical boundaries.[3]
For creators who also need to expand tightly cropped portrait frames to fit social media layouts, pairing shadow remediation with the Image Extender tool provides seamless background extension without cropping facial features.
- Global Photos Shadows Slider: Lifts all dark pixels equally, causing washed-out contrast and visible background sensor noise.[2]
- Conversational AI Fill Light: Simulates secondary studio light sources, lifting dark facial sockets while preserving natural shadow grounding.[3]
- Local Tone Mapping Correction: Rebalances harsh edge sharpening without erasing fine hair, lashes, or skin architecture.[2][3]
Practical Workflow Tips to Protect Natural Skin Texture
Best practices for maintaining realistic facial details and managing creative assets on iOS.
To get the most out of your post-capture workflow, maintain a methodical approach to prompt iteration. Generative edits rely on cloud processing, so small adjustments in prompt phrasing can produce noticeably different light balances.
Start by generating a light remediation pass first. Once you achieve a balanced exposure, review the image at full resolution on your iPhone or iPad display before applying secondary creative effects. After completing your edits, consider organizing and backing up your creative prompt workflows to ensure you can re-use successful lighting formulas on future captures.
- Avoid vague requests like 'make skin perfect'; instead specify 'diffused light balance with realistic micro-texture'.[3]
- Process harsh lighting in dedicated steps before applying color styling or background extensions.
- Save successful prompt strings in a mobile notes app to establish a consistent personal portrait editing workflow.