
Identify and Isolate Common Urban Photo Clutter
Categorize common urban distractions—such as micro-litter, powerlines, and optical glass reflections—to determine whether simple deletion or generative replacement is needed.
Capturing spontaneous street moments on an iPhone frequently introduces unwanted visual noise. Overhead utility wires, discarded coffee cups on cobblestones, and blinding window reflections often compete with the main subject for visual priority.[1][2]
To restore compositional balance, photographers must differentiate between localized micro-clutter and broad structural glare. Micro-clutter consists of small, self-contained objects surrounded by uniform textures like brick walls or asphalt. Generative erasure works efficiently here because surrounding patterns can seamlessly patch the removed area.[2]
Conversely, large glass storefront reflections and specular window glare span complex gradient planes. Attempting to simple-erase a broad window reflection often results in flat, unnatural smudges because standard patch algorithms lack context for transparent optical dynamics.[1][3]
Step-by-Step Micro-Clutter Removal with Brush Masking
Configure on-device brush tools and apply precise edge padding to erase thin powerlines and ground litter.
Removing intricate street objects like diagonal powerlines or small sidewalk debris requires fine mask control. Precise selection prevents blurry patch boundaries across repeating textures like brickwork or granite tiles.[2]
When isolating thin wires across an open sky or building background, set your on-device brush diameter slightly wider than the object itself. On-device Drawing and Brush Tools in apps like CARA allow freehand precision to outline complex shapes directly on your iPhone screen.
Applying a 5 to 10 pixel stroke padding margin beyond the physical edges of the clutter ensures the underlying algorithm captures ambient drop shadows and local texture transitions. Leaving cast shadows unmasked creates floating ghost artifacts that compromise photo authenticity.[2]
- Isolate the Target Object
Zoom in to 200% on your iPhone screen to clearly see wire bounds or ground litter borders.[2]
- Configure Brush Size and Padding
Select an on-device brush size that extends 5-10 pixels beyond the object edges, completely enclosing cast shadows.[2]
- Execute Cloud Removal
Apply AI Eraser to process the masked area with context-aware texture synthesis.
Replacing Obstructive Glass Reflections and Glare
Isolate washed-out storefront glare and use natural-language prompt templates to generate contextual glass reflections.
Specular glare on glass storefronts often obscures interior details and creates harsh white hot spots across urban compositions. Standard exposure adjustments fail here because lowering global highlights darkens the entire frame, muddying shadow details.[1][3]
Replacing destructive glare requires generative AI replace tools that synthesize believable lighting, glass transparency, and atmospheric surface reflections. By masking the reflective pane and writing descriptive prompts, photographers can introduce clean outdoor reflections or subtle indoor lighting.[1][3]
Using CARA's AI Replace, you can paint over bright glare zones and enter precise text instructions. This cloud-assisted generative tool swaps washed-out glass with realistic wet street reflections or boutique window displays according to your prompt.
- Prompt Template for Outdoor Reflections: 'Clear glass window pane reflecting wet city street asphalt and ambient twilight glow, subtle optical realism.'[1][3]
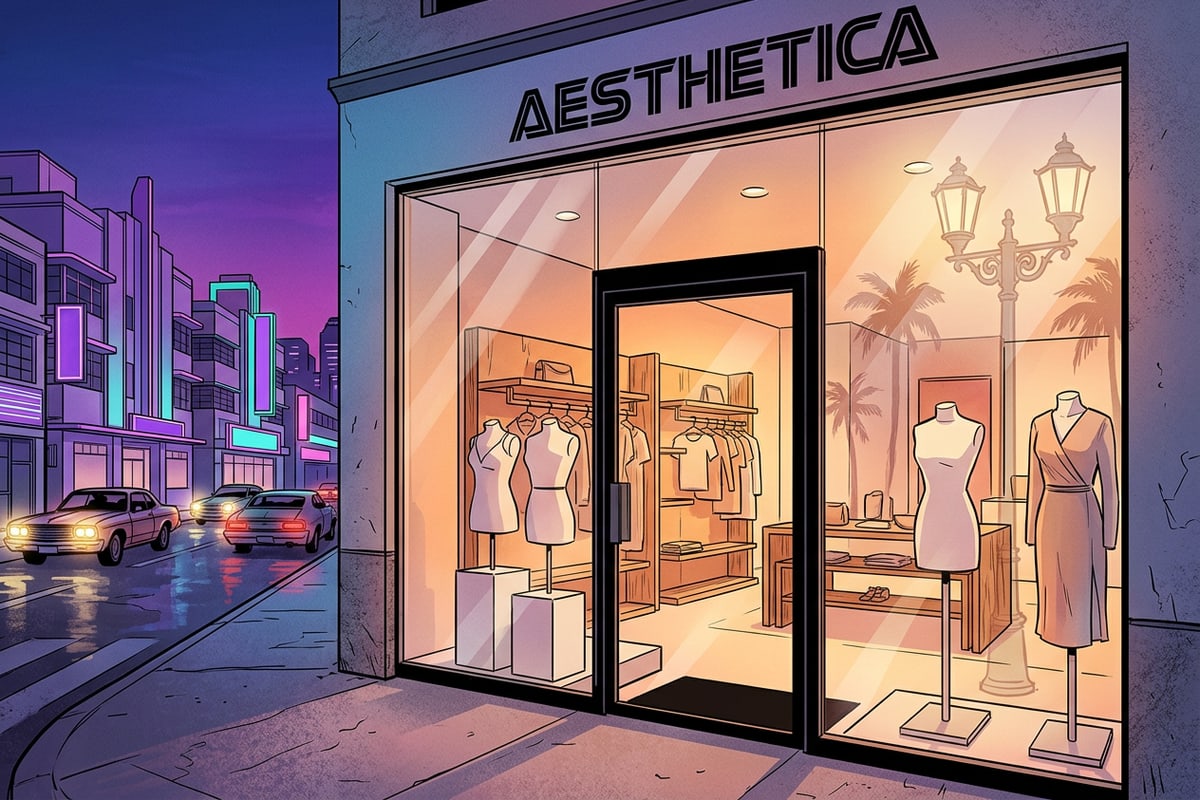
- Prompt Template for Interior Visibility: 'Transparent storefront window revealing cozy warm boutique interior lighting, subtle soft exterior reflections.'[1][3]
- Mask the Reflection Zone
Paint over the entire glass pane containing harsh glare, following window frame boundaries precisely.[1]
- Enter a Natural-Language Prompt
Input a contextual prompt describing the desired reflection type, ambient light tone, and glass transparency.[3]
- Generate and Evaluate
Run AI Replace to generate the new reflection and verify edge blending against surrounding architectural frames.
Refining Edges and Preserving Natural Architectural Geometry
Master advanced selection techniques to keep horizon lines, brick tile grids, and natural shadows intact.
Urban photography relies heavily on structural lines, such as building edges, door frames, and pavement grids. Careless masking can warp straight architectural geometry, causing visible bending or offset tile patterns along edited borders.[2][3]
To keep architectural structures square, align your brush selections strictly along mortar lines or metal window trims. If an object rests against a straight border, extend your mask slightly past the structural line so the generative model re-renders the continuous straight line cleanly.[2]
If you are shooting multiple action bursts on location to capture clean street compositions, evaluating frame sharpness before editing saves significant time. You can review workflow techniques in our guide on how to pick best burst photos on iPhone with AI ranking.
Troubleshooting Common Mobile Editing Distortions
Resolve blurry texture smudges and glowing halo edges around edited glass with targeted corrections.
Even with advanced mobile editing tools, visual friction points like blurry texture patches or glowing edge halos can occasionally appear around edited glass sections or dense background patterns.[1][3]
Blurry smudges usually occur when the mask selection is too tight or omits surrounding background context. Expanding the mask radius slightly gives cloud processing models more structural data to accurately synthesize detailed surfaces like brick mortar or cobblestone patterns.[2]
Unnatural edge halos happen when high-contrast light boundaries between glass frames and ambient lighting are partially masked. Feathering or fully enclosing the window bezel in the selection pass eliminates edge glow and yields seamless integration.[1][3]