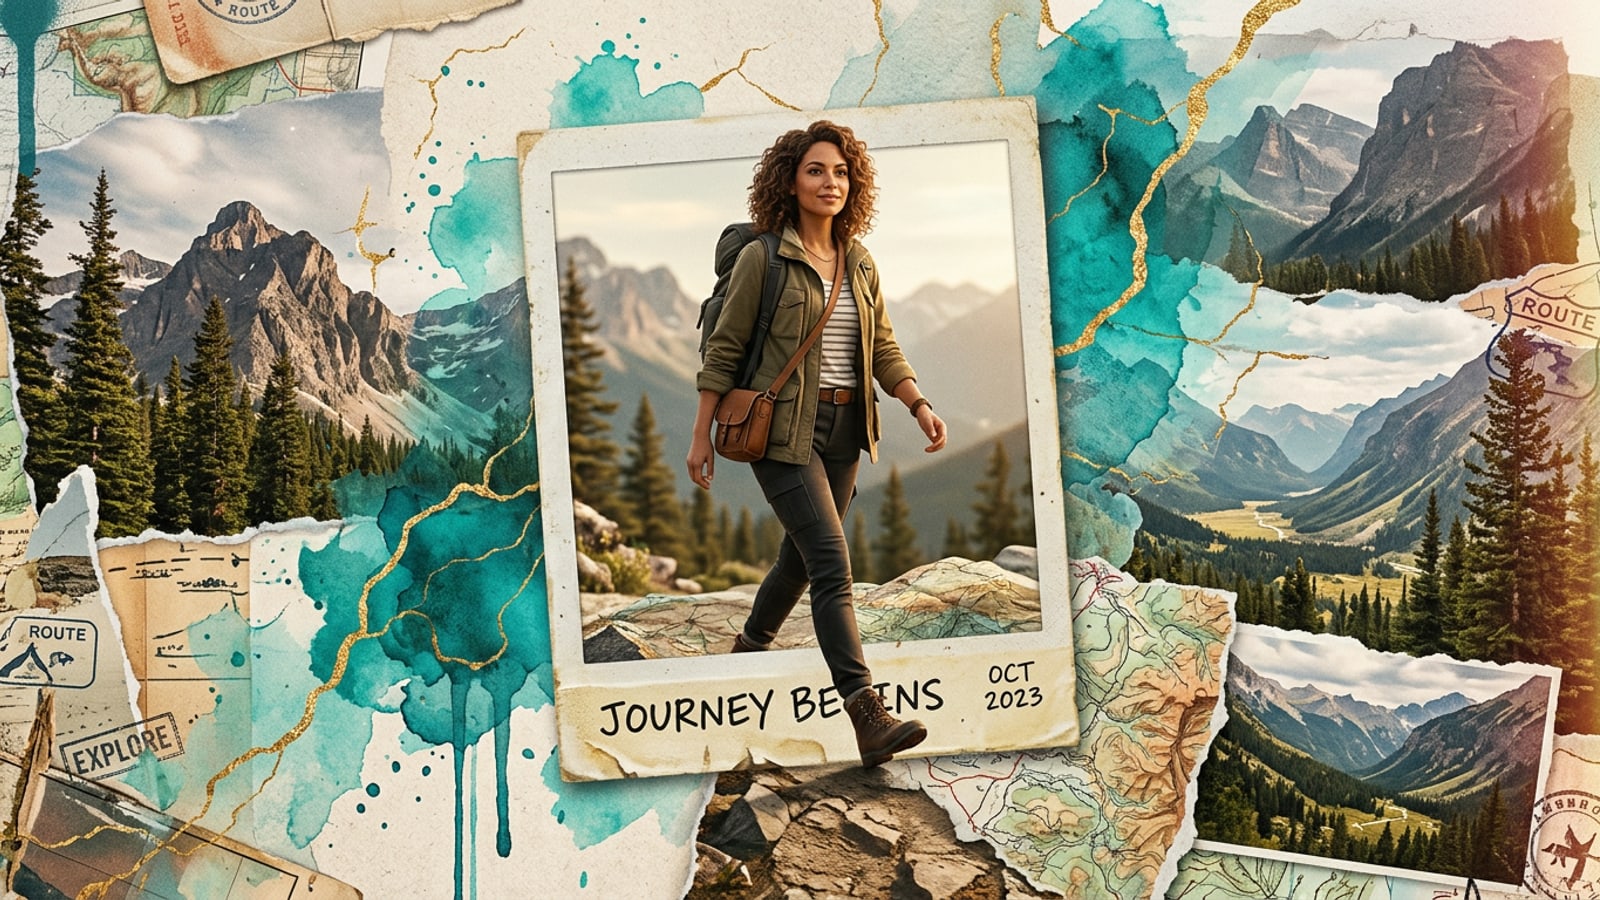
The Death of the Basic Grid: Embracing the Tactile Trend
Standard photo grids are feeling repetitive, making way for a more intentional, handcrafted approach to digital collages.
For years, the standard approach to digital collages involved dropping photos into pre-set boxes. While effective for speed, this template-first method often leads to algorithmic-looking results that lack personalization and fail to capture the viewer's imagination.[1]
The 2026 design landscape is shifting dramatically toward Tactile AI, a movement that celebrates intentional imperfections and handcrafted digital aesthetics. This trend moves away from sterile, flat pixels and instead embraces visual characteristics like visible paper grain, organic textures, and slightly misaligned edges that mimic physical media.[1]
To achieve this elevated, tactile look, creators are moving away from simply filling grids. Instead, they are adopting an asset-first 'Component Creator' workflow. By preparing individual elements before final assembly, you can bypass the limitations of traditional digital grids and build professional-grade, layered art that feels truly unique.[2][3]
Cara's Photo Collage Maker provides the perfect foundation for this workflow, offering flexible grid layouts and template bases. Keep in mind that available layouts and photo counts depend on the current catalog, giving you a constantly evolving canvas for your creativity.
Technique 1: Breaking the Frame with Subject Isolation
Learn how to use the Remove Background tool to create floating subjects that add 3D depth to your layouts.
One of the most effective ways to break the flat feel of a digital collage is the 'Floating Subject' technique. By isolating a subject and allowing it to overlap the rigid borders of a grid, you instantly create a sense of 3D depth that draws the eye.[2]
Cara's Remove Background tool makes this process effortless. Instead of struggling with complex manual masking, you can instantly strip away the background from your supported photos to create clean cutouts ready for layering.
Once your subject is isolated, the creative possibilities expand exponentially. You can place these cutouts over abstract AI-generated textures, or let a subject's arm or accessory spill into an adjacent collage cell to guide the viewer's eye across the entire composition.[2]
- Keep in mind that fine edges, like hair, or transparent subjects may require another attempt to get the perfect cutout.
- Layer these isolated cutouts over extended backgrounds to create a dynamic interplay between the foreground and the environment.[2]
- Select your focal image
Choose a photo with a clear, distinct subject that you want to highlight as the centerpiece of your collage.
- Apply Remove Background
Use the tool to isolate the subject. If the edges aren't perfect on the first try, run it once more for a cleaner result.
- Position across borders
Place the resulting cutout so that it intentionally overlaps the lines of your underlying grid layout, breaking the visual boundary.[2]
Technique 2: The 'Clean-then-Expand' Workflow for Seamless Flow
Use the Image Extender tool to add breathing room to cramped photos and create seamless horizons.
A common frustration in collage creation is trying to force a tightly cropped portrait into a specific cell. This often results in cramped layouts that lack visual flow and feel claustrophobic to the viewer.[3]
The 'Clean-then-Expand' workflow solves this by using Cara's Image Extender. By generating surrounding content beyond the original borders, you give your subjects much-needed breathing room. This allows you to position them according to the Rule of Thirds or create a seamless horizon line that stretches across multiple panels.[3]
When you extend an image, the AI analyzes the existing environment and builds outward. This is particularly useful when you want to create a panoramic background that spans across three or four grid squares, tying the entire collage together.[1][3]
- Generated edge content may differ slightly from the original scene, which can add unique, unexpected textures to your collage.
- Expanding backgrounds before placing them in the Photo Collage Maker ensures you have enough canvas to adjust the framing perfectly.[1]
Technique 3: Conversational Art Direction with Cara Agent
Unify the aesthetic of disparate photos using natural-language requests for a cohesive final design.
When sourcing images from different days, cameras, or environments, the resulting collage can feel disjointed. For advanced results, AI is best used as a component creator to unify these assets before you manually assemble them into a final layout.[3]
Cara Agent allows for conversational photo editing, acting as your personal art director. You can use natural-language requests to adjust the lighting, mood, or style of individual photos, ensuring they feel like they belong in the same visual universe.
Because this feature relies on cloud processing, results can vary, giving you a range of creative options to choose from as you curate your components. By taking the time to art-direct your assets, your final collage will look intentional and professionally graded.
- Analyze your base assets
Look at the photos you plan to use and identify the inconsistencies in lighting, color temperature, or overall mood.
- Open Cara Agent
Select your first image and initiate a chat with the Cara Agent to begin the conversational editing process.
- Provide a specific natural-language prompt
Type a detailed request, such as: 'Apply a warm golden hour lighting effect with a subtle vintage film grain to this photo.'
- Refine the mood
If the result needs tweaking, follow up with another prompt like: 'Make the shadows cooler and increase the contrast to match a moody cinematic style.'
Dynamic Layouts: Video to Manga as a Collage Alternative
Transform video clips into comic-style panel layouts for a unique, narrative-driven visual experience.
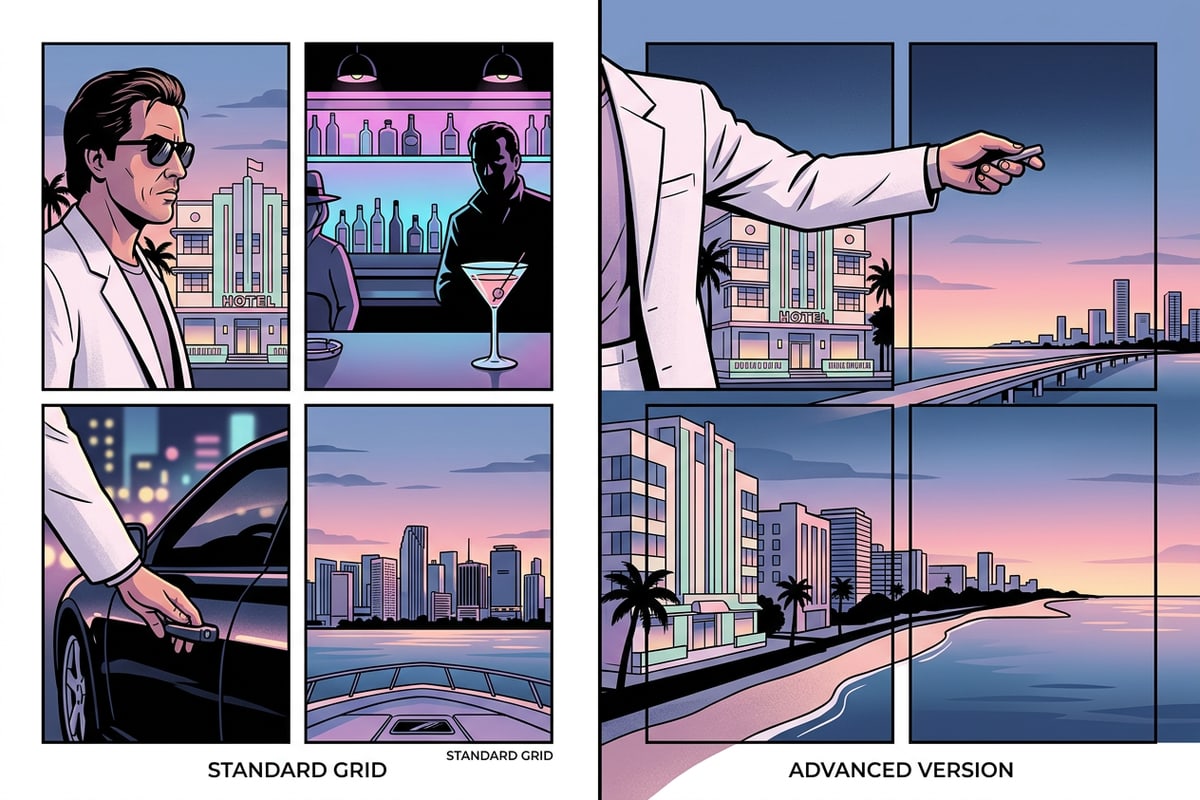
While traditional photo collages are excellent for capturing static moments, sometimes you want to convey a sequence of events or a dynamic story. This is where Cara's Video to Manga feature offers a brilliant alternative to the standard grid.
Instead of manually selecting and placing individual photos, you can turn a supported video clip into comic-style pages. The tool uses selected key moments and an automatic panel layout to generate a stylized, narrative-driven collage directly from your footage.
This approach is perfect for action shots, travel montages, or any scenario where movement tells the story better than a single frame. It provides a highly engaging, stylized output that stands out immediately on any feed.
- Keep in mind that this is not a general-purpose video timeline editor; it is specifically designed for automated comic-style generation.
- Processing time depends on clip length and selected output, so shorter, action-packed clips often yield the best and fastest results.
Troubleshooting: Overcoming the 'Clutter' Wall and Managing Resolution
Learn how to use AI Eraser to simplify busy layouts and manage asset resolution for a cohesive final piece.
As you transition to an asset-first design approach and start layering multiple cutouts and extended backgrounds, you might hit the 'clutter wall.' This happens when a collage becomes too busy, causing the viewer to lose the focal point amidst the overlapping elements.[2]
To refine a complex layout, use Cara's AI Eraser to remove unwanted objects or distracting background elements from your components before assembly. Stripping away the noise ensures that your primary subjects command attention.
Another critical troubleshooting step is Managing Asset Resolution. When using the Image Extender to create larger backgrounds, the generated edge content might occasionally have a different visual texture than your original crisp subject. If you scale these extended images too drastically within the collage maker, the mismatch can become obvious.
To maintain visual consistency, try to keep your scaling adjustments minimal once the assets are in the grid. If a component looks out of place, run it through the Cara Agent to apply a unifying film grain or texture, which helps blend the original pixels with the AI-generated extensions seamlessly.
- If you are erasing elements from a highly complex background, it may require another attempt to get a seamless result.